To set the clock (example below for 1:30), Changing between 12 or 24 hour time of day display, Setting oven controls – Kenmore 790.7889 User Manual
Page 13
Attention! The text in this document has been recognized automatically. To view the original document, you can use the "Original mode".
•
Setting the Clock
•
Changing between 12 or 24 hour
display
Setting Oven Controls
Conv
Com Cons
Bake
Roast Convert
Heat
Bake
Broil
88:88 II888'
TIMED DELAY TIMER
r\
CONV BAKE BROIL
DOOR LOCKED CLEAN □ MEATS CAKES BREADS
Cook
Time
Delay
start
Timer
Set/Off
Slow
Cook
Hold
Flex
Я
Addi
Minute
©
Setting the Clock
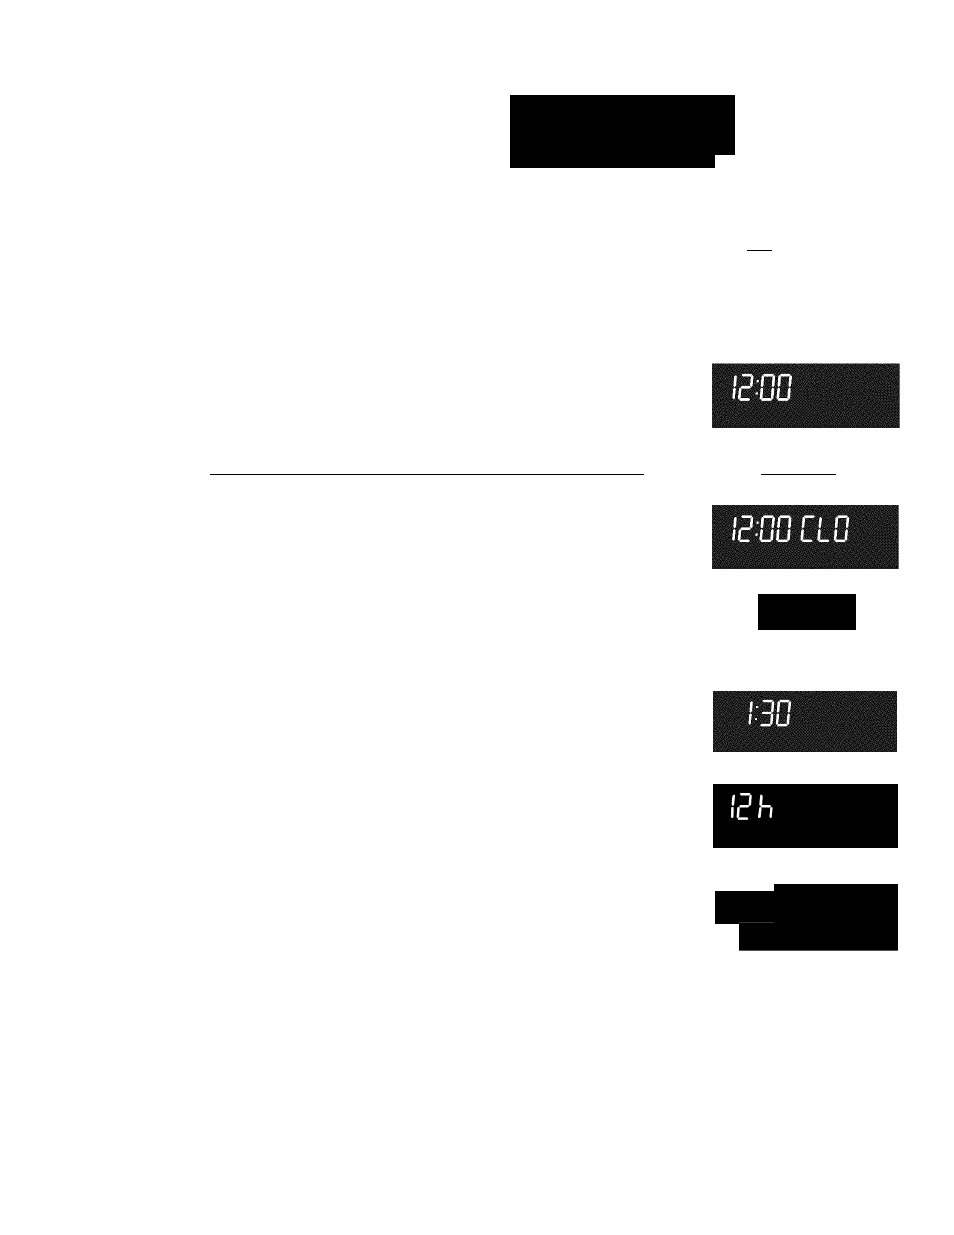
The CLOCK (©) pad is used to set the clock. The clock may be set for 12 or 24 hour time of
day operation. The clock has been preset at the factory for the 12 hour operation. When the
range is first plugged in, or when the power supply to the range has been interrupted, the
timer in the display will flash (See Fig. 1).
INSTRUCTIONS
PRESS
To set the clock (example below for 1:30):
1. Press
.
"CLO" will appear in the display (Fig. 2).
2. Press
©(D®
pads to set the time of day to 1:30 (Fig. 3).
"CLO" will appear in the display. Press . "CLO" will
disappear and the clock will start (Fig. 4).
Changing between 12 or 24 hour time of day display:
1. Press and hold for 6 seconds (Fig. 3). While holding the
pad down the current time of day will remain and "CLO" will
disappearfrom the display (Fig. 4). CONTINUE holding the pad
until a beep is heard.
2. The display will show either "12h"(Fig. 5)or"24h"(Fig. 6).
3. Press Clean to switch between the 12 and 24 hour time of day
display. The display will show either "12h" (Fig. 5) or "24h" (Fig.
^
6
).
4. Press to accept the desired change or press
(^)
to
or (^)
reject the change.
5. Reset the correct time as described in To set the Clock above.
Piease note that if the 24 hour time of day mode was chosen,
the clock will now display time from 0:00 through 23:59 hours.
® @ ®
Э) for 6 seconds
1
4
7
STOP
Clear
2
3
5
6
8
9
0
Fig. 1
DISPLAY
Fig. 2
З
ППП
и LLU
Fig.3
Fig. 4
Fig. 5
B 4 h
Fig. 6
13