Di^liig procedures, 1, prepare items for dryijqg, 2 check tbat lint screen is clean and in exlaoe – FRIGIDAIRE Washer/Dryer User Manual
Page 10: 3l load the dryer, 6l start the dryer, 2 check tbat lint screen is clean and in exlaoe. 3, Load the dryer
Attention! The text in this document has been recognized automatically. To view the original document, you can use the "Original mode".
Di^liig Procedures
• Follcwthegiiidelinesbelcwforpr^Hxingt±ieloadfordrying.
• Rmdt±ieD]^earC^egatiiigltaStructicr8 card for cperatingypur specif icrrpdel.
• Always read and follow fabric care labels and laundry product labels.
ibllcw fabric caie label instmcticns.
i
Place stmll items inansshbag.
^WARNING
jTbiHdxetheriskof fire, elect^d.cHlsl:r)ck, orinjmytopeo:scns, read
Inportaait
pages 2
-4
, before cperating
this
dryer.
1, Prepare items for dryijQg.
•
Dry itaiis of similar fabric, weight and oonstructian in the same load.
•
S^jaratecferkitemsfroTili^it-cnlaraiiteRis.
S^msteiternsthatstedlint
frarithase that attract lint. If anitansIrEdslint, tumitinsicteoat.
•
Be sure buckles, buttons and trim are heatproof and won' t daimge the
drumfinish.
dosezijpers,
fastenhcolisandVelcro®-like
fasteners.
Tie
strings and sashes to prevent snagging and tanglirg.
•
If possible, tumpodkets insicte cut for evmdrying.
•
Checkforstainswhichrriayriothavebeenraiiavediiiwashing.
Dryerheat
may permanently set some stains. Repeat stain removal process before
dryirg.
•
Place small itere inarreshbagto prevent tanglirg and for easy raroval.
2 Check tbat lint screen Is clean and in ExLaoe.
3
l
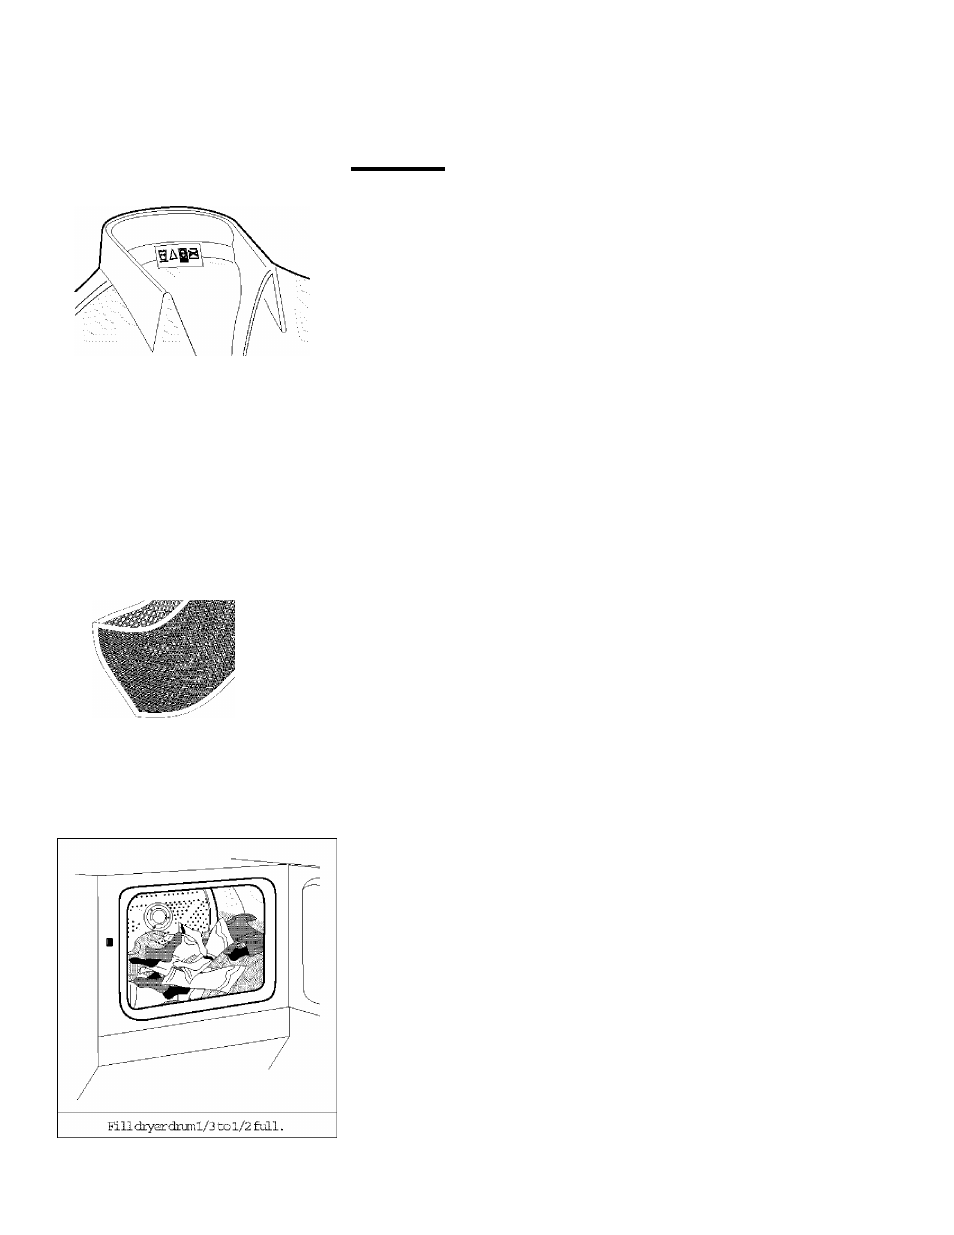
Load the dryer.
• The average Icadwill fill ttedmnl/3 to 1/2 full. Itars needrocmtotLirible
freely for evan drying and less wrinkling. DoDObOvorloaddcyetr.
•
Ptendryinglar^iteTis,
dryanly2or3atatirrE.
Fill
cut
the
Icadwithsmall
andrrediumsized items.
•
FtrcfelicatecirverysiTBll leads, adl2 lint-free tcwels fortetterdryirg,
wrinklirg, and toprevent grease stains causedbyfabrlcsoftener sheets.
•
Irirotcverdryitais.
Cvetrtyiigcancauseviadjikiirg,
shrirfage,
harshness,
and a build-up of static electricity, which canprcducemoro lint.
•
If ctesired, adda dryer fabric softener sheet.
4, dose the dryer door and set dryer controls (scmemodels).
See DryecCpesating Ibstructicns card for your specific model controls.
5. Ttxcn cycle selector clockwise to the desired setting.
6L Start the dryer.
•
Push Start button for 2 seconds.
• To add or ranoveitaTB when the dryer is running, epenthedoor. Thedryer
will always stop wlien the door is oper^d. Al low the drum to core to a
complete step fcefore r^ching insicte.
• Tb restart dryer, clcse the door thenpushStart button. Hcldfor 1-2 seconds
ardreleaffi.
7. When the cycle ends, remove items immediately and hang
or fold. If load is removedbefore the cycle ends, turn cycle selector to Ci?F.
1 0