Setting the slow cook feature, Instructions, Press – Kenmore 790-.9663 User Manual
Page 35: Display, Setting oven controls
Attention! The text in this document has been recognized automatically. To view the original document, you can use the "Original mode".
Setting Oven Controls
•
Setting the Slow Cook Feature
•
Oven Light
Setting the Slow Cook Feature
The
S L O W C O O K
pad is used to activate this feature. The
S low C o ok
feature may be used to cook foods more
slowly, at lower oven temperatures and provides cooking results much the same way as a Slow Cooker or Crock-Pot. The
S low C o ok
feature is ideal for roasting beef, pork & poultry. Slow Cooking meats may result in the exterior of meats
becoming dark but not burnt. This is normal.
There are 2 settings available, high
(H i)
or low
(L o).
The low setting is best for cooking foods from a 8 to 9 hour time
period. The high setting is best for cooking foods from a 4 to 5 hour time period. The maximum cook time for the
S low
C o o k
feature is 12 hours unless the oven control has been changed to the
C o n tin uo u s B ake
mode.This feature may be
used with the additional settings of a
C o o k Tim e
or a
D elay S tart.
S o m e tips yo u sh o uld review for b est po ssib le resu lts u sin g S low C o ok featu re:
• Completely thaw all frozen foods before cooking with the
S low C o ok.
• When using a single rack, place in position 2 or 3.
• Position multiple racks to accommodate size of cooking utensils when cooking multiple food item.
• Do not open the oven door often or leave the door open when checking foods. If the oven heat escapes often, the
S low C o ok
time may need to extended.
• Cover the foods to keep them moist or use a loose or vented type cover to allow foods to turn crisp or brown.
• Roasts may be left uncovered so browning can occur. Cook times will vary; depending on the weight, fat content, bone &
the shape of the roast.
• Use the recipe’s recommended food temperature and a food thermometer to determine when the food is done.
• Preheating the oven will not be necessary when using the
S low C o ok
feature.
• Add any cream or cheese sauces during the last hour of cooking.
I'll
;v.
c«
S ee the sug g ested S low C o ok featu re recip es p ro vid ed in th e b ack of this
Use
& C are G u id e.
INSTRUCTIONS
T o P ro g ram th e O ven to b eg in bakin g w ith th e S lo w C o ok
feature (exam p le below sh ow s clo ck at
1:30):
1. Place the food in the oven.
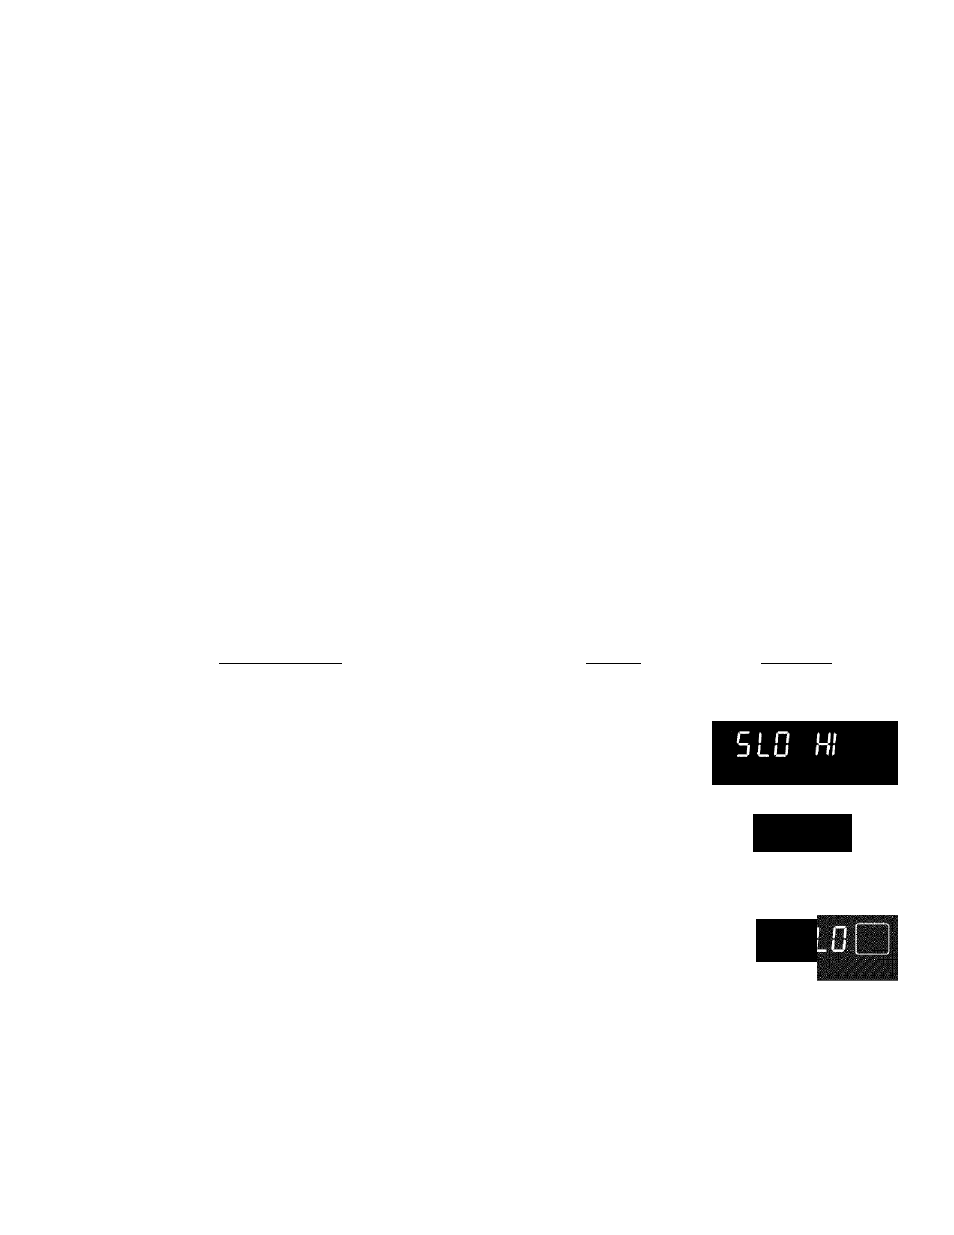
2. Press (J^^.
“S L O ”
and
“H i”
(See Fig. 1) will appear in the
display (If no further keypads are touched within 25 seconds the
request for
S low C o ok
will clear).
3. If a
L o
setting is desired, press the
a 2nd time to set
the
S low C o ok
feature with a low setting.
“S L O ”
and
“L o ”
will
appear in the display (See Fig. 2).
Press
The
S low C o ok
feature will activate (See Fig. 3).
If desired, add any
C o o k Tim e
or
D elay S tart
settings at this
time.
6. To cancel the
S low C o ok
feature press at anytime.
4.
5.
PRESS
DISPLAY
optional
(^)
Fig. 1
■30
LO
Fig, 2
ms
Fig.3
35