Oven cleaning, Stopping or interrupting the self-clean cycle – Kenmore 5303304549 User Manual
Page 12
Attention! The text in this document has been recognized automatically. To view the original document, you can use the "Original mode".
Oven Cleaning
{seif-cleaning instructions,
continued)
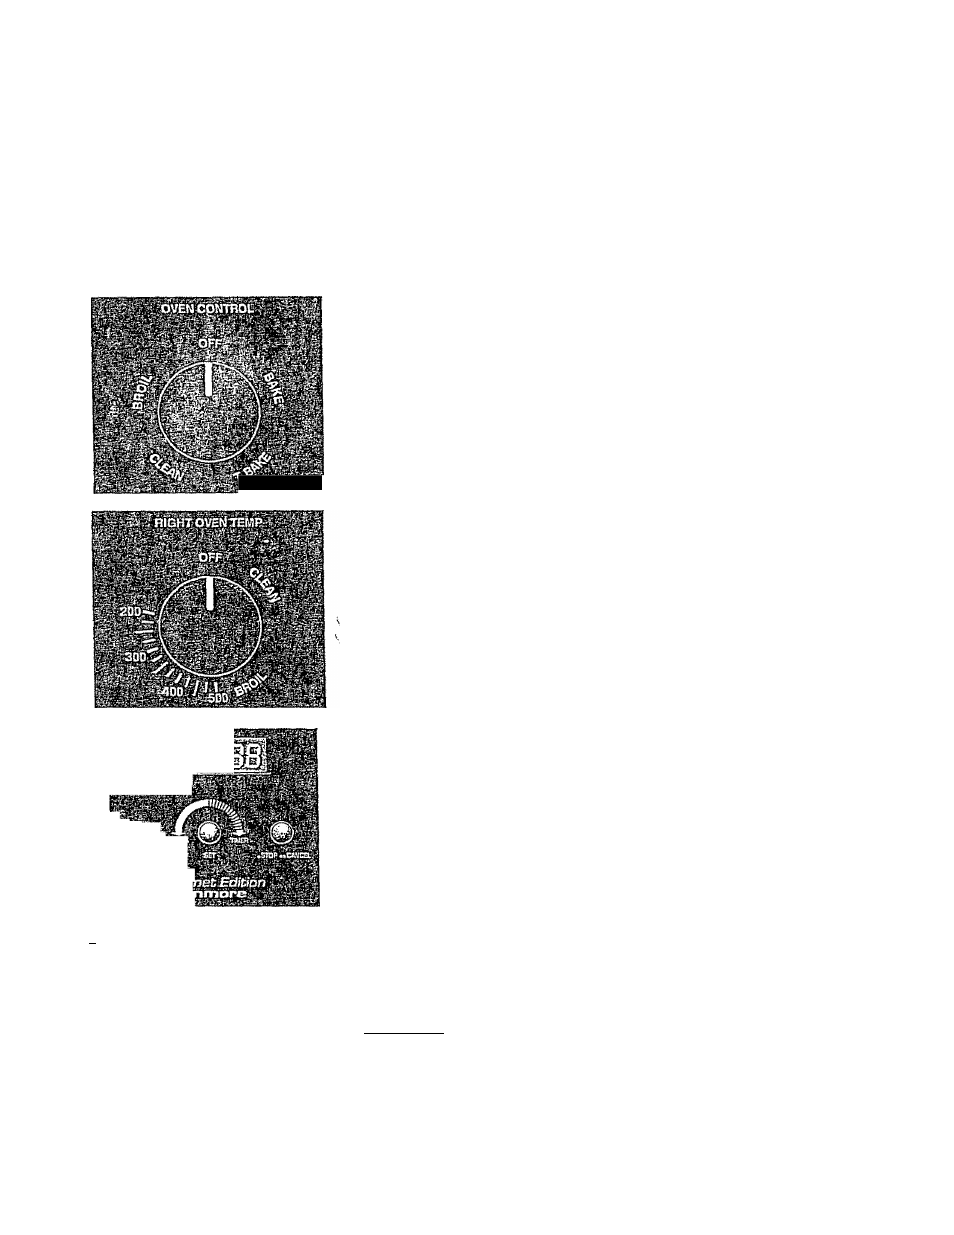
Be sure to remove everything from the
oven and complete the suggested
precleaning steps before setting the
controls.
ÉSiKJEI
n
Use caution when
opening the door after the self-cleaning
cycle. The oven may still be VERY HOT,
Note: Be sure to turn the Temperature
and Selector Controls to OFF when the
self-cleaning cycle is completed.
To Start the Self-Clean Cycle
*We recommend a 2 hour self-dean cycle for light soils, a 3 hour cycle for average
soils, and a 4 hour cycle for heavy soils (to assure satisfactory results)
To Set the Controls;
1. Make sure the clock is set to the correct time of day
2. Push and Irold START button until the control beeps and the words START
TIME appear in the left side of the display,
3. Turn SET knob clockwise until desired starting time is reached,
“If you want the dean cycle to start nowand shut off automatically, push START
button, the control will beep once and the words STOP TIME will appear in the
left side of the display. Then the word AUTO will come or, to indicate that
the dean cycle will begin immediately
4. if you want to start the dean cycle at a delayed time and shut off automatically,
turn SET knob until stop time is 3 hours later than start time. Example: If the
start time and dock read 1:00,setthe STOPTIMEfor4:00 , Push STARTbutton,
the control will beep once and the words STOP TIME will appear in the left side
of the display,. Then the word AUTO will flash continuously to indicate that the
dean cycle will begin at a delayed time.
5. To review start and stop dme seff/ngs before automatic cycle begins, push and
hold START button until START TIME appears; push second time to display
STOP TIME and once more to return to automatic control mode
"When changing start and stop times, time will increase and decrease in 5
minute increments
Turn the selector and temperature controls to CLEAN,
The motor driven lock will begin to dose the oven door automatically and the
oven cleaning light will come on as soon as the controls are set (It takes about
15 seconds for the lock to dose the door ,)
After the desired cleaning time has elapsed, the control will beep once and the
word AUTO will stop flashing but stays on during cleaning,
•To cancel automatic cleaning cycle, push the STOP/CANCEL button
twice
•At the end of automatic cleaning, the timer will sound for 3 seconds, AUTO
will flash continuously to indicate end of automatic cycle. Alarm will continue
to sound 1/2 second every 10 seconds for 15 minutes or until STOP/CANCEL
button is pushed
9 Turn the selector and temperature controls to OFF.
10, The oven must now cool for about 1 hour or until the interior temperature has
dropped below 550“F. Then the oven door will unlock and the oven cleaning
light will go out . The oven door can now be opened
Stopping or Interrupting the Self-Clean Cycle
if it becomes necessary to stop or interrupt a self-cleaning cycle due to excessive
smoke or fire:
1 Push the CANCEL button twice. This will return the dock to the time of day
2, Turn the selector and temperature controls to OFF ,
3, Allow the oven to cool until the oven cleaning light goes out, Then the door
unlocks and can now be opened
I*iYiifelHi'SM DO NOT force the door to open, This can damage the door locking
system. Use caution when opening the door after the self-cleaning cycle has been
interrupted The oven may still be VERY HOT
6
.
7,
8
4 Correct the condition which caused the smoking
5 Restart the self-clean cycle once all conditions have been corrected
12