Checkline DFX-7 User Manual
Page 131
DFX-7
Ultrasonic Flaw Detector
127
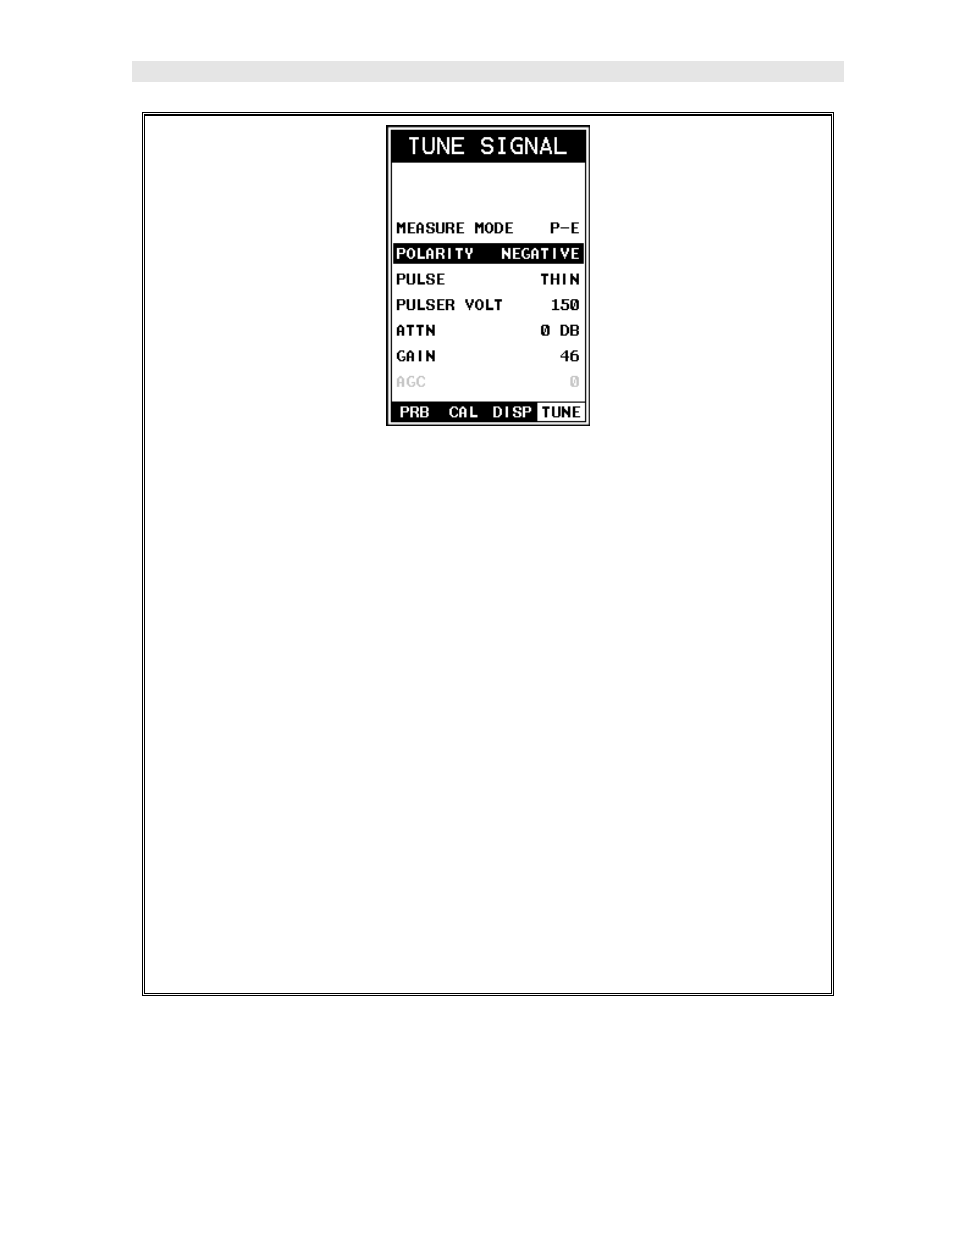
Note: Before toggling the Polarity, the
DFX-7
should be set to the RF display
view option. The RF view will give the user the best opportunity to correctly
view the positive and negative cycles of the waveform. Please refer to page 61
for information on selecting the Display Views.
1) Press the MENU key once to activate the menu items tab. Press the MENU
key multiple times to tab right, and the ESC key multiple times to tab left,
until the TUNE menu is highlighted and displaying the submenu items.
2) Use the UP and DOWN arrow keys to scroll through the sub menu items
until POLARITY is highlighted.
3) Use the LEFT and RIGHT arrow keys to toggle the POLARITY negative or
positive.
4) Press the MEAS key to return to the measurement screen and begin taking
readings.
Important: Be sure to do a Probe Zero after changing the polarity!
10.12 Pulse Width
The DFX-7 has an adjustable pulse width option. Pulse width, refers to the duration
of time the pulser is left on. This time results in increased energy sent into the test