Checkline DIS-RL User Manual
Page 4
page 9
TORQUE MEASUREMENT
page 4
TORQUE MEASUREMENT
Output is available in PD, PP and C modes. In PD and PP modes peak
data is output when ZERO is pressed or activated by the AUTO ZERO
function. In C mode, the gauge outputs data continuously 180
data/second.
GENERAL OPERATION
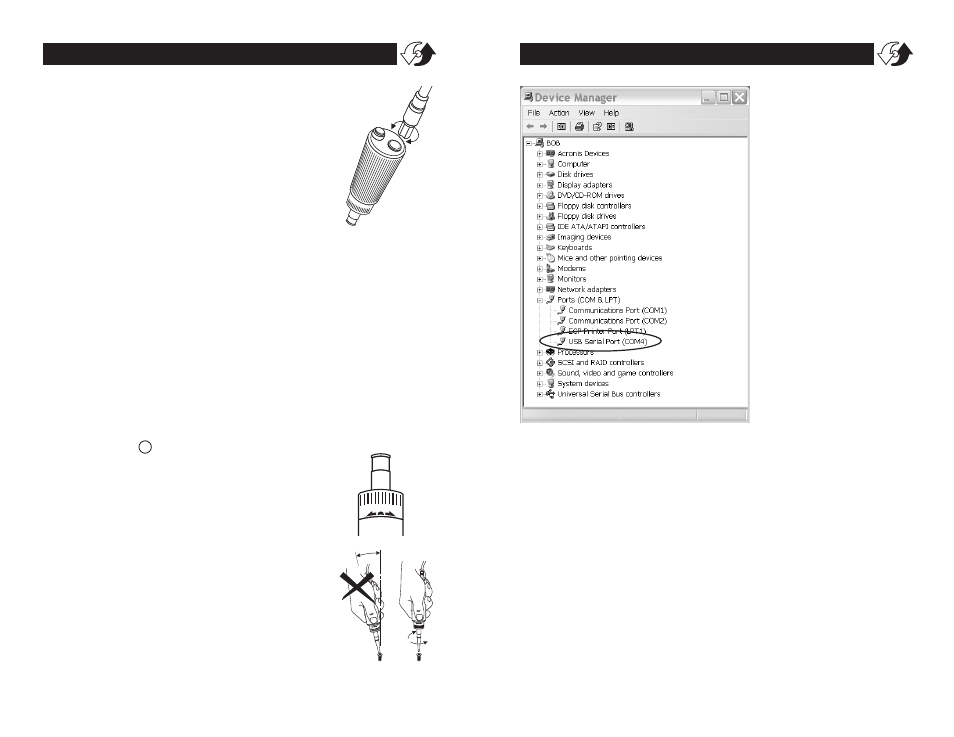
1. Connect the torque sensor to the tester display
unit with cable provided. When connecting
the cable to the torque sensor, rotate the round
connector to find the matching groove, then
push in until it makes positive connection
(When disconnecting the cable from the
torque sensor, hold the silver metal part of the
round connector and pull out).
2. To select the desired measuring unit (lbf-in, kgf-cm, N-m, N-cm),
press POWER, then hold UNITS for 4 four seconds until a beep
sounds. Press UNITS to cycle choices. Press PRG/SET to enter.
3. Press and hold MODE for one second to select from the follow-
ing Measuring Modes.
Real Time–Displays torque transients (no output or indicator)
PP Mode– Peak, captures peak torque (peak data output, PP
appears on display)
PD Mode– First Peak, capture first peak value (peak data
output, PD appears on display)
C Mode–
Continuous RS-232 output Display and output
torque transients (180 data/sec., GOOD indicator
flashes)
4. Insert Phillips tip into the screwdriver sensor.
5. Select ratchet operation by turning the ratchet
one click clockwise or counter-clockwise from
the center position. To disable ratcheting, turn
the ratchet so the semi circle is in the center
position.
6. Press the CLEAR button on the display unit or
the button on the screwdriver to zero the dis-
play. Insert the screwdriver tip into the screw,
hold perpendicularly (not at an angle), and
turn to measure.
7. After measuring, press CLEAR on the display
unit or the button on top of the screwdriver
sensor to zero the display for the next test.
6