Softride 26496 Hang5 bike rack (New) User Manual
Page 4
HANG5 RACK INSTRUCTIONS
ASSEMBLY OF ACCESS RACK (continued)
5
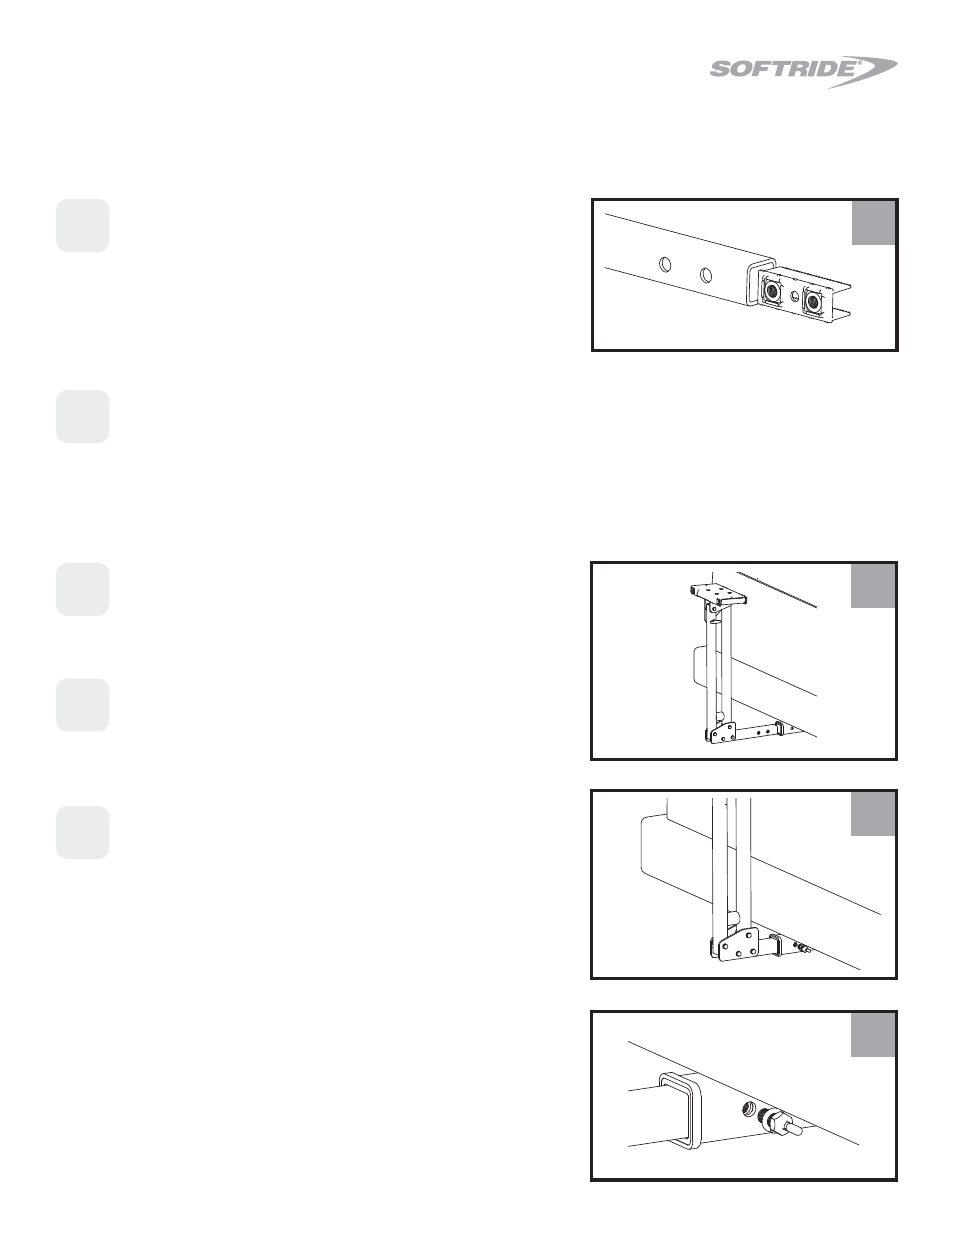
5
Check to make sure that the nut inside the rack
hitch bar is aligned with the hole in the hitch bar.
Adjust with a screw driver if necessary.
Tip: If you don’t see the threaded nut, look
down the inside of hitch bar tube from the
end. It may have shifted during shipping.
6
Check inside the receiver hitch for dirt, debris
or burs and remove them from inside the
hitchbox. A clean receiver hitch ensures
maximum anti-rattle capabilities and helps
prevent rust from migrating from receiver hitch
to bike rack.
7
Slide the rack into the receiver hitch of
the vehicle.
8
Line up the hole in the rack hitch bar with the
hole in the receiver hitch.
Tip: When possible, use nearer hole position
for enhanced stability.
9
Place the lock washer on the hitch bolt and
hand thread it into the nut in the hitch bar.
Tighten to 60 foot-pounds with a torque
wrench. Note, the bolt is not intended to go
through the other side of the hitch bar or
receiver hitch.
Tip: This is where the torque wrench is
useful until you have a good feel as to
what 60 foot-pounds is with your ratcheting
box wrench.
7
8
9
4