Restoring content, What gets restored, and to where, Estoring – Clickfree C2N 3.5 User Manual
Page 13: Ontent
Clickfree C2N Home Backup (Mac)
Restoring Content
Restoring Content
You can restore your content to any computer that meets the system requirements (see
“What do I need before I start?” on page 7), not just to the computer the content was backed
up from.
To restore files from more than one user, simply repeat the restore process choosing a
different user each time.
W
HAT GETS RESTORED
,
AND TO WHERE
?
You can choose whether to restore all or just selected content, and where the content is
restored to – or you can allow Clickfree to make the choices for you.
If you don’t change any options, Clickfree restores all of the content that was backed up,
and puts it in the Restored Files folder under your Home folder.
Alternatively, you can restore your files to a different location on your computer. If you are
restoring over files of the same name, Clickfree will warn you and ask permission to
overwrite these files on the computer with the ones on the C2N.
R
ESTORE
–
L
ET
C
LICKFREE DECIDE WHAT TO RESTORE AND TO WHERE
1. Click the icon in the menu bar and choose BackupLink Status.
If you are restoring content to a new computer that has never been connected to the
C2N, plug the C2N in to your new computer.
2. In the BackupLink status window, make sure that the C2N is available, then click
Restore/Transfer
.
3. The
What to restore
window appears.
Note that all of the categories that have backed-up content are checked off in the
Category
column.
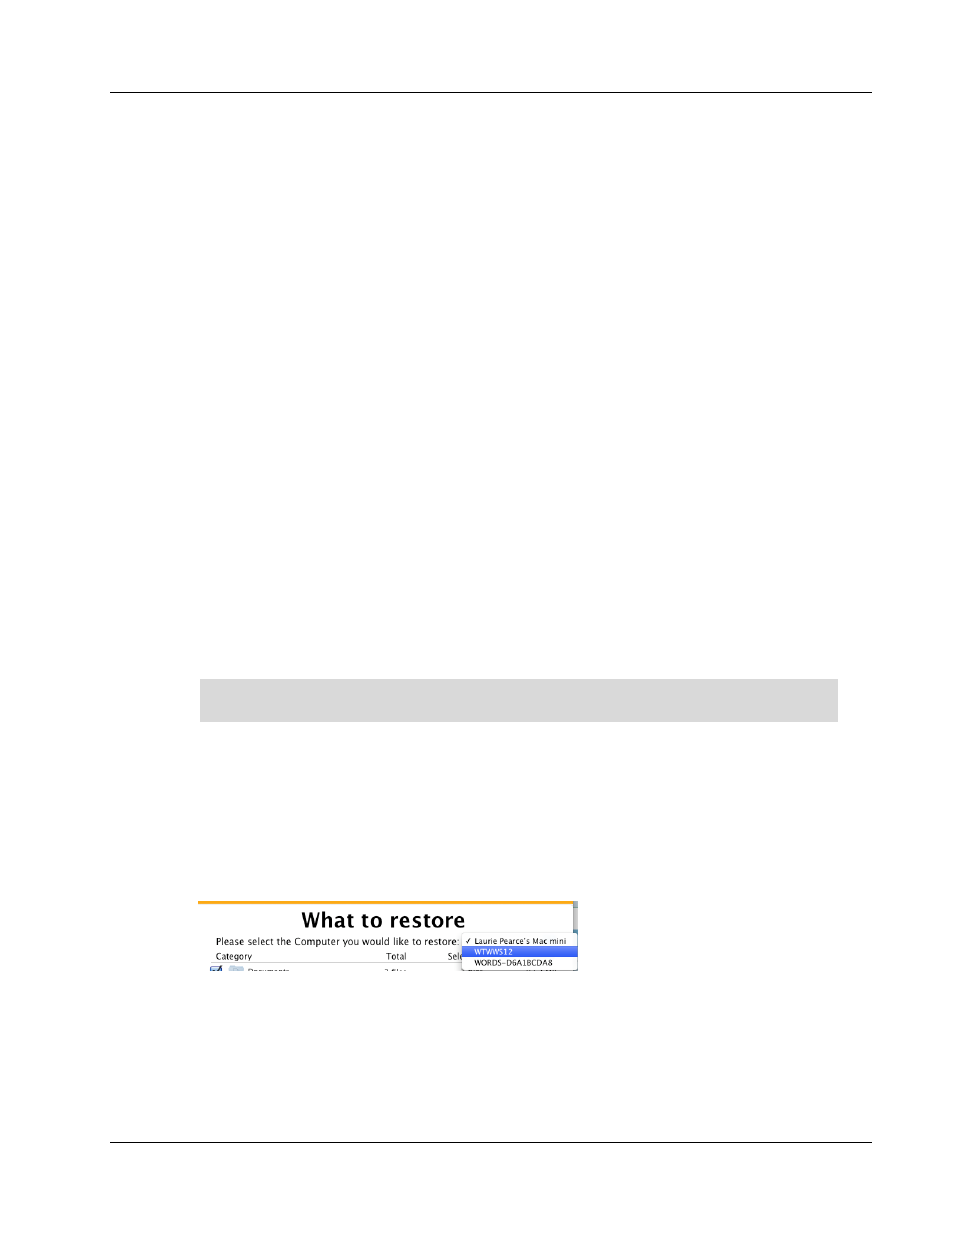
4. Look at the user name in the
Please select the User you would like to restore
box:
If your C2N contains backups created on for your user name, the
Please select the User
you would like to restore
box contains your user name, and, unless you change it, the
content to be restored will come from this user’s backup. The drop-down list contains
the names of all of the users that have been backed up on your C2N.
Copyright © 2010 Storage Appliance Corporation.
13