Removing/installing the lower plate, Removing/lnstalling the lower plate, Warning – Panasonic QUICKDRAW MC-V5340 User Manual
Page 13: Ncrlalrinv:i i lib iicaulluin i
Attention! The text in this document has been recognized automatically. To view the original document, you can use the "Original mode".
A
WARNING
Electrical Shock or Personal Injury Hazard.
When the lower plate is removed for any reason, before reinstalling, be sure
that all electncal wires are routed in a manner that prevents them from coming into
contact with the lower plate, lower plate screws, or any moving parts Be sure
the wires are not pinched in any way
when
the lower plate is reinstalled.
REMOVING/INSTALLING THE LOWER PLATE
Lower
P/ato
Before replacing any parts, disconnect the vacuun>
cleaner from the electrical outlet.
Replacing some of the parts in this section involves
the removal and installation of the lower plate
Always place paper under nozzle anytime the lower
plate IS removed to protect the floor surface
To Remove Lower Plate.
Start by placing the handle in the low position (See
the Handle Adjustments section ) Turn the vacuum
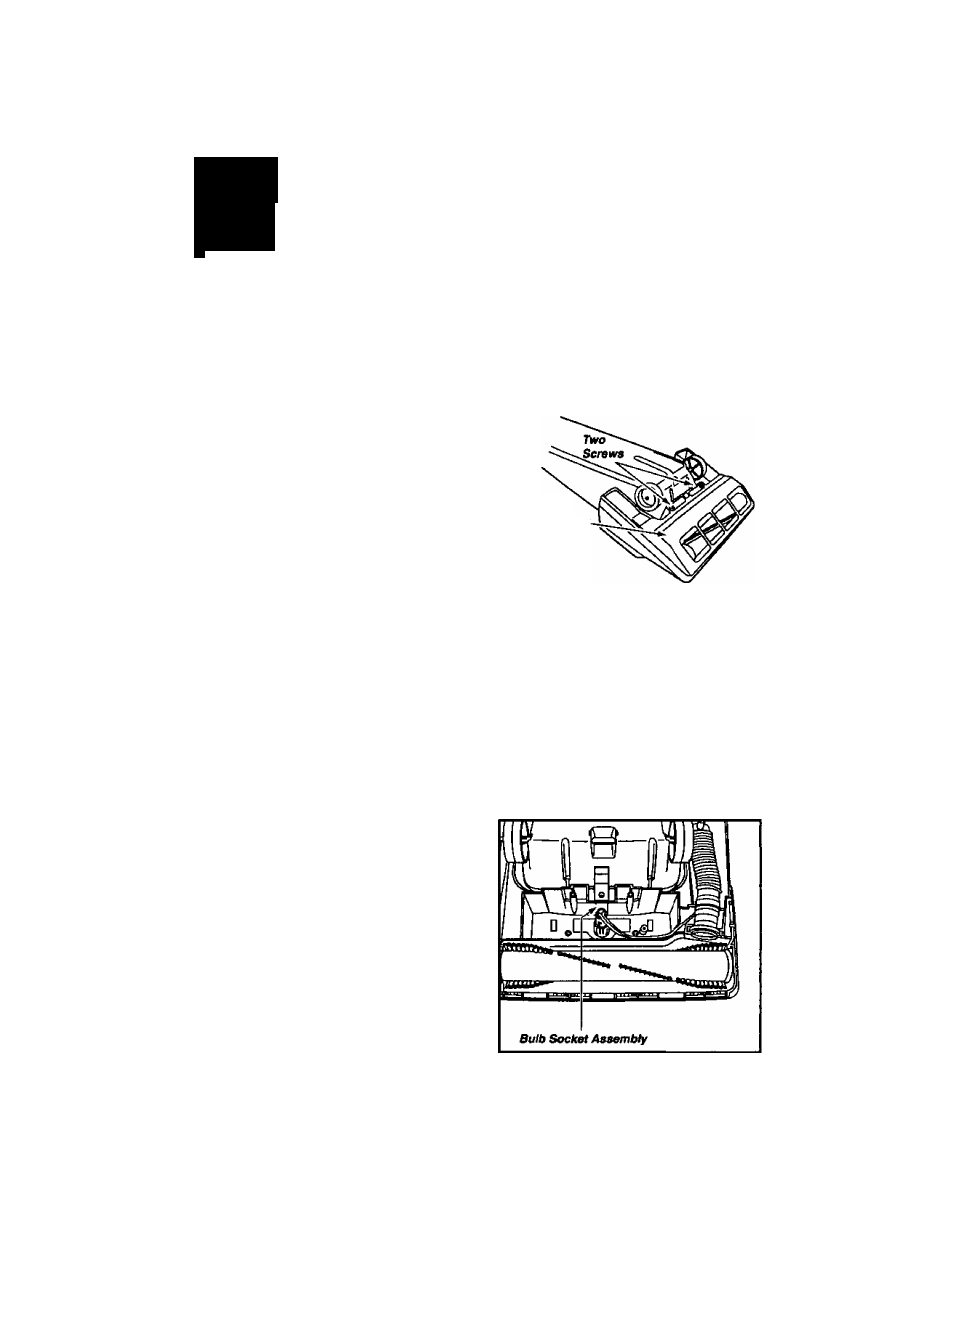
cleaner over, exposing the underside Release the
lower plate by removing the two (2) screws that secure
the lower plate Then remove the lower plate Brush or
remove any residue that may exist in the belt area
To Reinstall Lower Plate
Hook the front end of lower plate into the slots on the front end of the nozzle housing Then
press the lower plate into place and fasten it by replacing the two (2) lower plate screws
NOTE To insure maximum cleaning efficiency, the belt should be checked regularly to make
sure
It IS
in good condition Check to see if the belt is stretched, cracked, or if
excessive slippage has occurred Replace it if necessary
ncrLALriNv:i I lib iicAULluin I
d
UL
d
1 Remove the lower plate using the procedure
in the Removing/lnstalling the Lower Plate
section
2 Grasp the bulb socket, wiggle the socket back
and forth while pulling it up out of the nozzle
housing To remove the old bulb, push it in
toward the bulb socket while turning
counterclockwise, then remove
3. Install the new bulb by pushing it in toward
the bulb socket and turning it dockwise Use
any standard bayonet base appliance bulb
rated at 15 Watts
Caution: Do not use a bulb rated over
15 W Dunng extended use, heat from the
bulb could overheat surrounding plastic parts
4 Reinsert the bulb socket into the nozzle housing by pushing it back down into the slot
Replace the lower plate as outlined in the Removin^tnstalling the Lower Plate section
-
13
-