Panasonic DMC-FS5 User Manual
Page 81
Attention! The text in this document has been recognized automatically. To view the original document, you can use the "Original mode".
Advanced (Playback)
3
Press [MENU/SET] to close the menu.
•You cannot select [CANCEL] if not even one picture has been setter DPOF printing.
■ To print the date
After setting the number of prints, set/cancel printing with the recording date by pressing [DISPLAY],
•When you go to a photo printing store for digitai printing, be sure to order the printing of the
date additionally if required.
• Depending on the photo printing store or the printer, the date may not be printed even if you set
to print the date. For further information, ask at your photo printing store or refer to the
operating instructions for the printer.
•The date cannot be printed on pictures stamped with text.
• If you set [TEXT STAMP] for pictures that have been set for date printing, the date printing
setting is canceled.
' Note
•The number of prints can be set from 0 to 999.
•With a printer supporting PietBridge, the date print settings of the printer may take precedence
so check if this is the case.
• It may not be possible to use the DPOF print settings with other equipment. In this case, cancel
all the settings, and reset the settings.
• If the file is not based on the DCF standard, the DPOF print setting cannot be set.
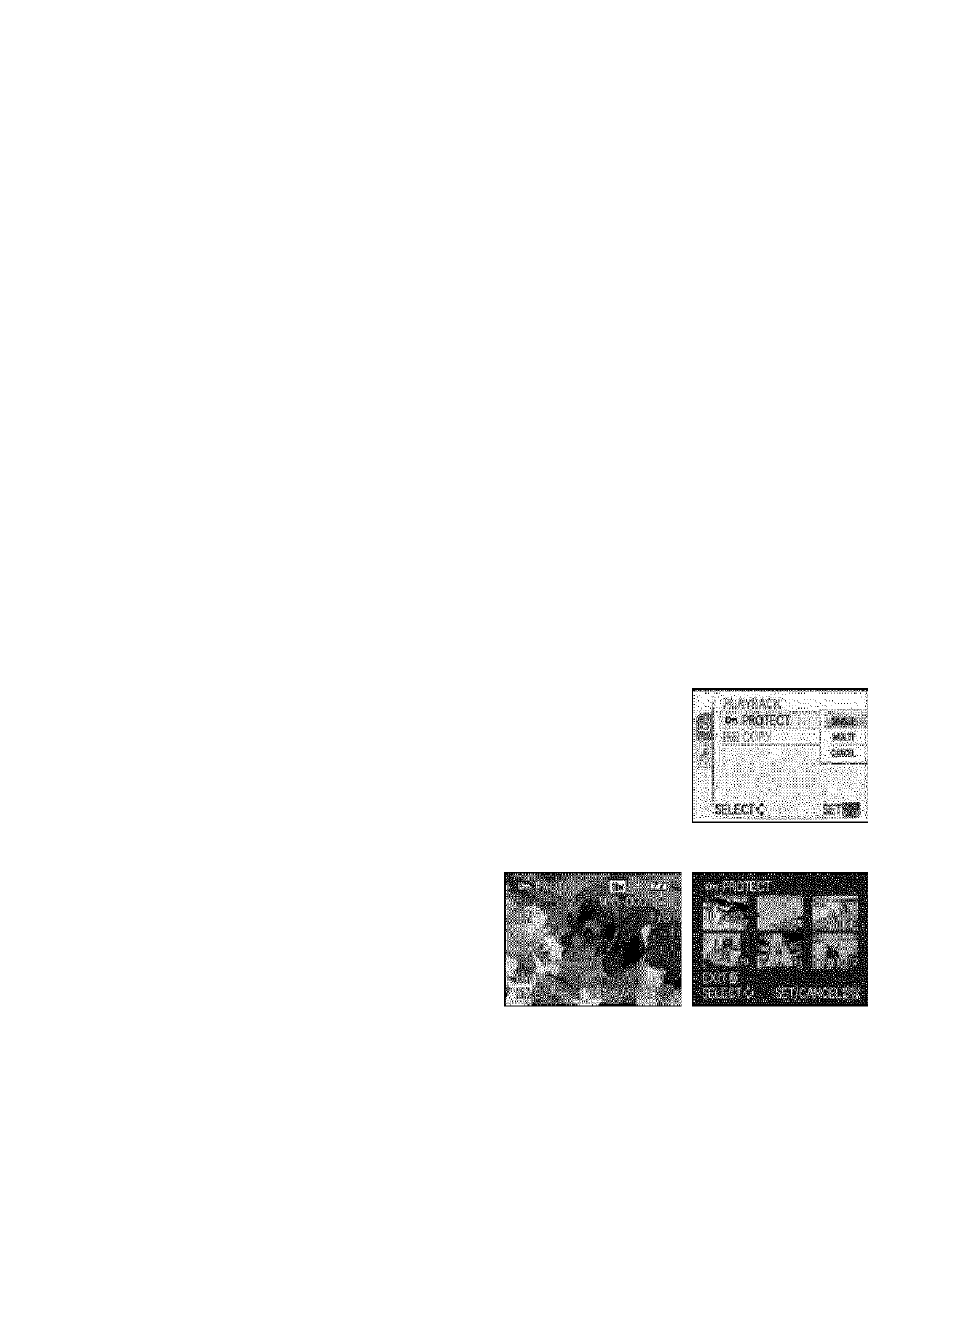
You can .set protection for pictuve.s you do not want to be deleted by mi.stake
Select [PROTECT] on the [PLAYBACK] mode menu. (P19)
Press
A/T
to select [SINGLE] or [MULTI] and then
press [MENU/SET].
Select the picture, and then press
[MENU/SET].
When [MULTI] has been selected
• Repeat these steps for each picture.
• The settings are canceled when [MENU/
SET] is pressed again.
[SINGLE]
[MULTI]
Press ◄/► to
select the picture.
Press A/T/A/^
to select the
pictures.
Press [ iS]] to return to the menu screen.
• Press [MENU/SET] to close the menu.
■ Canceling all the [PROTECT] settings
1
Select [CANCEL] on the screen shown in step 2 and then press [MENU/SET].
2
Press A to select [YES] and then press [MENU/SET].
VOTI M97
81