Tv/pc/dtv, Pc mode icons, Picture adjustments – Panasonic CT-3696VY-1 User Manual
Page 39: Picture norm, Color, tint, brightness, picture, and sharpness, Trilingual animated icons
Attention! The text in this document has been recognized automatically. To view the original document, you can use the "Original mode".
oTo
^
.... f:-.""^T'-......
W-
--^
■^r—^
P—----
n^-
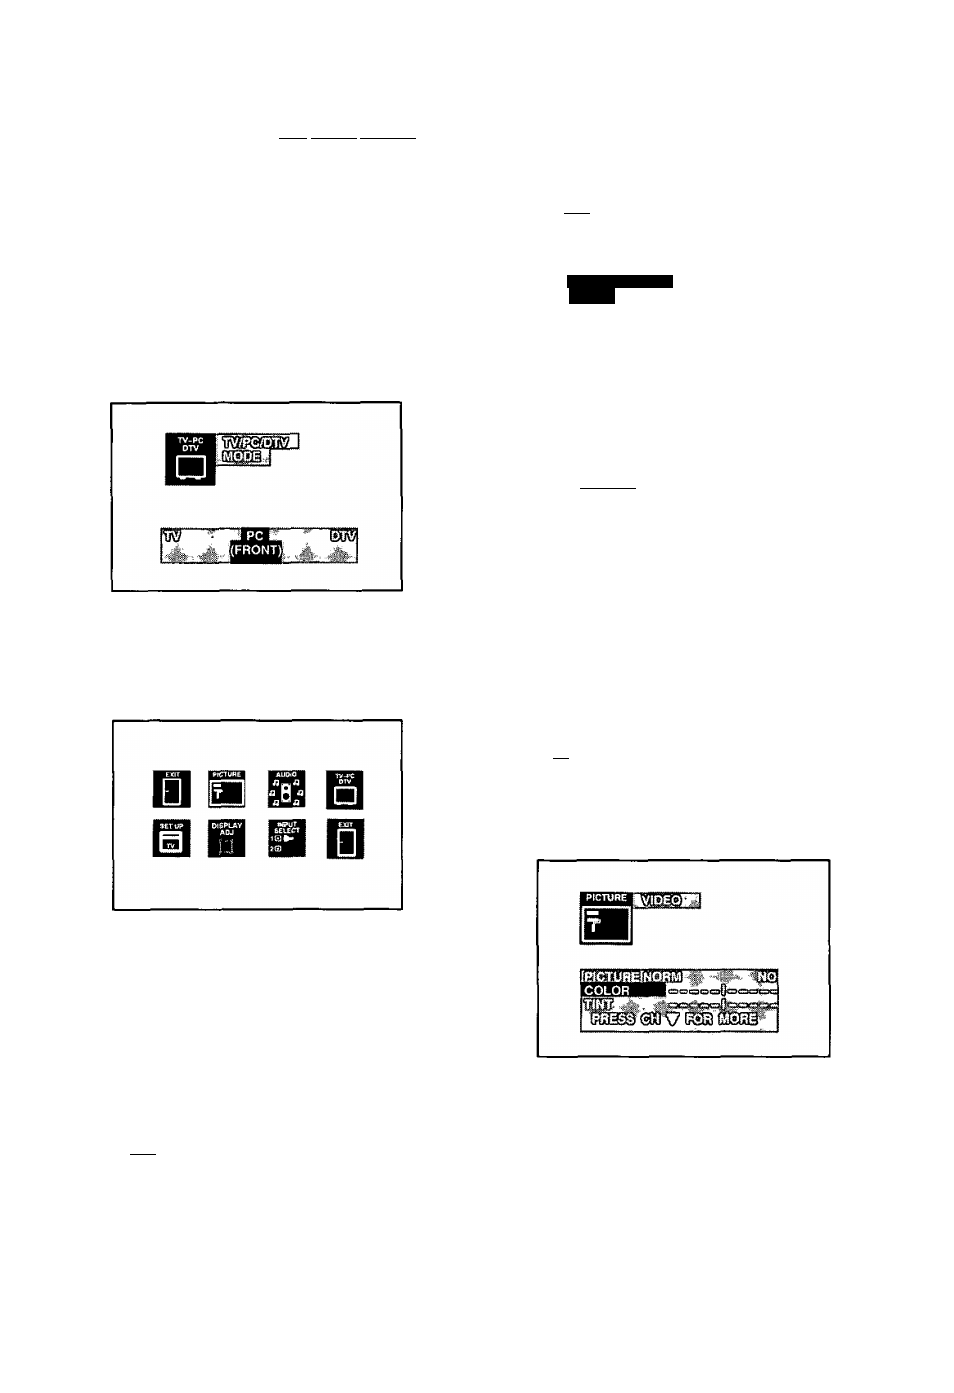
TV/PC/DTV
This feature is used to select the PC mode for monitor
display.
NOTE:
Connect a computer having a 15-pin output
terminal. If necessary, you can adjust the picture size and
position using the Display Adjust menu.
1. Press (^3 .
2. Press ^ or W and ^ or ^ to highlight the
TV/PC/DTV Icon.
3. Press to display the TV/PC/DTV MODE menu.
4. Press or^ to highlight PC (FRONT).
5. Press ^3) twice to exit menus.
Trilingual Animated Icons
PC Mode Icons
NOTE:
Only the selected icon (red) will be animated.
Picture Adjustments
Picture Norm
Use to reset Color, Tint, Brightness, Picture, and
Sharpness to the factory preset level for PC Mode only.
1. Press ^3.
2. Press ^ or Wand^ or ^ to highlight the Picture
Icon.
3. Press fejJ to display the VIDEO Adjustment menu.
H0!pfal Hint:
When there is no signal applied, the Icon menus in the PC and
DTV mode will appear small and distorted.
This is a normai condition
mm
PICTURE NORM
mmn
IZS
4. Press ^ or ^ to highlight PICTURE NORM.
5. Press or ^ to select "SET” to normalize Color,
Tint, Brightness, Picture, and Sharpness for the PC
mode.
6. Press the CE
ss
J) twice to exit menus.
Color, Tint, Brightness, Picture, and
Sharpness
Hel^ul Hints:
COLOR
- Adjust for desired color intensity.
TINT
- Adjust for natural flesh tones.
BRIGHTNESS
- Adjust so dark areas of picture slightly
become black for a crisp detail.
PICTURE
- Adjust the white areas of the picture as
desired.
SHARPNESS
- Adjust for best clarity of outline detail.
1. Press IS).
2. Press ^ or^ and or^ to highlight the Picture
Icon.
3. Press the
menu.
to display the VIDEO Adjustment
Press ^ or W to select the desired. Video
Adjustment (Color, Tint, Brightness, Picture, or
Sharpness).
Press ^ or ^ to adjust your selection. (The
selected Video Adjustment will be displayed.)
Repeat steps 4 and 5 for remaining Video
Adjustments.
Press ^3 twice to exit menus.
- 3 9 -