Leica Geosystems PlusDraw User Manual
Page 10
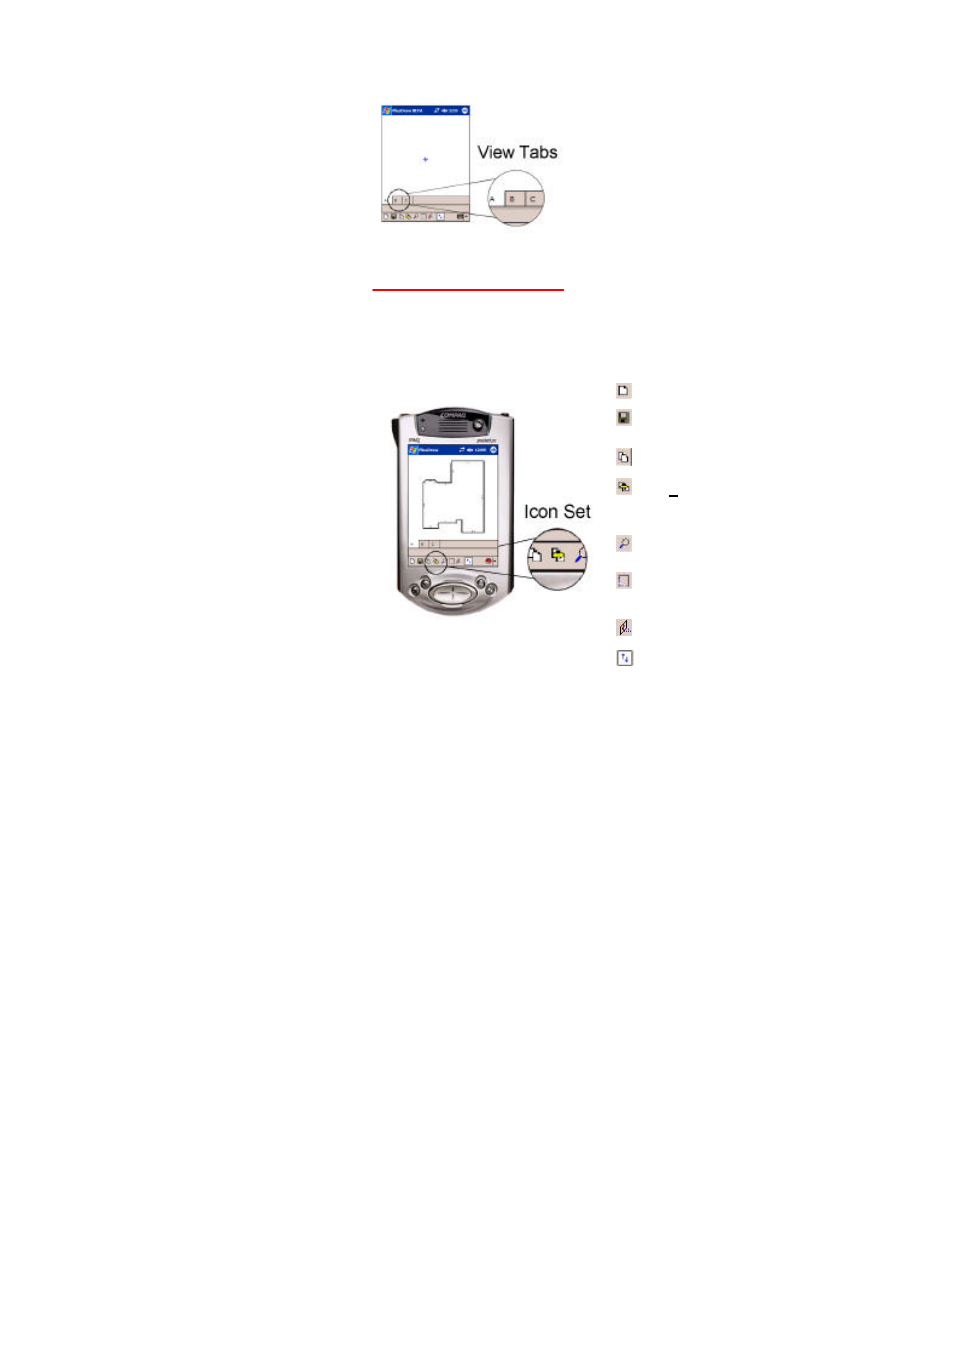
7
Tap on any tab shown in
Image 12
to display the corresponding view.
Tab A: Drawing View
This view will display the sketch based on measurements taken with the DISTO plus. Think of it
as the primary “sketching” view that displays a graphical representation of the area. Notice the
icon set on the bottom toolbar. These icons are tools that can be used while in any view.
Image 12
Image 13
Starts a new sketch file.
Saves the current sketch file using the current name or another
name.
Opens page management dialog.
Exports all sketch pages to image files and their data to Pocket
Excel
®
files. The button remains depressed until the images and data
have been exported. See the section titled Saving and Exporting Files
for more information.
Use this icon to zoom in or out on the sketch in specified
increments from 75% to 400%.
Tap to quickly close a rectangle. If the result is a rectangle, the
last two lines will be drawn automatically. Otherwise, the line needed to
close the area will be automatically drawn.
Opens wall height input dialog.
Toggles the Help/Status bar on/off. The status bar displays
measurement inputs when using the PlusDraw Keypad (
Image 26
).