Prepare the burner – Beckett SM User Manual
Page 7
7
SF/SM Burner Manual
Install burner nozzle (if not already installed)
Exhaust fans and other air-using devices
Size air openings large enough to allow for all air-
using devices in addition to the minimum area required
for combustion air. If there is any possibility of the
equipment room developing negative pressure (because
of exhaust fans or clothes dryers, for example), either
pipe combustion air directly to the burner or provide a
sealed enclosure for the burner and supply it with its own
combustion air supply.
Clearances to burner and appliance
Provide space around burner and appliance for easy
service and maintenance.
Check minimum clearances against those shown
by the appliance manufacturer and by applicable
building codes.
Combustion chamber — Burner retrofi tting
Verify that the appliance combustion chamber provides
at least the minimum dimensions given in Table 3.
○
○
Prepare the Burner
Burner fuel unit
Verify that the burner fuel unit is compatible with the
oil supply system. For more details, refer to the pump
manufacturer’s instructions provided with the burner.
Attach air tube (if not already installed)
If using a fl ange and gasket, slide them onto the air tube.
Then attach the air tube to the burner chassis using the
four sheet metal screws provided. Refer to Figure 4 for
details.
Remove the plastic plug protecting the nozzle
adapter threads
Place a ¾” open-end wrench on the nozzle adapter.
Insert the nozzle into the adapter and fi nger tighten.
Finish tightening with a ⅝” open-end wrench. Use
care to avoid bending the electrodes.
If the nozzle is already installed, remove the nozzle
line assembly to verify that the nozzle size and
spray pattern are correct for the application (per
appliance manufacturer’s information). Verify that
the electrode tip settings comply with Figure 3.
If the nozzle is not installed, obtain a nozzle
having the capacity and spray angle specifi ed
in the appliance manufacturer’s information. For
conversions or upgrades, when information is not
available for the application:
Refer to Table 5 to select the mid-range nozzle
spray angle for the head type being used.
Fire the burner and make sure the combustion
is acceptable and the fl ame is not impinging on
chamber surfaces.
If a shorter fl ame is needed, select a wider spray
angle. If a longer fl ame is needed, select a
narrower spray angle.
Either hollow or solid spray patterns may be
used. If combustion results are not satisfactory
with the selected spray pattern, try the other
pattern.
1.
2.
3.
4.
○
○
○
○
Section: Prepare the Burner
Protect Steel Combustion
Chamber From Burnout
Failure to comply could result in damage to the heating
equipment and result in fi re or asphyxiation hazards.
When retrofi tting appliances that have unlined
stainless steel combustion chambers, protect the
chamber by lining the inside surfaces with a ceramic
fi ber blanket, such as a wet-pac or other suitable
refractory material.
Some steel chambers may not require liners
because the appliance was designed and tested
for use with fl ame retention burners. Refer to the
manufacturer’s instructions.
y
y
Correct Nozzle and Flow
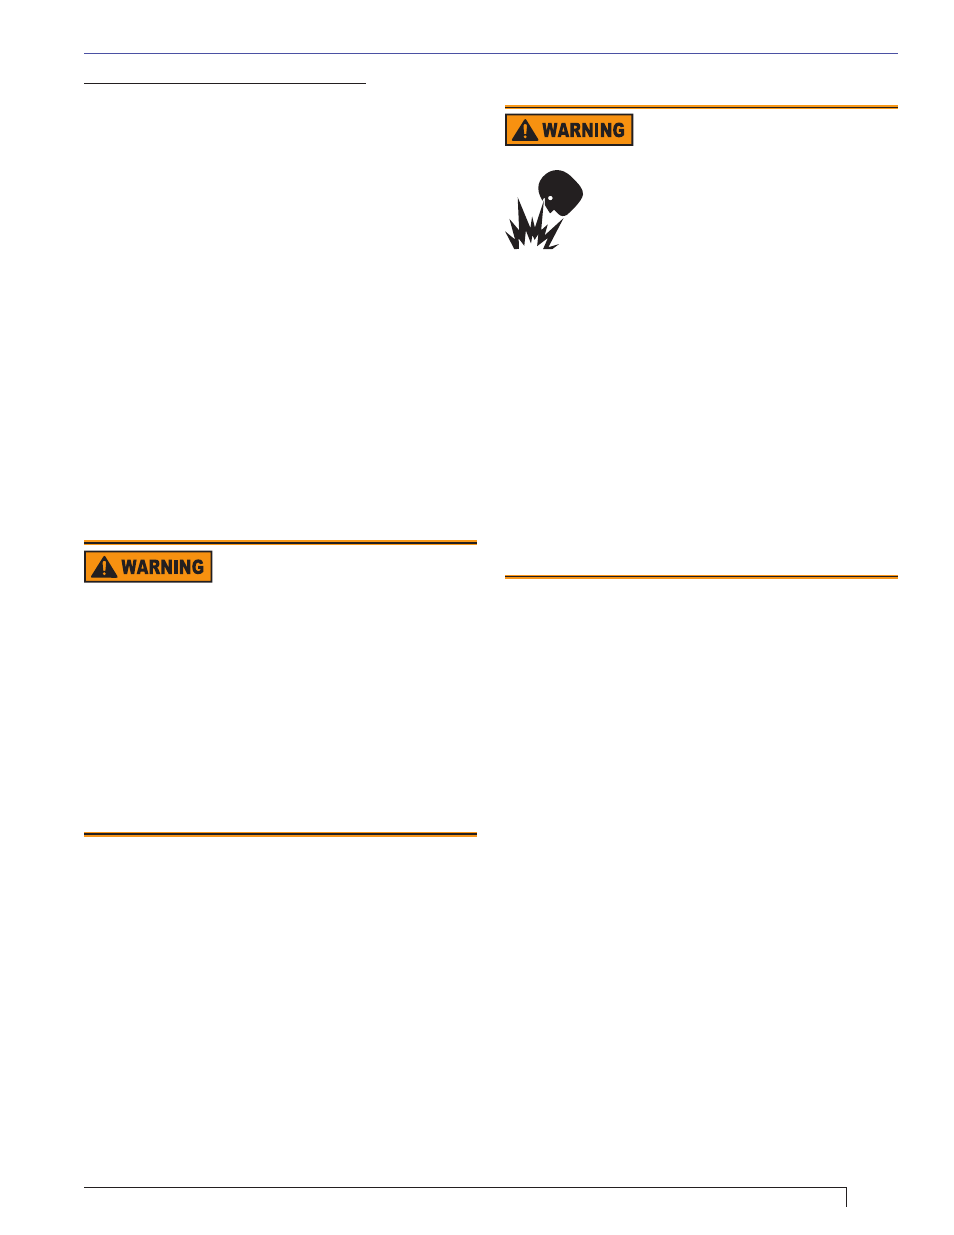
Rate Required
Incorrect nozzles and fl ow rates could
result in impaired combustion, under-
fi ring, over-fi ring, sooting, puff-back of
hot gases, smoke and potential fi re or
asphyxiation hazards.
Use only nozzles having the brand, fl ow rate (gph),
spray angle and pattern specifi ed by the appliance
manufacturer.
Follow the appliance manufacturer’s specifi cations for
the required pump outlet pressure for the nozzle, since
this affects the fl ow rate.
Nozzle manufacturers calibrate nozzle fl ow rates at
100 psig.
When pump pressures are higher than 100 psig, the
actual nozzle fl ow rate will be greater than the gph
stamped on the nozzle body. (Example: A 1.00 gph
nozzle at 140 psig = 1.18 gph)
Securely tighten the nozzle (torque to 90 inch pounds).
For typical nozzle fl ow rates at various pressures refer
to Table 4.
y
y