Rane RPM 2 User Manual
Page 9
Drag Net Quick Start-3
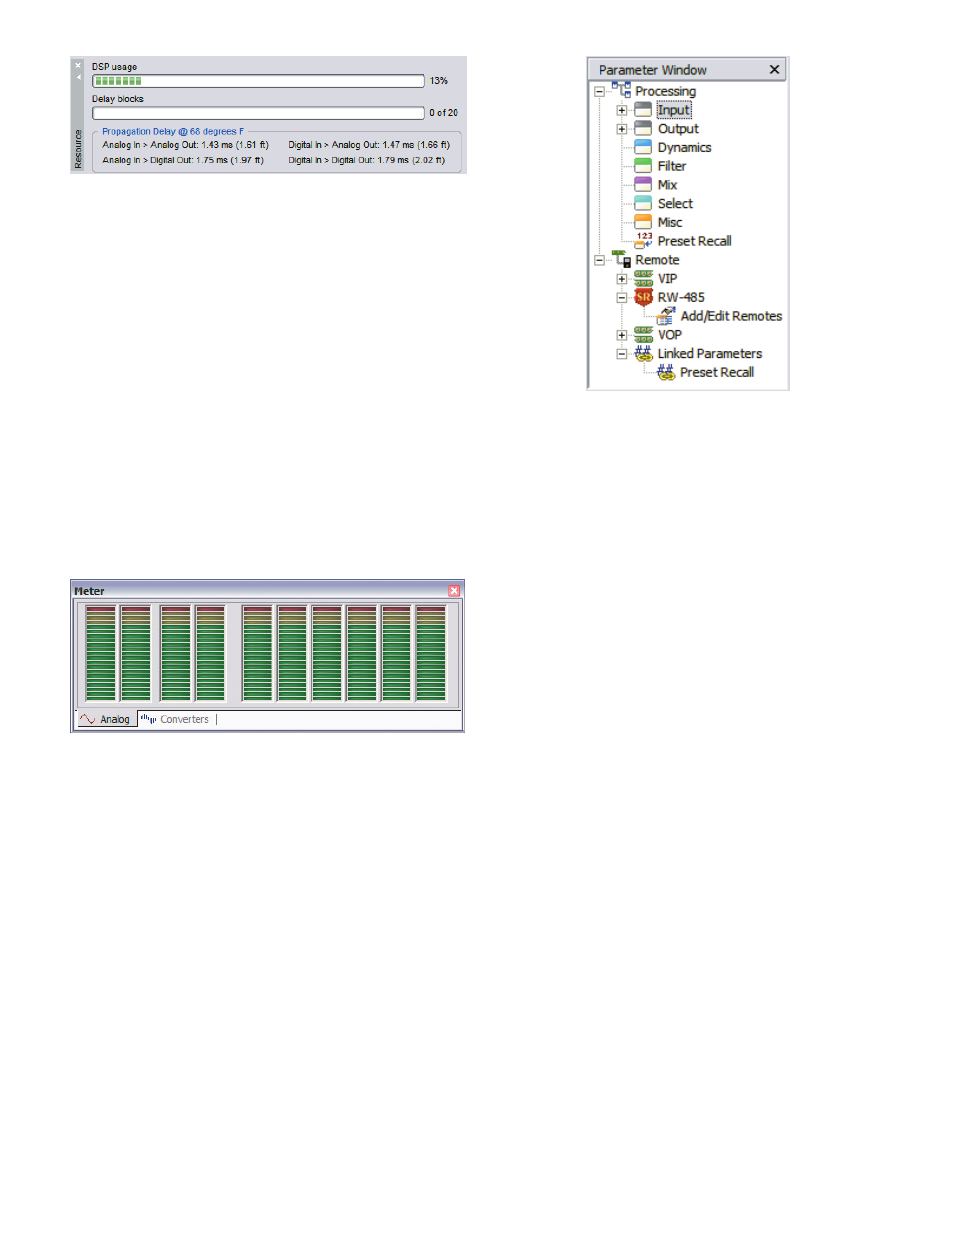
The Resource Window displays usage information specific to
the hardware device you're working with. The DSP usage meter
indicates the amount of DSP "horsepower" used by the current
configuration, and is always accurate. There is no need to hit a
“compile” button, since Drag Net automatically compiles on the
fly as you work. It is possible to exceed 100% DSP usage when
developing Storage configurations, but it is not possible to trans-
fer the Storage configuration to a Live device. The Delay blocks
meter indicates the amount of audio delay memory used in the
current configuration. Audio delay memory differs from memory
used by other signal processing functions; thus, it is given its
own meter.
Propagation delay (latency) statistics for both the analog
I/O and the AES3 digital Input are also displayed in the Re-
source window. The propagation delay varies slightly with the
quantity of signal processing blocks used in the configuration.
Importantly, the propagation delay for all analog I/O is forced to
be the same (referred to as “Delay Compensation”), in order to
maintain the relative timing between input signals (unless you
add a Delay block to the signal path, of course).
The Meter Window provides two tabbed views of all input and
output levels of a Live device. The Analog tab shows the calcu-
lated level, in dBu, at each analog input and output.
The Converters tab displays the dB Full Scale (dBFS) read-
ing immediately after the input A/D converters and immediately
before the output D/A converters. The AES3 digital input meter
(dBFS) is displayed in both views.
The number of meters provided varies with device type. Me-
ters are only active when working with a Live device.
The Parameter Window displays a tree structure view of all
signal processing and control blocks used in the active Device
Configuration. It is organized by block type (Input, Output,
Dynamics, Filter, etc.), with individual parameters appearing as
sub-entries beneath each block entry.
Individual parameters within a block are prefaced with “##”.
The Parameter window is primarily used to set up associa-
tions between parameters and remote control devices (VIP pins,
Smart Remotes).
Other things you can do with the Parameter window:
• Double-click any entry to view its Properties dialog.
• Drag-and drop entries from the Parameter window into the
Preset window to quickly build Presets.
• Edit VIP Properties.
• Add or Edit RW 485 Smart Remotes.
• Edit VOP Properties.
Handy tip: The Parameter window supports multi-select oper-
ations. Simply ctrl-click or shift-click multiple entries to perform
the same action for the entire selection – add a range of blocks to
the Preset window, for example. Alternately, you can select a top
level block – the Input block, for example – and perform actions
on all related sub-entries.