Nexen RPS16G-C0070T/360-EP2U 966554 User Manual
Page 12

FORM NO. L-21252-B-1209
12
Table 5
Pinion Fasteners
Tightening Torque
Nm [in-lb]
RPG 16 (M3x0.5-APEX)
1.5 [13]
RPG 16 (M4x0.7)
5.3 [47]
RPG 20 (M5x0.8)
10 [88]
RPG 25 (M6x1.0)
17.5 [155]
RPG 32 (M6x1.0)
17.5 [155]
RPG 40 (M8x1.25)
40 [354]
RPG 4014 (M10x1.5)
70 [620]
8. If the measured total indicator variance of the adapter
pilot bore is greater than 0.008 mm [0.0003 in], tap
gently on the O.D. of the adapter using a soft hammer
at the angular location in which the lowest reading
occurred. Doing this will shift the center of the adapter
closer to the center of rotation.
9. Repeat steps 7 and 8 until the total measured amount
of indicator variance is 0.008 mm [0.0003 in] or
less.
10. Tighten the mounting screws to 50% of the specified
torque specified in Table 4 in a star pattern that
allows for an even distribution of axial clamping force.
Then repeat the tightening pattern with 100% of the
recommended torque.
11. Re-torque the mounting screws once more to the
full-specified torque value in Table 4 to ensure full
torque has been reached on all fasteners. Tighten in
the same order as above.
12. Repeat inspection Step 7 and verify the variance listed
in Step 8 is achieved after fully torquing the adapter. If
variance is out of specifications the adapter should be
removed inspecting for contaminates, burs, or surface
defects that would interfere with full contact between
the adapter and gearhead flange. In some cases
indexing the adapter relative to the gearhead flange
can be helpful. Then repeat the adapter installation
procedure starting with Step 6.
Adapter Fasteners
Tightening Torque
Nm [in-lb]
ISO 16/20 (M5x0.8)
6.5 [58.08]
ISO 16/25 (M6x1.0)
11.5 [78]
ISO 20/25 (M6x1.0)
11.5 [78]
ISO 20/32 (M6x1.0)
11.5 [78]
ISO 32/40 (M8x1.25)
26 [156]
ISO 40/4014 (M10x1.5)
46 [273]
Table 4
Figure 15
13. Clean the pinion flange and pilot where it will contact
the adapter (if used) or gearhead flange inspecting
for contaminates, burs, or surface defects that would
interfere with full contact between the pinion and
adapter (if used) or gearhead flange.
14. Apply a serviceable thread locking compound to the
pinion mounting screws and assemble the pinion to
the adapter (if used) or gearhead, leaving the mounting
screws snug but do not tighten at this time.
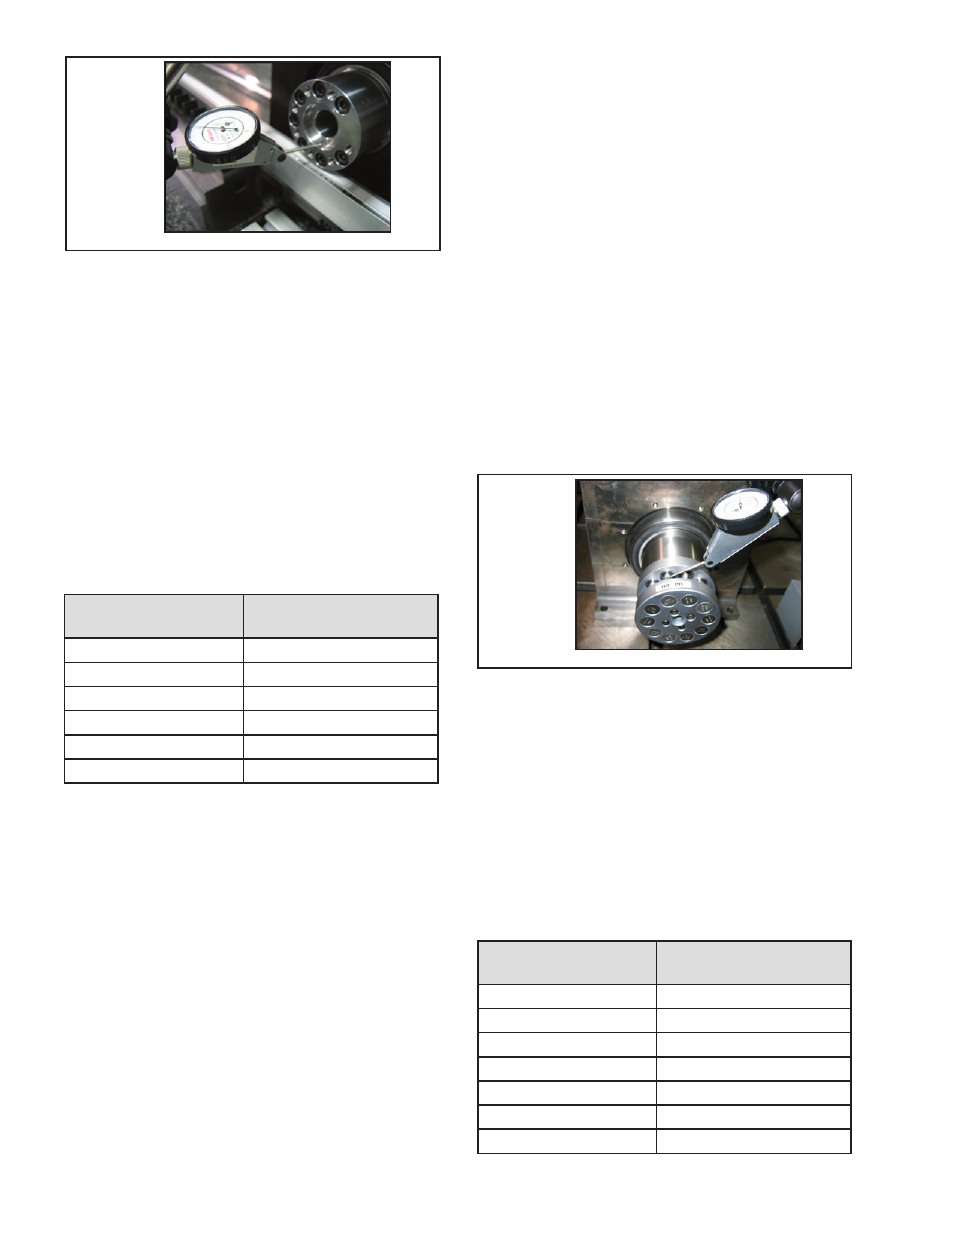
15. Position a test indicator on the center of the pinion
rollers as shown in Figure16 and zero the indicator.
Rotate pinion a minimum of one complete revolution
by turning the gearhead input shaft while noting the
amount of total indicator variance and mark the angular
location on the pinion shoulder in which the highest
reading occurs throughout the rotation. When the
pinion is properly centered the concentric variation
at the center of the pinion rollers must be less than ±
0.030 mm [± 0.0010 in].
Figure 16
If the measured total indicator variance of the pinion
rollers is greater than ± 0.030 mm [± 0.0010 in], tap
gently on the O.D. of the pinion using a soft hammer
at the angular location in which the highest reading
occurred. Doing this will shift the pinion center closer
to the center of rotation.
16. Tighten the mounting screws to 50% of the specified
torque specified in Table 5 below in a star pattern that
allows for an even distribution of axial clamping force.
Then repeat the tightening pattern with 100% of the
recommended torque in Table 5.
- RPS25G-C0075T/360-EP2U 966564 RPS16G-C0060T/360-EP2U 966553 RPS25G-C0060T/360-EP2U 966563 RPS32G-B0760T/009-EP2U 966778 RPS16G-C0050T/360-EP2U 966552 RPS25G-C0050T/360-EP2U 966562 RPS16G-C0040T/360-EP2U 966551 RPS25G-C0040T/360-EP2U 966561 RPS40G-B0048T/360-EP2U 966764 RPS32G-B0048T/360-EP2U 966636 RPS25G-C0030T/360-EP2U 966560 RPS16G-C0030T/360-EP2U 966550 RPS32G-B0450T/14.4-EP2U 966763 RPS40G-B0200T/020-EP2U 966549 RPS20G-C0150T/060-IP2U 966614 RPS16G-C0936T/010-EP2U 966555 RPS25G-C0486T/020-EP2U 966739 RPS4014G-B0072T/090-EP2U 966696 RPS16G-C0400T/023-EP2U 966655 RPS20G-C0180T/060-EP2U 966733 RPS16G-C0150T/091-EP2U 966657 RPS16G-C0150T/072-EP2U 966667 RPS20G-C0140T/072-EP2U 966705 RPS4014G-B0192T/023-EP2U 966725
