Caution, Warning – Bradford White M-I-MS40T6LX User Manual
Page 12
12
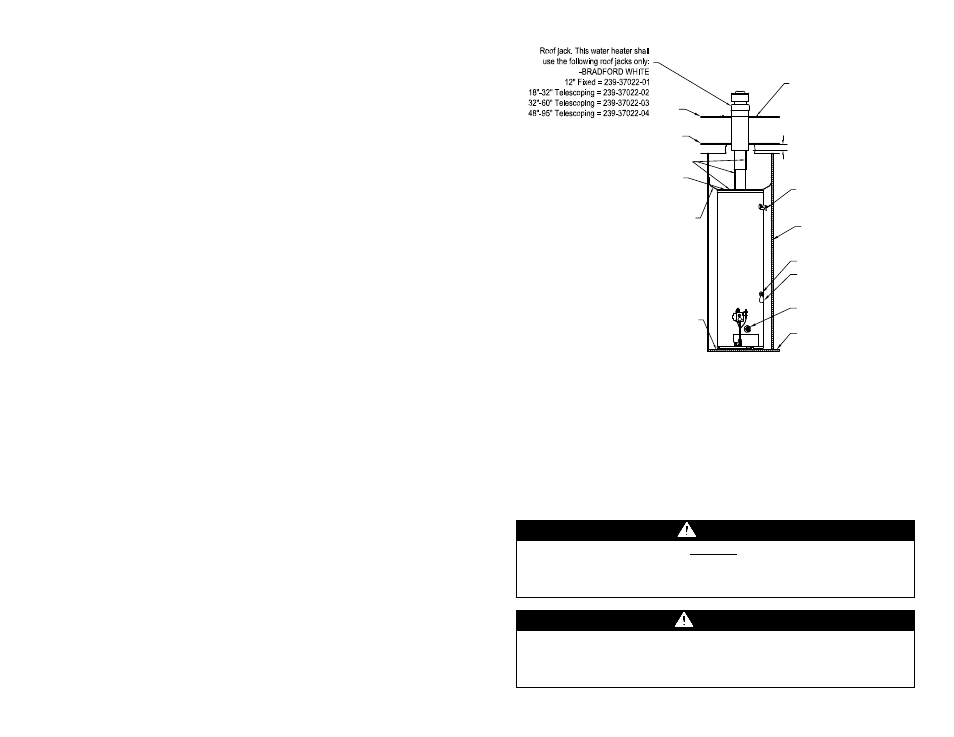
Installation (Venting) continued-
Figure 5
Water Connections
NOTE: BEFORE PROCEEDING WITH THE INSTALLATION, CLOSE THE
MAIN WATER SUPPLY VALVE.
After shutting off the main water supply, open a faucet to relieve the water line
pressure to prevent any water from leaking out of the pipes while making the
water connections to the water heater. After the pressure has been relieved,
close the faucet. The COLD water inlet and HOT water outlet are identified on
the top of the water heater. The fittings at the cold water inlet and hot water
outlet are dielectric waterway fittings with 3/4” NPT male thread. Make the
proper plumbing connections between the water heater and the plumbing
system to the house. Install a shut-off valve in the cold water supply line.
CAUTION
If sweat fittings are to be used, DO NOT apply heat to the nipples on top
of the water heater. Sweat the tubing to the adapter before fitting the
adapter to the water connections. It is imperative that heat is not
applied to the nipples containing a plastic liner.
WARNING
FAILURE TO INSTALL AND MAINTAIN A NEW, LISTED 3/4” X 3/4”
TEMPERATURE AND PRESSURE RELIEF VALVE WILL RELEASE
THE MANUFACTURER FROM ANY CLAIM WHICH MIGHT RESULT
FROM EXCESSIVE TEMPERATURE AND PRESSURES.
Cold water inlet
Drain Valve
Gas Conversion package
Floor
Ceiling
Roof
Enclosure
2" (5.1cm) REF
Fasten water heater
base to the floor with
screws provided.
Perforated straping (shipped
in carton) secure to enclosure
walls and to top of heater.
Roof flashing (secure per
instructions supplied)
Hot water outlet
Silicone Bands
Temperature &
Pressure Relief Valve