Manhattan LCD HD089B&C Version 1 User Manual
Page 5
5
© 2011 Manhattan LCD LLC. - All Rights Reserved
Section: Basic Monitor Adjustments
Power
Power
Power
Powering
ing
ing
ing
on
on
on
on
the
the
the
the Monitor
Monitor
Monitor
Monitor:
:
:
:
Insert 12V regulated power source via connector into the 12V DC socket. A RED LED will
indicate power is reaching the monitor. If RED LED fails to light, trouble shoot the power adapter or
battery. The screen will be BLACK until you press the POWER button on the monitor or the
remote. When the monitor is powered on the LED status indicator should be green and the monitor
will display the Manhattan LCD logo for 1
second and then switch to a solid blue
screen. (May display a black screen on
certain firmware revisions)
Selecting an
Selecting an
Selecting an
Selecting an
Input:
Input:
Input:
Input:
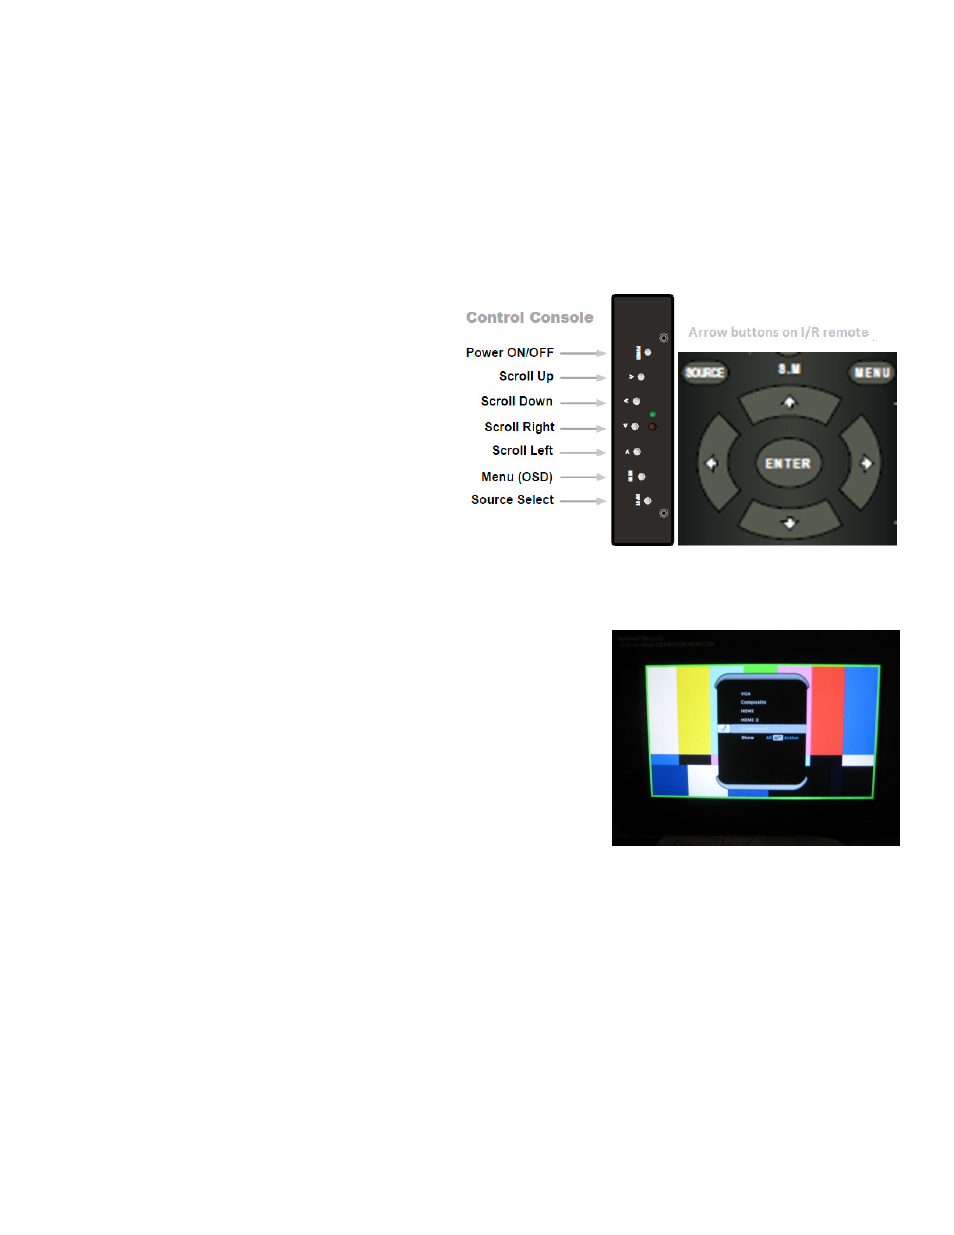
Using the Control console located on the left
side of the monitor press the INPUT button.
Use the ^
^
^
^
v
v
v
v buttons located just under the
POWER button and scroll to the appropriate
input. Press the INPUT button to select and
activate the input.
Using the remote control unit with two AAA batteries installed,
point the remote at the Monitor Console’s IR port (beneath
LED indicator) and press the Source Button use the U
U
U
Up &
p &
p &
p &
D
D
D
Down
own
own
own arrows to scroll to the appropriate input and the enter
key to select the input.
Navigating
Navigating
Navigating
Navigating
the menu system:
the menu system:
the menu system:
the menu system:
***NOTE***
you must be on an input that is receiving a video
signal to make any changes to any options.
Using the Control console located on the left side of the monitor press the Menu button. To
scroll between Picture, Img.Adj, & Setup tabs use the ><
><
><
>< buttons located above the MENU key.
Use the ^
^
^
^
v
v
v
v buttons located just under the POWER button to scroll within a menu tab. To adjust a
specific field use the ><
><
><
>< buttons located above the MENU key to apply your changes and go up a
level press the MENU button again to save your changes and go up a level and MENU button once
more to exit the menu.
Using the I/R remote control unit with two AAA batteries installed, point the remote at the Monitor
Console’s IR port (beneath LED indicator) and press the MENU Button use the up & down arrows
to scroll to the appropriate input and the enter key to select the input. To scroll between Picture,
Img.Adj, & Setup tabs use the Left
Left
Left
Left
& R
& R
& R
& Right
ight
ight
ight arrow
buttons located under the MENU key. Use the Up
Up
Up
Up