Gastroback 46010 Design Vacuum Sealer User Manual
Page 7
Sealing the plastic bag
ATTENTION: Only use the provided foil for vacuum
sealing food. Any other plastic bags melt on the sealing
band. Leftover plastic on the sealing band would damage
the band and the vacuum procedure.
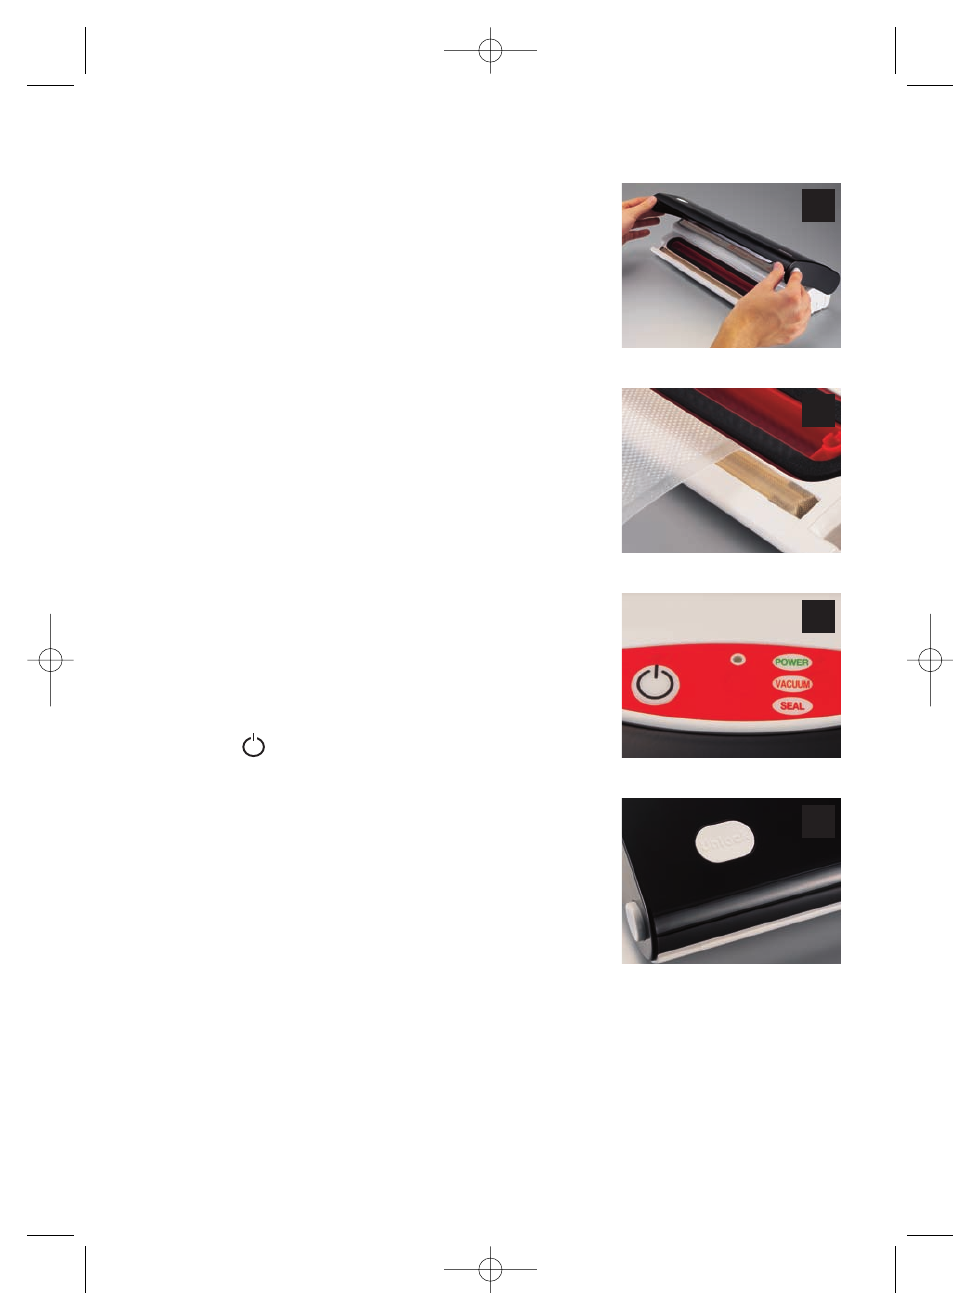
1. Get the appliance ready for use. Press the
lock/release buttons on the sides of the lid simultaneously
to open the lid (picture D). Ensure the sealing band is clean
and no foreign substance is on the heating surface.
2. Take the roll of foil and cut a piece of foil to a desired
length (not too short!). IMPORTANT: Make sure to have
approximately 8 cm of foil above the food to be able to
seal the bag.
3. Place one open end of the foil on the sealing band
(picture E). The end of the foil does not need to extend
into the vacuum chamber because we do not need to
generate vacuum for sealing the bottom of the plastic
bag. The smooth surface of the foil should face upwards.
4. Close the lid and ensure that the lid is securely locked
and the lock has snapped in (you will hear a clicking sound
when the lid snaps in). The appliance is now ready for use.
5. Press the - button (picture F). The appliance starts to
operate. First the control light starts blinking orange and
shortly after blinks red. The red light indicates that the
appliance is in the sealing mode. The bottom is sealed
when the indicator light constantly shows a green light.
6. Press the unlock button on the lid to release the vacuum
pressure (picture G). Press the lock/release buttons on the
sides of the lid simultaneously to open the lid (picture D)
and take out the foil.
ATTENTION: The sealing band gets hot during the sealing process. Beware touching
the hot sealing band with any parts of your body or heat-sensitive items.
7. Check if the weldseam is even. The bottom of the bag is sealed and leak-proof
when you see a smooth line with no interruption of a pattern on the seam.
22
D
E
F
G
46010_DesignVakuumierer_Manual.qxp 30.01.2007 10:56 Seite 22