Knowing your design vacuum sealer, Ab c – Gastroback 46010 Design Vacuum Sealer User Manual
Page 6
21
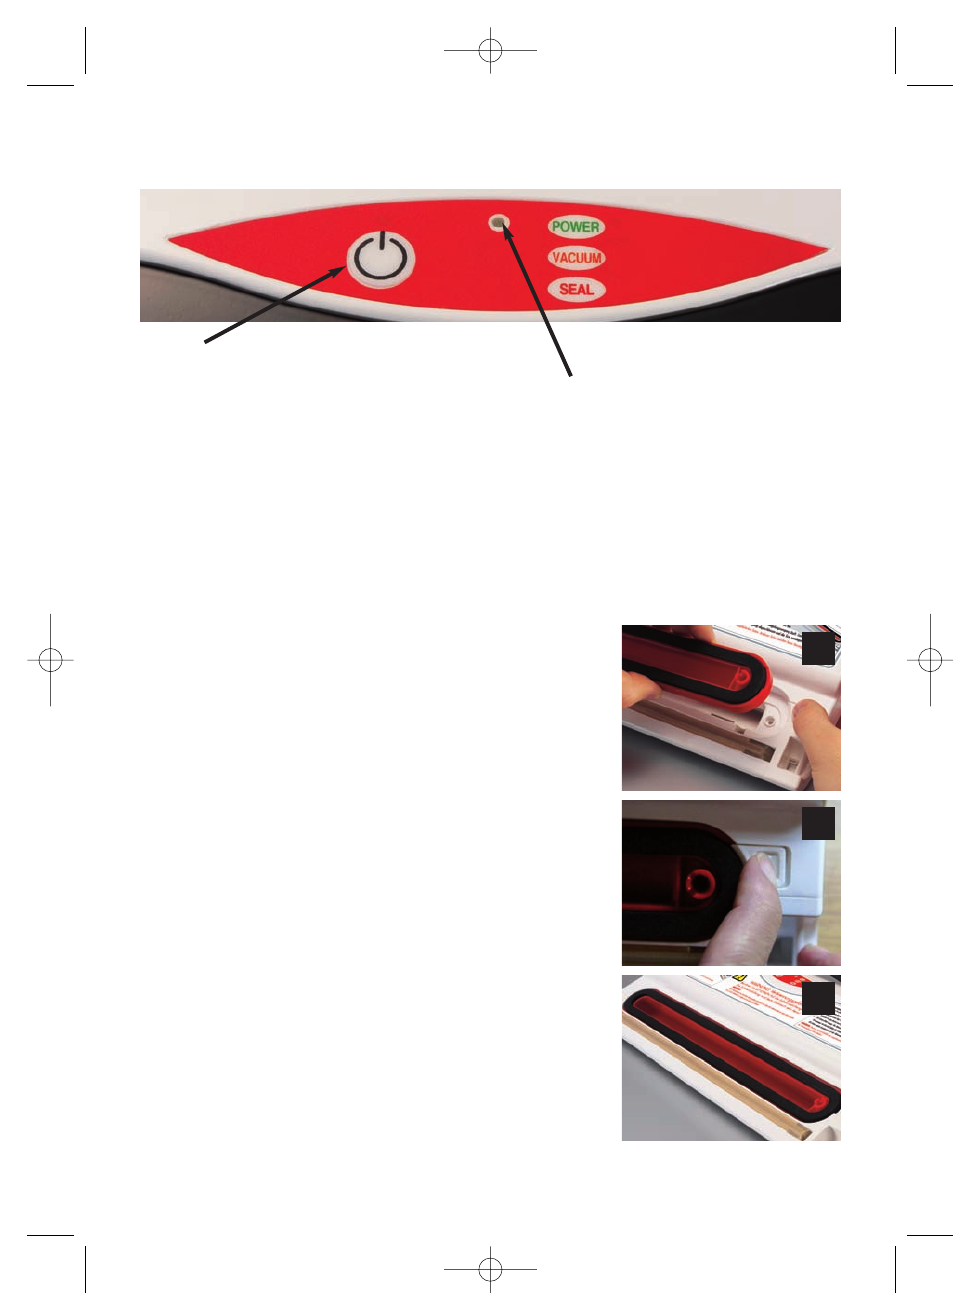
On-Switch
Netcontrol light (green: ready for use)
control light:
green:
signals that the appliance is ready for use
After pressing the On-Switch:
control light blinks orange:
removing the air of the plastic bag
control light blinks red:
sealing the plastic bag
control light is constant green:
vacuum procedure is finished
Knowing your Design Vacuum Sealer
Getting the appliance ready for use
1. Remove all promotional materials and packing and place
the appliance on a convenient dry surface (explained in
the safeguards). Ensure you have enough space in front
off the appliance to lay down the plastic bag.
2. Pay attention that the vacuum chamber is properly
assembled. For successful operation the security lock of
the vacuum chamber has to be properly locked. The
lock has to be positioned fully on the left side (picture C).
If the appliance is not properly assembled the appliance
can not generate a vacuum.
3. Ensure that the gaskets and the grommet (on the lid) are
properly assembled. The gaskets have to lay properly inside
the guiding channel and the edges of the gaskets
should not overlap the channel (picture C).
4. Connect the appliance directly to a mains power supply
wall socket with protective conductor (earth/ground;
220/240 V, 50 Hz, AC, rated for 16 A).
The green indicator light
will turn on as soon as the plug is connected to the
power outlet. The appliance is now ready for use.
A
B
C
46010_DesignVakuumierer_Manual.qxp 30.01.2007 10:55 Seite 21