Assembling for making kebbe – Gastroback 41406 Design Mincer Electronic Pro User Manual
Page 10
32
2. Take the adaptor disc. The small end with the recess has to face the worm when
attaching. If necessary turn the adaptor disc a little bit until the arresting pin of the
worm housing locks precisely into the corresponding recesses of the adaptor disc.
IMPORTANT: If the tools overlap the edges of the worm housing the worm is not
placed all the way inside of the worm housing. Turn the worm a little bit to make it
fit inside but do not use force. If mounted correctly the adaptor disc is flush with the
front of the worm housing and the axis of the worm pokes out 2 mm of the adaptor disc.
3. Place the sausage attachment on the worm housing and fit
the closure ring over the sausage attachment (picture J). Firmly
screw the closing ring on the worm housing and tighten by hand.
ATTENTION: Do not use any tools, for tightening the screw and pay attention not to
cant the screw. If the screw cants the screw thread gets damaged. If the screw does
not turn easily put some sunflower oil (or other edible oil) on the screw.
4. Refer to ´Assembling for mincing` step 3 for further steps for assembling.
Assembling for making Kebbe
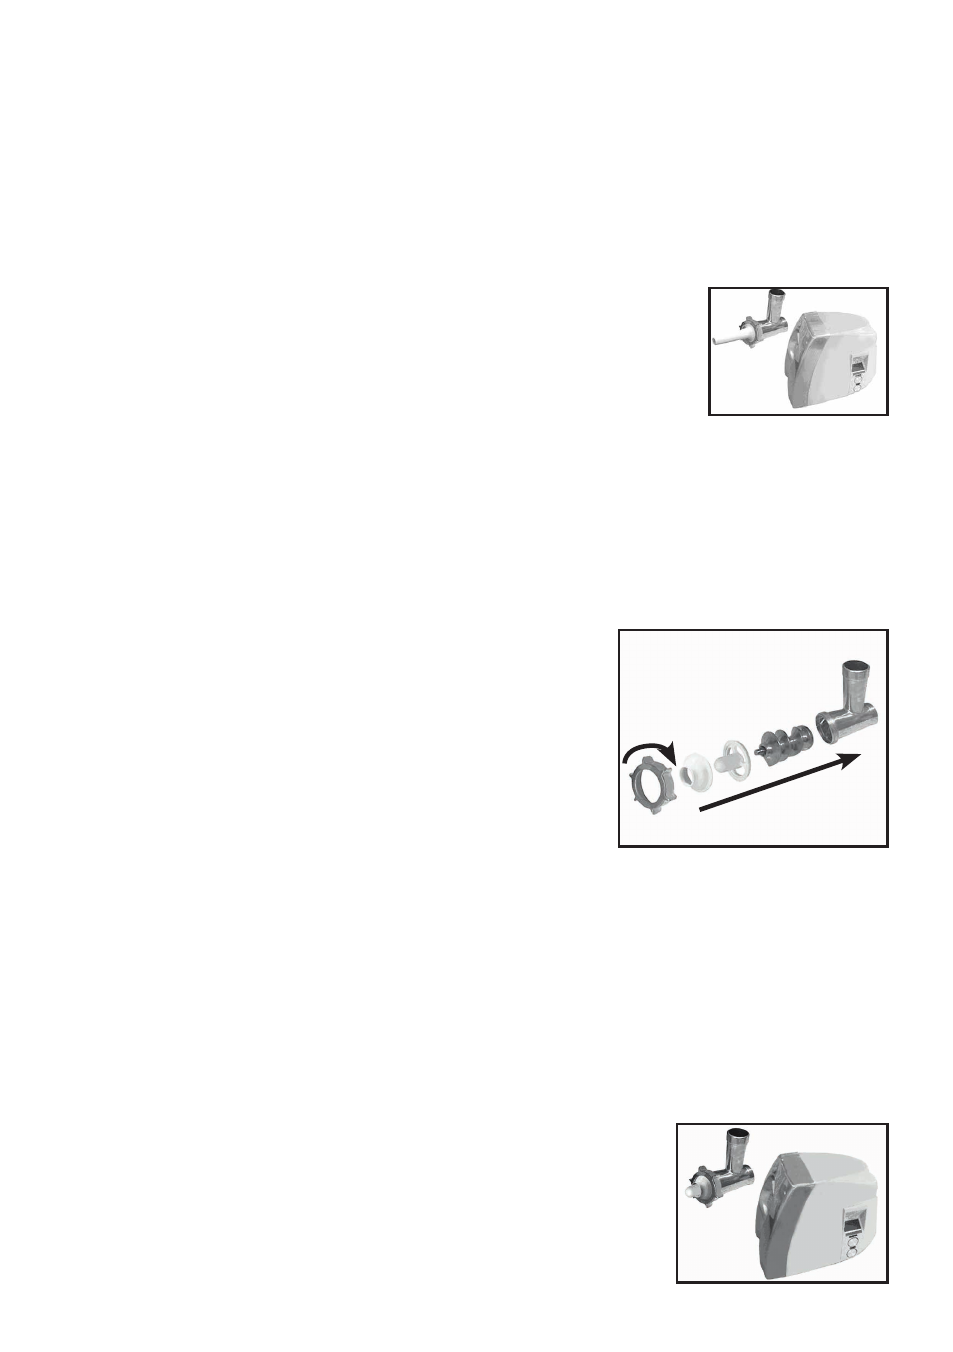
1. Picture A: Take the worm housing into the right
hand and insert with your left hand the worm inside
the worm housing. The side of the worm with the plas-
tic end has to face the worm housing when putting
it inside the worm housing. If the worm is correctly
assembled when the plastic end of the worm pokes a
few millimetres out of the worm housing.
2. Take the Kebbe attachment A. The flat end with the
recess has to face the worm housing when attaching. If necessary turn the Kebbe
attachment A a little bit until the arresting pin of the worm housing locks precisely
into the corresponding recesses of the Kebbe attachment A.
IMPORTANT: If the tools overlap the edges of the worm housing the worm is not
placed all the way inside of the worm housing. Turn the worm a little bit to make it
fit inside but do not use force. If mounted correctly the Kebbe attachment A is flush
with the front of the worm housing and the axis of the worm pokes out 2 mm of the
grinding disc.
3. Place the Kebbe attachment B on the worm housing and
fit the closure ring over the Kebbe attachment B (picture B).
Firmly screw the closing ring on the worm housing and tighten
by hand.
A
B
J