Gastroback 41020 Cook & Mix Plus User Manual
Page 15
41
Cleaning the blades
1. Simply add ca. 0.5 Litre of dish-water to the glass jar.
2. Set the timer for 2 minutes and press the Simmer (›SIEDEN‹) button.
3. When the dish-water is hot, turn the heater off (press Simmer button again), and switch
the speed selector to speed selection 1 for ca. 1 minute.
4. Pour out the dish-water and repeat this procedure with pure tap water. This
will release food that maybe on the underside of the blades. For a thorough
cleaning of the glass jar follow the instructions in the section below.
Thorough Cleaning of the glass Jar
1. Switch off, unplug and let the appliance cool down sufficiently.
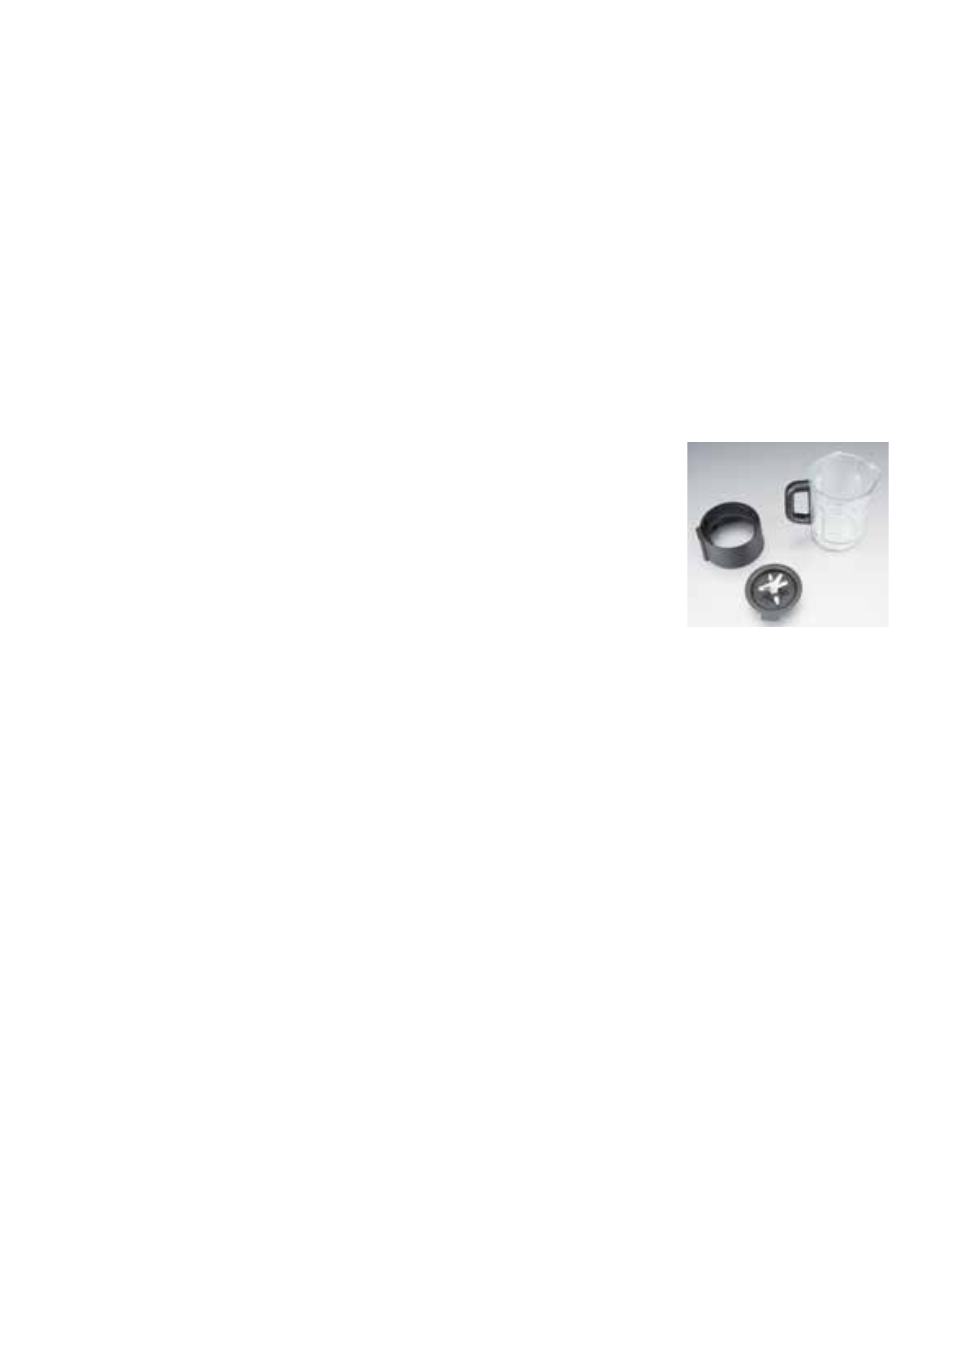
2. Remove lid and measuring cup from the glass jar. Remove the rubber seal from the lid.
3. The glass part of the glass jar is mounted on the jar collar by
a right-hand thread. For a better access to the heating plate and
blades you may unscrew the glass part. Grasp the jar collar with
one hand and the handle of the glass jar with the other and twist
these parts against each other.
4. Clean glass part, lid, measuring cup, and rubber seal in warm dish
water, using a soft cloth or nylon brush. These parts can be cleaned
in an automatic dishwasher.
warnIng: The blades are very sharp. Handle with care to avoid injuries.
Do not immerse or place the motor base or power cord in any liquids or
pour any liquids on these parts.
5. Use a nylon brush or sponge and warm dish-water for cleaning the heating plate.
Doing so, be careful with the blades and do not damage the seal on the jar base.
Soak stubborn residues with a drop or two of cooking oil for some minutes, before clea-
ning.
Tip: Stubborn residues on the other surfaces can be removed better by moistening with
some warm dish-water before cleaning.
6. Wipe the power cord and the exterior of the motor base carefully with a soft
damp cloth. Always ensure not to spill any liquids into the motor base.
7. Thoroughly wipe the appliance and all its parts dry.
8. Allow drying naturally for ½ hour. Always ensure that the appliance and all its parts
and accessories are out of reach of young children.
9. Re-assemble the glass jar.
10. Ensure that the sealing surfaces on the brim of the jar collar and glass part are clean
and without any damage (e.g. cracks, scratches, or signs of wear). Screw the glass part
tightly on the jar collar. Eventually check the glass jar for leaks using some water.