Technical specifications, Operation – Gastroback 42606 Design Espresso Plus User Manual
Page 11
• Always make sure that the portafilter inserted correctly into the grouphead before opera-
ting the appliance. When brewing the espresso high pressure is produced - risk of burns!
• Never remove the portafilter during brewing.
• Always wait until the appliance is cooled down to room temperature and empty the water
tank and the drip tray before moving or cleaning the appliance. Grasp the appliance on
both sides of the bottom of the appliance base (not the drip tray!) If you want to move the
appliance.
TeCHniCAl SpeCifiCATiOnS
Model:
Art. No. 42606 Design Espresso Pro
Power supply:
230 - 240 V, 50 - 60 Hz
Power consumption:
1,250 W
Length of power cord:
ca. 100 cm
Weight:
ca. 5.7 kg
Dimensions:
ca. 206 x 285 x 320 mm (width x depth x height)
Capacity of water tank:
1.7 Litre
Certification:
OpeRATiOn
Assembling the Appliance
Before first use: remove all packaging and promotional materials. When you unpack the
appliance, the drip tray and water tank are already properly installed. The drip tray is in the
base of the appliance and can be pulled forward. The water tank is in the back of the appli-
ance and can be removed by lifting. Remove the packaging material under the water tank.
Make sure that all parts and accessories are complete and undamaged before disposing of
the packaging. Accessories include: stainless steel double wall filter (single filters, double
filters and ESE filter pad), cleaning tool, filter holder, milk jug and measuring spoon with
tamper.
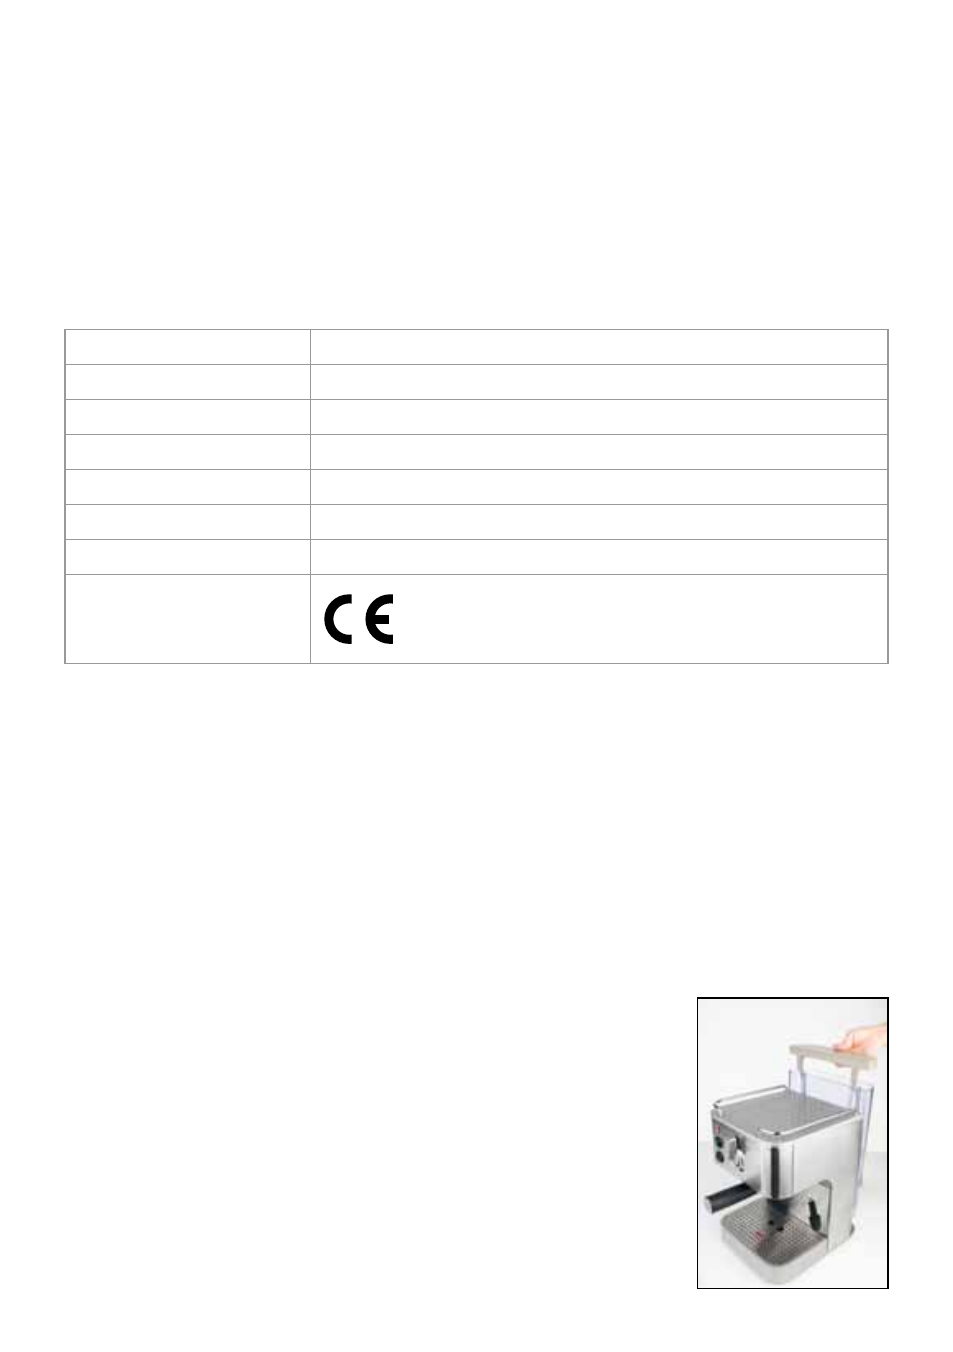
1.
Lift the lid of the water tank upwards. You can lift the water tank by
the open lid (see picture). Rinse the water tank carefully. Before first
use rinse also filters, portafilter, measuring spoon and milk jug with
warm detergent solution. Follow the instructions in the section ›Care
and Cleaning‹.
2.
After cleaning, place the water tank back into the appliance.
Make sure that the guide grooves on the back of the water tank are
engaged the cutouts in the back of the appliance. Press the tank
down so that the water valve opens in the bottom of the water tank.
NOTE: When pushing down the tank you will see that the valve cover
opens upwards.
41