ETS-Lindgren 3142C Biconilog Antenna (Archived) User Manual
Page 14
3.
Insert one of the 10-32 thread knobs into the opposite side of the boom
from where you inserted the bow-tie. Slowly tighten the knob, taking care
not to cross-thread the connection. Cross-threading the connection could
cause permanent damage to the bow-tie element.
4.
Repeat steps 2 and 3 for the second bow-tie element.
4.3 Connect the Optional End Plates to Create the T Bow-ties
1.
For protection, there is a black end cap on each of the bow-tie elements.
Use a Phillips head screwdriver to carefully remove the four screws in
each of the bow-tie end caps.
The end caps should be reinstalled when you are done using the
optional end plates, so store the end caps and the screws in a safe
place.
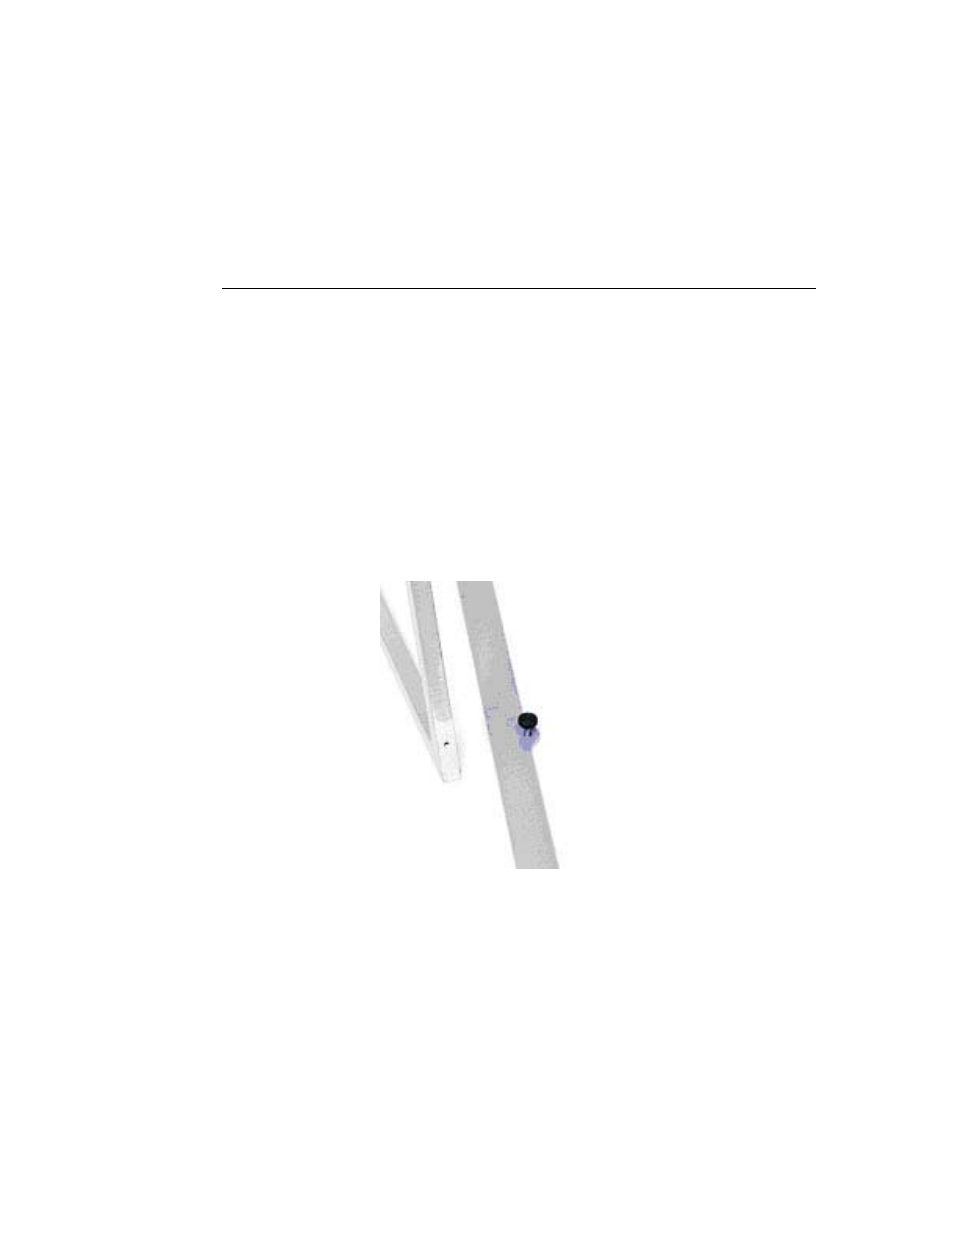
2.
Align the four holes on the wide end of the bow-tie element with the four
holes on the end plate. Insert each of the four small knobs in the
receptacle holes and slowly tighten. Be careful not to cross-thread the
connection or permanent damage to the bow-tie could occur.
Figure 2: Bow-tie element receptacle hole and
optional end plate with screw knob
3.
Repeat step 2 for the remaining end plate.
14
| Mounting
Instructions
Archived 01/19/11