Dynojet 250: Replacing the Starter Ring Gear User Manual
Page 4
Step 5
Use a forklift and nylon straps capable of supporting 1000 lbs and
lift the drum and frame a few inches. Set a piece of 1/4” plywood
between the frame rails under the drum. It should be long enough
so when you remove the drum it remains on the plywood. Lower
the drum and frame down so only the drum sits on the plywood.
Step 6
Remove the (8) 5/8” nuts and lock washers from the bearings on
each side of the dyno. Remove the bearings and set them aside.
Step 7
Roll the drum assembly backwards, and be sure that it stays on the plywood.
Heat the starter ring with a propane torch to allow the ring to “grow”, try not
to burn the paint on the drum. Using a hammer and punch, hit the starter
ring on the inside face and work your way around the perimeter.
Installing the New Ring Gear
Step 1
Clean and debur the perimeter of the drum where the new ring gear
will be installed.
P/N 98221100
4
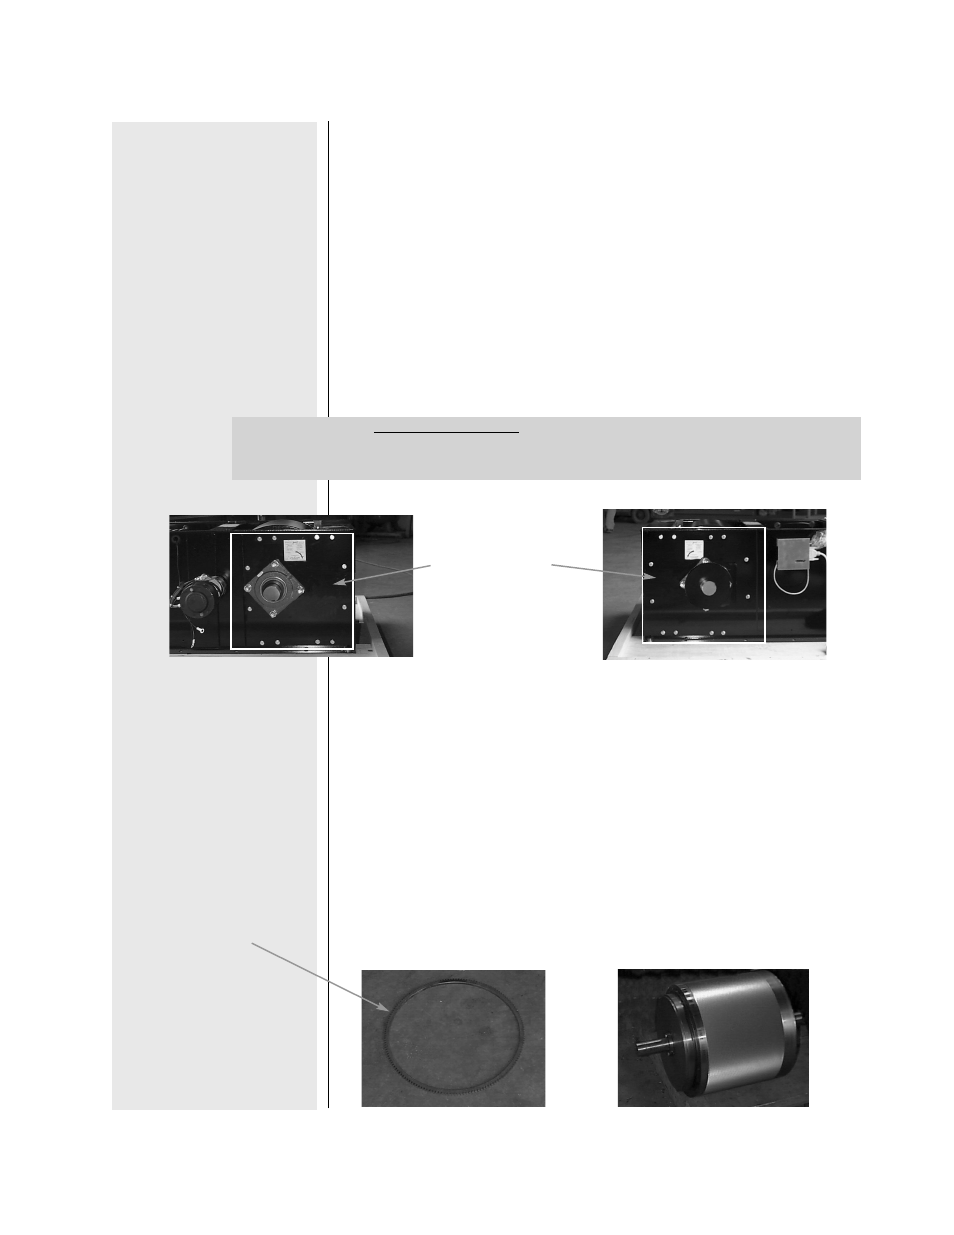
Ring Gear
Note:
The High Inertia Dyno has an additional sections of the frame
that must be removed before proceeding. The frame section
is under each bearing, remove them and set aside.
Additional frame
sections for High
Inertia Dynos only.