Menu functions – AVer SPC300+ User Manual
Page 17
15
M
M
e
e
n
n
u
u
F
F
u
u
n
n
c
c
t
t
i
i
o
o
n
n
s
s
The SPC300+ provides MENU functions enabling you to fine-tune your screen display, set the timer, and more.
Press the MENU button to call up and exit from the main menu or sub-menu display. Then use ▲or▼ buttons
to select the items in the menu list. Use ENTER button to enter sub-menu. To adjust the setting, press ◄or►
buttons.
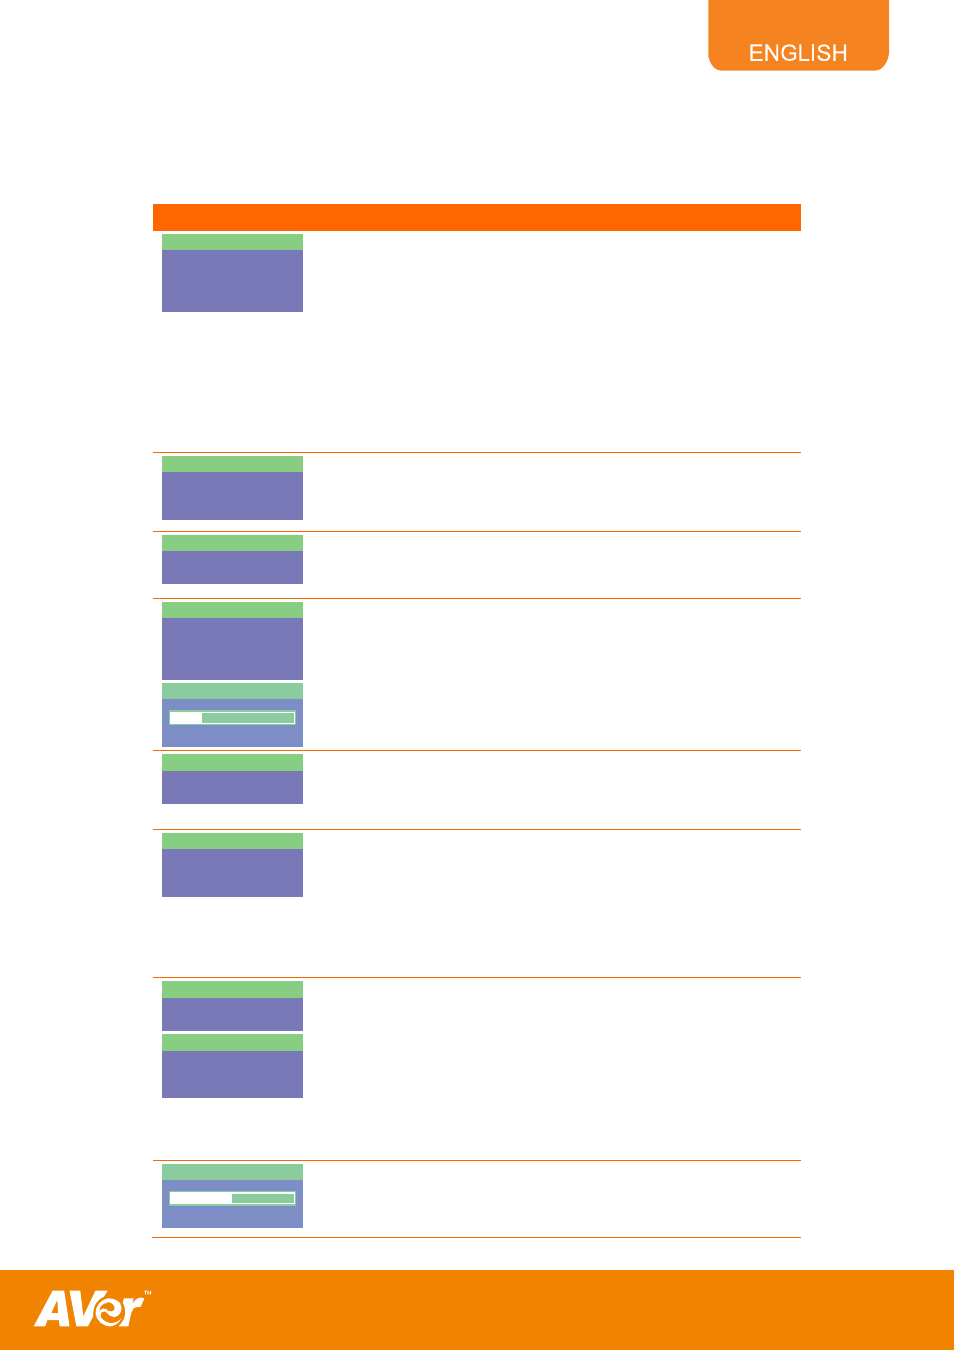
OSD Menu
Description
THEME
TEXT
GRAPHICS
HIGH FRAME
MICROSCOPE
THEME :
Use ▲or▼ buttons to select between Text, Graphics, High Frame or
Microscope image enhancement mode.
Text - corrects the intensity of the adjacent pixel making it more
uniform producing sharper and clearer images.
Graphics - adjusts the gradient of the adjacent pixel making it appears
to have a smooth image.
High Frame - increases the frame rate capture and can visually tracks
the motion and react quickly. Sufficient lighting is required when using
this mode.
Microscope - automatically fixes the optical zoom and displays the
microscope image more clearly.
EFFECT
COLOR
B/W
NEGATIVE
EFFECT
:
Use ▲or▼ buttons and select to display the image from the
SPC300+ camera into positive (true color), monochrome (black and
white), or negative.
ROTATE
ROTATE
MIRROR
ROTATE
:
Use ▲or▼ buttons and select to flip or rotate the image by 90º from
the SPC300+ camera.
EXPOSURE
AUTO
MANUAL
FLICKER
NIGHT VIEW
MANUAL
0
13
54
EXPOSURE :
Use ▲or▼ buttons to select between Auto and Manual.
SPC300+ enables you to automatically or manually adjust the camera
to determine how much light is required.
If you choose to manually adjust the exposure, press ►or◄ buttons
to adjust the exposure level.
FLICKER
50 HZ
60 HZ
FLICKER :
Use ▲or▼ buttons to select between 50Hz or 60Hz. Some display
devices cannot handle high refresh rates. The image will flicker a
couple of times as the output is switched to another refresh rate.
NIGHT VIEW
ON
OFF
AUTO
NIGHT VIEW :
Use ▲or▼ buttons to select enable/disable night view or detect to
automatically turn on/off night view.
If you are presenting in a low-light condition, Night View enables the
image of the object to appear as though under normal lighting
condition. The SPC300+ automatically adjusts the exposure to
compensate for the adverse condition, but the captured image will
appear to be in low frame rate.
WHITE BALANCE
AUTO
MANUAL
MANUAL
RED
BLUE
MEASURE
WHITE BALANCE :
Use ▲or▼ buttons to select between Auto and Manual.
SPC300+ enables you to automatically or manually adjust the camera
to suit the lighting condition or color temperature. If you select to
manually adjust the white balance, you can adjust the Red, Blue or use
the system to measure the color temperature.
To obtain a more accurate color balance, place a sheet of white paper
under the camera. Select MEASURE then press ENTER to calibrate the
color temperature. Wait until the "AWB LOCK" appears at the lower
right corner of the presentation screen.
BRIGHTNESS
0
32
63
BRIGHTNESS :
Press ►or◄ buttons to increase or decrease the brightness level
and improve the visibility of the image. The brightness level can be
set up to 63.