Using the infrared remote control – AVer SPC300+ User Manual
Page 11
9
U
U
s
s
i
i
n
n
g
g
t
t
h
h
e
e
I
I
n
n
f
f
r
r
a
a
r
r
e
e
d
d
R
R
e
e
m
m
o
o
t
t
e
e
C
C
o
o
n
n
t
t
r
r
o
o
l
l
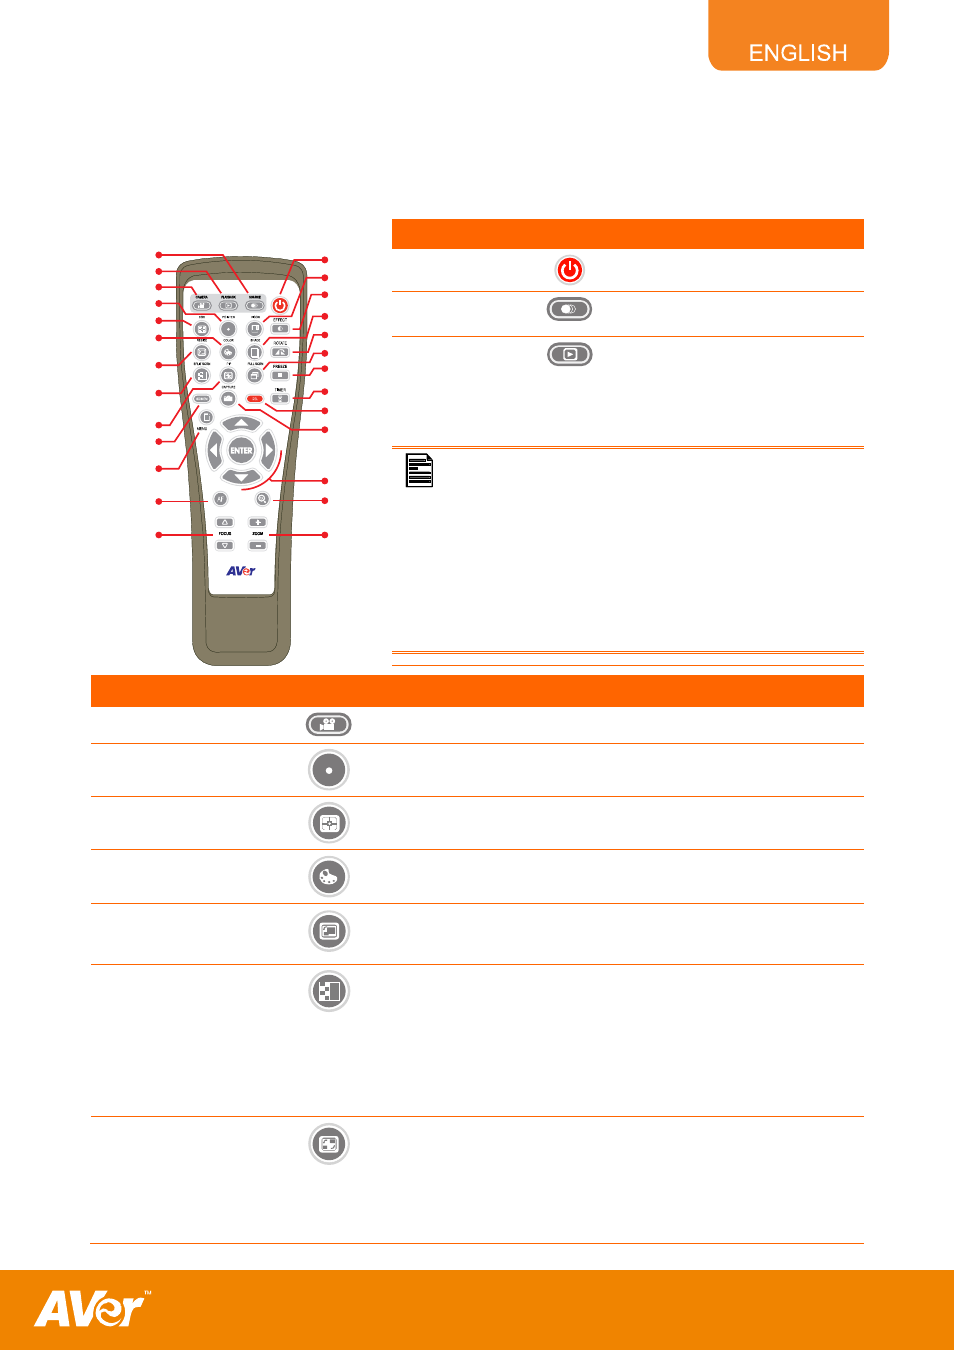
Use the AVerVision SPC300+ Remote Control to enhance your presentation, switch between three (3)
presentation modes and access additional features. To use the remote control, first insert the batteries (2 size
“AAA” batteries are provided) into the battery compartment at the back of the remote. Use the figure and
descriptions below to help you use the remote control.
(25)
4)
(16)
(15)
(17)
(14)
(13)
(12)
(3)
(2)
(4)
(6)
(5)
(7)
(9)
(8)
(11)
(10)
(23)
(21)
(20)
(26)
(2
(18)
(19)
(1)
(22)
Name
Button
Function
(1) POWER
Turn the unit on/off.
(2) SOURCE
Display the video signal from the
RGB input port.
(3) PLAYBACK
MODE
Display the captured image either
from the built-in memory or SD card
in 16-thumbnail preview. Use the
▲,▼,◄, &► buttons to make a
selection and ENTER to display the
selected image in full screen.
In Playback Mode, press MENU to access the ff:
SLIDE SHOW - start to automatically display from the
selected image to the next one and repeatedly display all the
images in a loop.
To pause or resume slide show, press ENTER.
To manually move to the previous or next image, press ◄ or
►.
MEMORY SOURCE - select the image source between the
built-in memory or SD card.
DELETE - permanently remove the selected image.
Name
Button
Function
(4) CAMERA MODE
Display the image from the SPC300+ built-in CMOS camera.
(5) POINTER
Toggle to show or hide a dot like a laser pointer on the screen in
camera mode. To move the pointer, use the ▲,▼,◄, &► buttons.
(6) BOX
Toggle to show or hide the frame on the screen in camera mode. To
move the box, use the ▲,▼,◄, &► buttons.
(7) COLOR
Select the color of the Pointer and Box. There are 15 available colors
to choose from.
(8) RESIZE
Enable to change the size of the box. When the frame blinks, use the
▲,▼,◄, &► buttons to change the frame size and then press
ENTER.
(9) SPLIT SCREEN
Divide the screen into two parts. The Right side displays the live
image from the SPC300+ camera and the left side displays the
captured images from the memory source in 8-thumbnail preview.
Use the ▲,▼,◄, &► buttons to make a selection and ENTER to
enlarge the selected image in split screen mode. To horizontally pan
the enlarged image, use the ◄ & ► buttons.
To increase or decrease the live image from the SPC300+ camera on
the right side display, use the zoom +/-.
(10) PIP
Display a thumbnail of the captured image from the memory source at
the corner of the screen while in camera mode.
Use the ◄ or ► buttons to move to the previous or next image. To
move the thumbnail mini preview screen to different corners, press the
PIP button again.
To increase or decrease the live image from the SPC300+ camera,
use the zoom +/-.