Remote control – AVer F17HD+ User Manual
Page 12
6
.
R e m o t e C o n t ro l
The remote control requires two (2)
“AAA” size batteries (supplied), make sure batteries
are installed properly before use. You can access all the features of AVerVision F17HD+
with the remote.
Name
Function
(18 )
(14 )
(11)
(7)
(8)
(5)
(2)
(1)
(22 )
(13 )
(4)
(3)
(15 )
(12 )
(17 )
(23 )
(20 )
(19 )
(9)
(6)
(16 )
(10 )
(21 )
(fig. 1.6)
(1) POWER
Turn the unit on/standby.
(2) CAMERA
Camera mode displays the video signal
from the built-in camera.
(3) RECORD
Start/Stop audio & video recording.
Video recording can only be saved
either in a SD memory card.
(4) CAPTURE
Capture still image in Camera mode. In
continuous capture mode, press this
button again to stop.
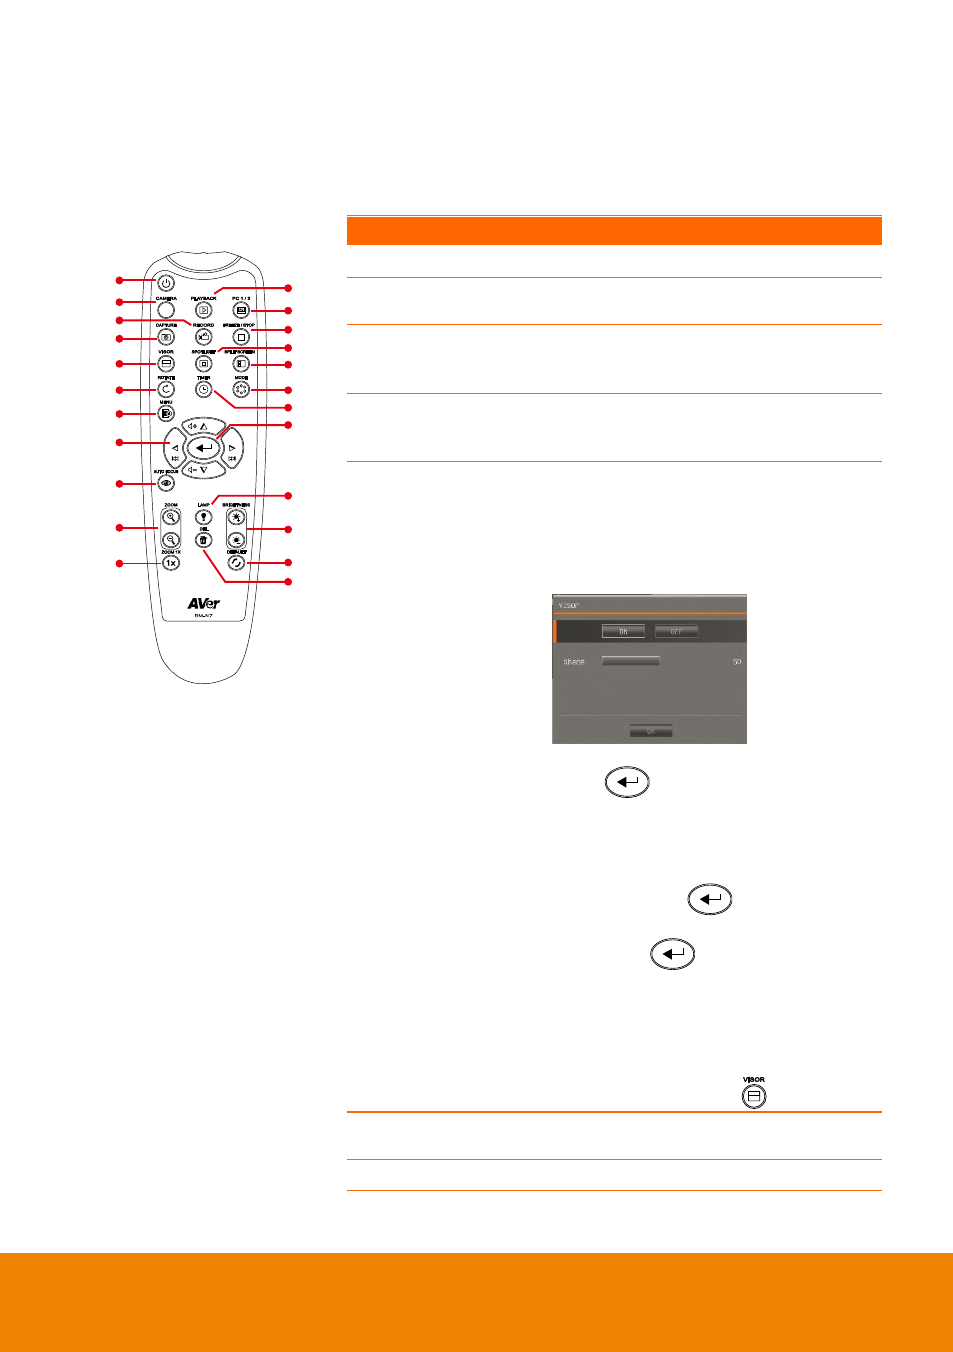
(5) VISOR
Call the Visor submenu. Visor covers
part of the presentation screen and allow
presenter to reveal the material as
desire.
In the Visor submenu, the following
options are available.
ON/OFF
– select to run/cancel the Visor.
Press
to move to the next
selection.
Shade
– set the opacity level of the
covered area. The shaded area will
completely turns black when it is set to
level 100. Press
to move to the
next selection.
OK
– press
for the setting to take
effect. If you select ON, upper part of
the presentation screen is slightly
exposed. Use the
▲,▼,◄, & ► buttons
to reveal more of the covered area; and
OFF will close the submenu.
To turn off Visor, press
again.
(6) ROTATE
Rotate the image by 90° in Camera
mode and Playback mode.
(7) MENU
Open and exit the OSD menu.