Technical specifications, Image, Optics – AVer PL50 user manual User Manual
Page 36: Power, Lighting, Input/output, English
ENGLISH
31
The instruction below MUST be read and followed BEFORE connecting
the USB cable.
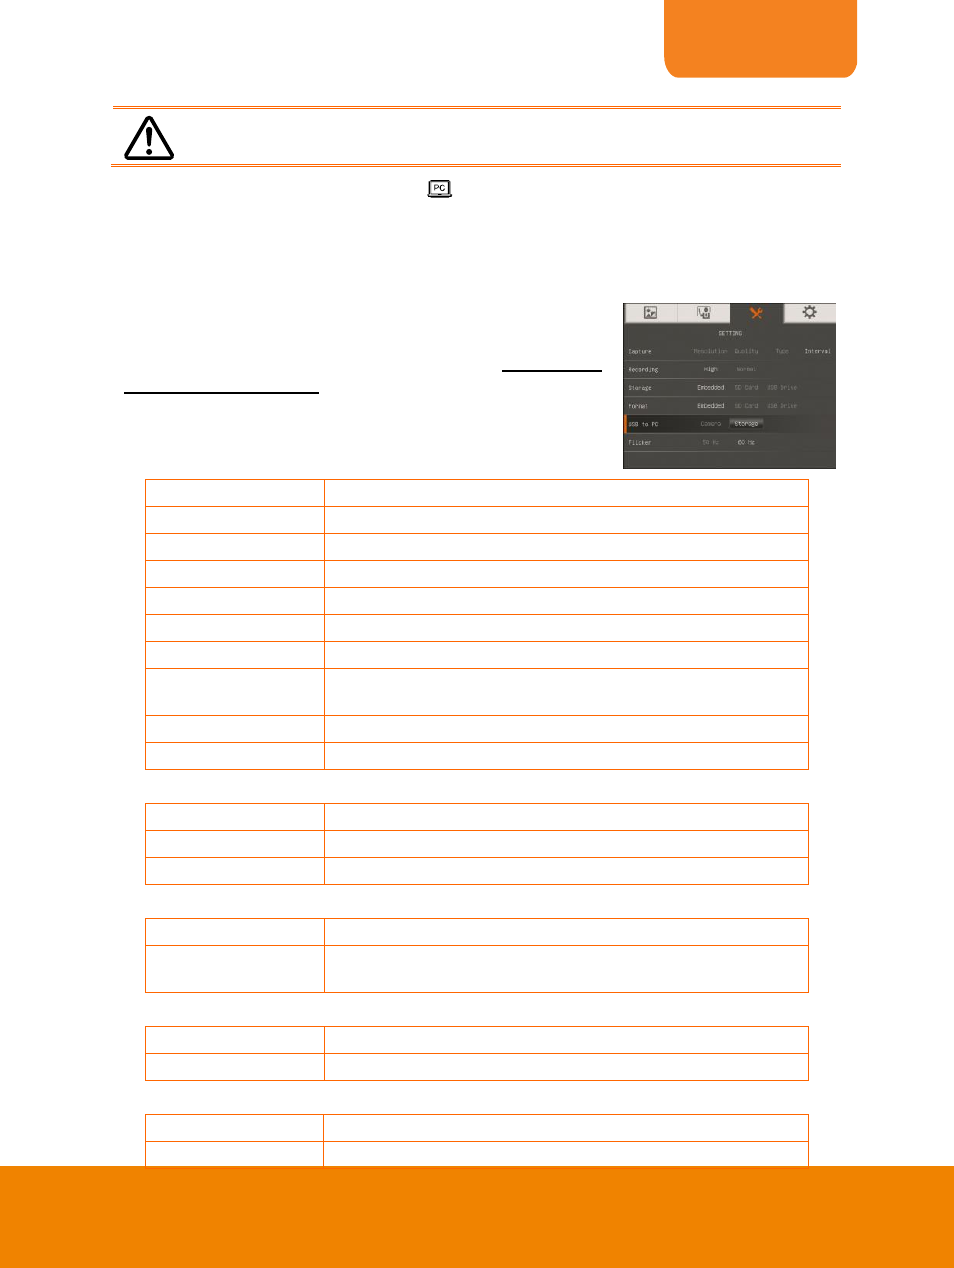
1. Make sure to set the USB switch to
for the computer to detect AVerVision PL50.
2. MUST set the USB to PC as STORAGE before connecting the USB cable.
3.
When “MASS STORAGE” appears at the lower right corner of the presentation screen,
you may now connect the USB cable.
4. Upon connecting the USB cable, the system
automatically detects the new removable disk. You can
now transfer the captured image(s) from the AVerVision
PL50 built-in memory to the computer hard disk.
T
T
e
e
c
c
h
h
n
n
i
i
c
c
a
a
l
l
S
S
p
p
e
e
c
c
i
i
f
f
i
i
c
c
a
a
t
t
i
i
o
o
n
n
s
s
Image
Sensor
1/3.2” CMOS
Pixel Count
5 megapixels
Frame Rate
30 fps (max.)
White Balance
Auto / Manual
Exposure
Auto / Manual
Image mode
Sharp / Graphics / Motion / Microscope / Macro / Infinite
Effect
Color / B/W / Negative / Mirror / Rotate / Freeze
RGB output
1920x1080, 1600x1200, 1280x1024, 1280x720, 1024x768,
1280 x 800
HDMI output
HD 1080p; HD 720p
Image Capture
240 Frames(XGA) ; 80 Frames(5M Pixel)
Optics
Focusing
Auto / Manual
Shooting Area
400mm x 300mm (15.74
” x 11.81”)
Zooming
16X Optical Zoom, 15X Digital Zoom, Total = 240X
Power
Power Source
DC 12V 2A, 100-240V, 50-60Hz
Consumption
16.8 Watts (lamps off); 18 Watts (side lamp on); 18 Watts
(light box on)
Lighting
Light Source
Side LED lamps x 2
Light box
329mm x 265mm (
12.95” x 10.43”)
Input/Output
RGB Input 2x
15-Pins D-sub (VGA)
RGB Output 2x
15-Pins D-sub (VGA)