Craftsman 536.888400 User Manual
Page 17
Attention! The text in this document has been recognized automatically. To view the original document, you can use the "Original mode".
ENGINE
LUBRICATION
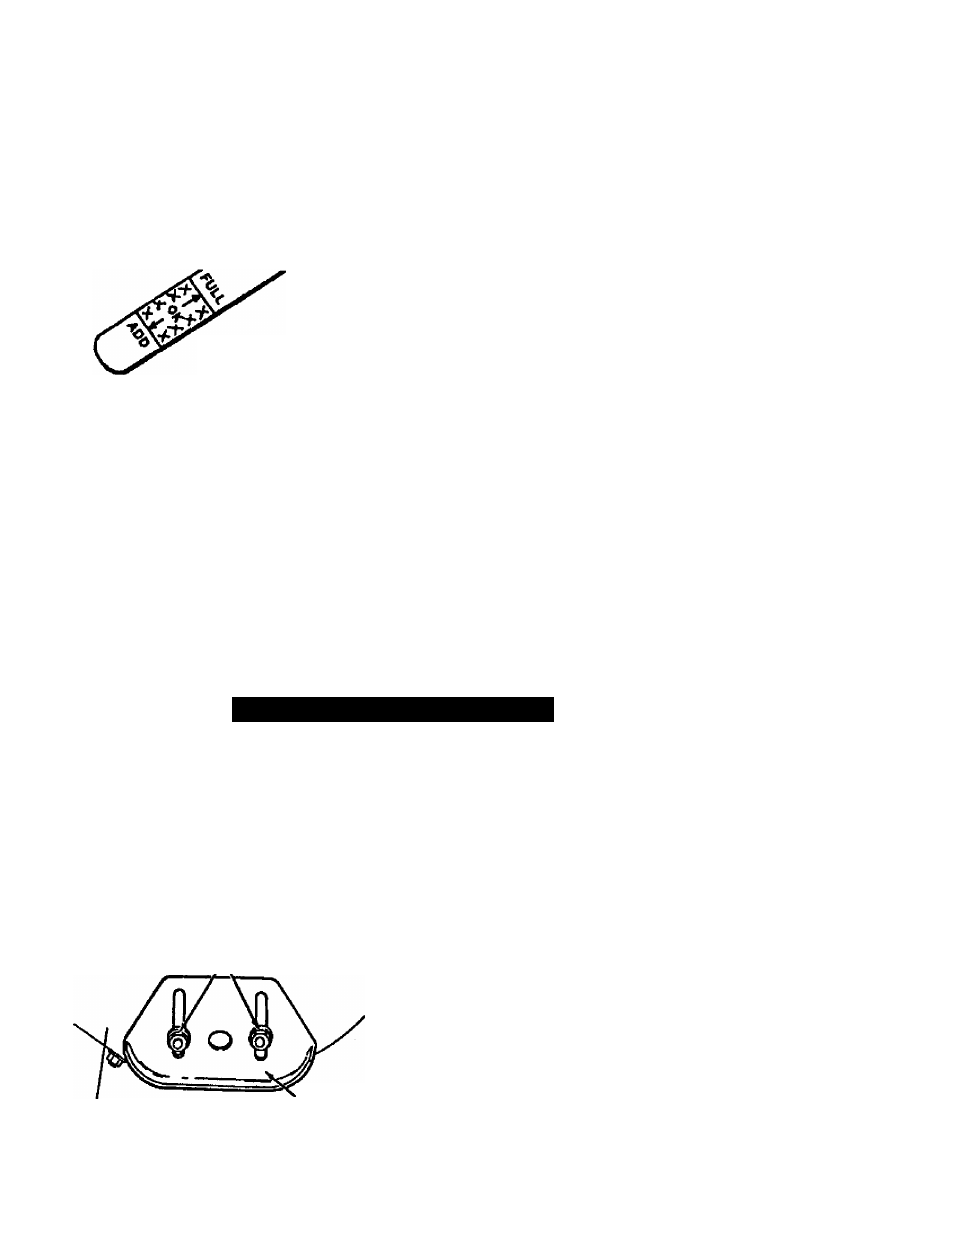
Check the crankcase oil level (see figure be
low) before starting the engine and after
each five (5) hours of continuous use. Add
S.A.E. 5W30 motor oil as needed. Tighten
fill cap/dipstick securely each time you
check the oil level.
NOTE; Oil level must be
between full and add mark
OIL RECOMMENDATION
Only use high quality detergent oil rated
with API service classification SG. Select
the oil's viscosity grade according to your
expected operating temperature:
NOTE: For extreme cold operating condi
tions of 0® and below, use a partial synthetic
0W30 motor oil for easier starting.
NOTE: Although multi-viscosity oils improve
starting in cold weather, these multi-viscosity
oils will result in increased oil consumption
when used above 32®F. Check your engine
oil level more frequently to avoid possible
engine damage from running low on oil.
Change the oil every 25 hours and at the
beginning of each season.
• Position the snow thrower so that the oil
drain plug is at the lowest point on the en
gine. Remove the oil drain plug and the oil
fill cap/dipstick. Drain the oil into a suit
able container. Oil will drain more freely
when warm.
• Replace the oil drain plug and tighten se
curely.
SPARK PLUG
• Make sure that the spark plug is tightened
securely into the engine and the spark
plug wire is attached to the spark plug.
• If a torque wrench is available, torque
plug to 18 to 23 foot pounds.
• Clean the area around the spark plug
base before removal to prevent dirt from
entering the engine.
.
• Clean the spark plug and reset the gap
periodically at .030 inch.
SERVICE AND ADJUSTIVIENTS
.¿f^CAUTlON:
Always disconnect the
spark plug wire and tie back away from
the plug before making any adjustments
or repairs.
TO ADJUST SKID HEIGHT
This snow thrower is equipped with two
height adjustment skids, located on the out
side of the auger housing (see figure be
low). These skids elevate the front of the
snow thrower.
Skid Mounting Nuts
Auger Housing
Height Adjust Skids
For normal hard surfaces, adjust the skids
as follows:
'
• Make sure the weight transfer system is
released by holding upper handle firmly
and pushing down weight transfer pedal
with the ball of your foot.
• Loosen the skid mounting nuts (see figure
ori this page) and adjust the skids up to
biing the front of the snow thrower down.
Re-tighten the mounting nuts.
• Set the skid on the other side at the same
height.
For rocky or uneven surfaces, adjust the
skids as follows;
• Raise the front of the snow thrower by
moving the skids down. This will help pre
vent rocks and other debris from being
picked up and thrown by the auger.
NOTE: If the skids are at the maximum
height, the weight transfer system will not
work.
’
17