Sandpaper selection, Sanding, Operation – Craftsman 315.279840 User Manual
Page 11
Attention! The text in this document has been recognized automatically. To view the original document, you can use the "Original mode".
OPERATION
DUST
BAG
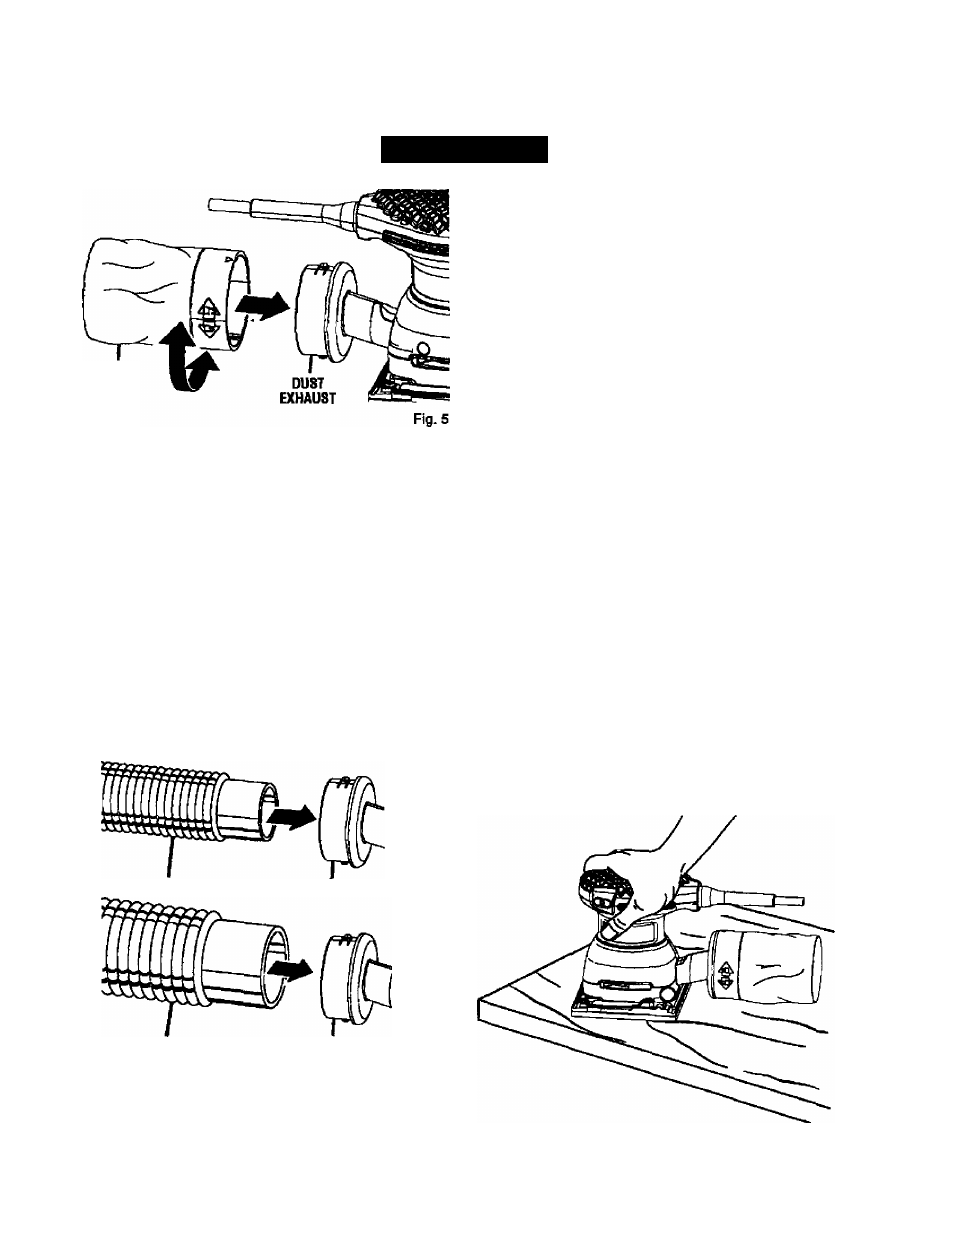
TO CONNECT VACUUM HOSE:
See Rgure 6.
When sanding for an extended period of time, you can
easily attach the dust collection system of the sender to
a
vacuum.
To
Attach:
■ Unplug the sander.
■ Remove dust bag from sander.
■ Attach vacuum hose to dust exhaust.
NOTE: Vacuum hose fits inside dust exhaust.
■ Connect sander and vacuum to power supply.
A
WARNING:
When sander is not connected to
vacuum, ahvays install dust bag back on sander.
Failure to do so could cause sanding dust or foreign
objects to be thrown into the face or eyes which
could result in possible serious injury.
1-1/4
ir
.VACUUM HOSE DUST EXHAUST
2-1/2 in.VACUUM HOSE
DUST EXHAUST
Fig. 6
NOTE: A standard 1 -1/4 in. vacuum hose connection fits
inside the smaller diameter hole inside the dust exhaust,
while a standard 2-1/2 in. vacuum hose connection fits
inside the larger hole of the dust exhaust.
SANDPAPER SELECTION
Selecting the correct size grit and type sandpaper is
an extremely important step in achieving a high quality
sanded finish. Aluminum oxide, silicon carbide, and other
synthetic abrasives are best for power sanding. Natural
abrasives such as hint and garnet are too soft tor eco
nomical use in power sanding. In general, coarse grit will
remove the most material and finer grit wii! produce the
best finish in all sanding operations. The condition of the
surface to be sanded will determine which grit will do the
job. If the surface is rough, start with a coarse grit and
sand until the surface is uniform. Medium grit may then
be used to remove scratches left by the coarser grit and
finer grit used for finishing of the surface. Always continue
sanding with each grit until surface is uniform.
NOTE: Do not use sander without sandpaper. Doing so
will damage the cushion.
CAUTION:
Be careful not to let your hand com
pletely cover the air vents.
SANDING
See Flares 7 ~ 8.
Clamp or otherwise secure the work to prevent it from
moving under the sander.
▲
WARNING:
Unsecured work could be thrown to
wards the operator causing injury.
Hold the sander in front and away from you, keeping it
dear of the workpiece. Start the sander by sliding the
switch button to the ON position and letting the motor
build to its maximum speed. Gradually lower the sander
on the work with a slight fonward movement. Move it
slowly using forward and backward strokes.
Fig, 7
11