Operating through menus, Front of the stand – Sony GDM-2000TC User Manual
Page 9
Attention! The text in this document has been recognized automatically. To view the original document, you can use the "Original mode".
Operating through menus
There are six buttons for menu operations on the front of the
stand. To display the main menu, press MENU at first.
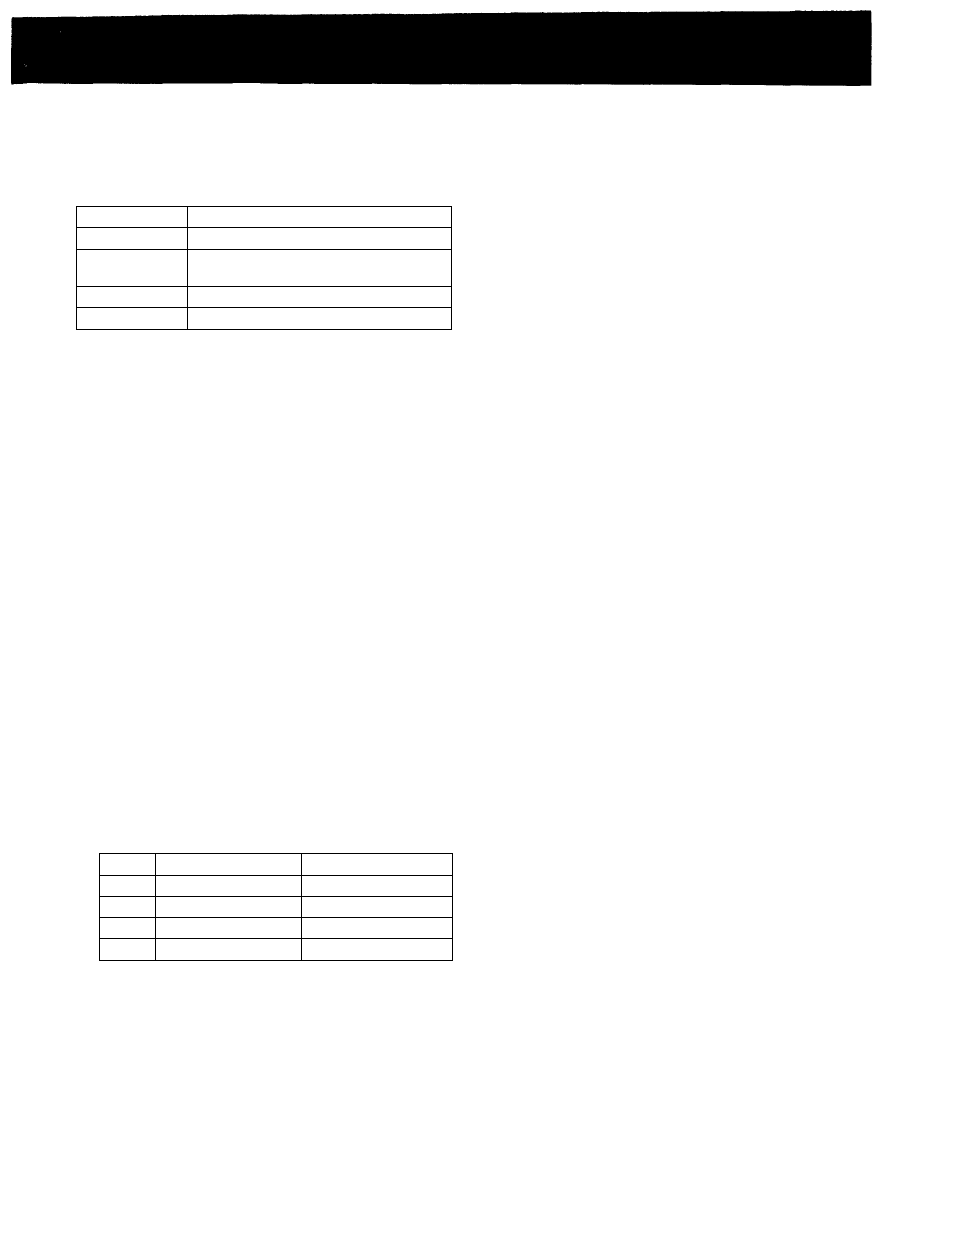
Functions of the buttons
Button
Function
MENU
Returns to the previous menu.
SELECT ♦/♦
Moves the cursor (►) upwards or
downwards.
ADJUST+/-
Increases or decreases the value.
ENTER
Selects an item.
Front of the stand
MENU
4
-
SELECT
4
-
—
ADJUST +
ENTER
D
D
— П
о
[T] Main menu
Select an item and press ENTER to go to the following
menu.
[2] BCF
Selects the BCF (Beam Current Feedback) mode. This m.ode
detects and controls the CRT beam current to stabilize the
white balance. This will keep color reproduction stabilized
even when you see the unit for a long time.
AUTO;
automatically detects the current.
MANUAL:
detects the current when you press ENTER.
The following are not malfunctions:
• White horizontal lines appear in the upper
end of the screen. This happens when the
lines are detecting the beam current.
• The "BCF" flashes in yellow in the menu
screen. This happens when the beam current
detection and control operation are activated.
Ш COLOR TEMPERATURE menu
Selects the color temperature from 1-4 settings. You
can adjust the range setting from 3000 К to 9300 К in
increments of 100 K.
The factory setting for the color temperature of each
mode is as follows:
Mode
Color temperature
Adjustment status
1
9300 К
User-adjustable
2
6500 К
User-adjustable
3
5000 К
User-adjustable
4
3000 К
User-adjustable
[4] COLOR TEMPERATURE FINE ADJUSTMENT menu
Press MENU while pressing ENTER in the COLOR
TEMPERATURE menu to select this menu. You can
finely adjust the RGB to fine-tune the color temperature
with this menu. For details, see page 10.
[5] UNIFORMITY ADJUSTMENT
Automatically detects and corrects the non-uniformity of
RGB and brightness over the whole screen by using the
attached RGB sensor. The RGB and brightness for the
rest of the screen are corrected by standardization with
the center.
Side effects such as luminance decrease in the center will
not occur.
ON:
Correction activated.
OFF:
Correction not activated.
If you cannot obtain uniform RGB or luminance
immediately after setting up the unit, or even
while correction is activated, do the Uniformity
adjustment procedure on pages 10 and 11.
Ш GEOMETRY menu
Select an item and press ENTER to go to the following
menu.
Ш V CENTER
Adjusts the vertical centering. Press -t to move the
picture up and press - to move it down.
[8] H CENTER
Adjusts the horizontal centering. Press -r to move the
picture to the right and press - to move it to the left.
d] V SIZE
Adjusts the vertical picture size. Press
+
to enlarge the
vertical size and press - to diminish it.
m H SIZE
Adjusts the horizontal picture size. Press -r to enlarge the
horizontal size and press - to diminish it.
И RASTER ROTATION
Correct the picture rotation. Press -i- to rotate the picture
clockwise and press - to rotate it counterclockwise.
т PINCUSHION
Correct the picture pincushion. Press + to expand the
picture sides and press - to diminish them.
m CONVERGENCE menu
Select an item and press ENTER to go to the following
menu.
И V CONV
Adjusts the vertical convergence. Press
+
to move Red
up and Blue down. Press - to move Red down and Blue
up.
51 H CONV
Adjusts the horizontal convergence. Press -i- to move Red
to the right and Blue to the left. Press - to move Red to
the left and Blue to the right.
51
USER CONFIG menu
Select an item and press ENTER to go to the following
menu.
51
)
CLAMP
With certain video signals, the background level may
appear too bright or greenish. If the brightness controls
cannot correct the problem, reset the clamp pulse to
obtain the correct black background level. Also reset the
clamp pulse when the "BCF" flashes in magenta
repeatedly. You can select AUTO or SYNC ON G.
51
MENU POSITION
You can select the menu display position from among
CENTER, UPPER LEFT, UPPER RIGHT, LOWER
RIGHT, and LOWER LEFT.
51
DEGAUSS
Demagnetizes the screen. Wait for 20 minutes or more
before activating this feature again.The same interval is
needed after turning on the monitor. The wave-like
movement on the screen is not failure.
0