The status tab > device, The status tab > printer, The exit tab – Cisco PSUS4 User Manual
Page 8: Configuration, Select printer, Details
Chapter 2
Configuration
5
PrintServer for USB with 4-Port Switch
Select Printer
Logical Printer No:
In the drop-down menu, select the
logical printer number (1-3) you wish to configure. Click
Get Data to update the display with the current data for
the selected logical printer.
Details
Pre-string (Hex)
Enter the printer control string (in
hexadecimal characters) to be sent to the printer before
each print job. This string cannot exceed 30 characters.
Post String (Hex)
Enter the printer control string (in
hexadecimal characters) to be sent to the printer after
each print job. This string cannot exceed 30 characters.
Convert LF to CR+LF
Select this option if you want to
change all LF (line feed) characters to CR+LF (carriage
return + line feed).
Change these settings as described here and click Save
to apply your changes or click Cancel to cancel your
changes.
The Status Tab > Device
The Device tab allows you to view information about the
PrintServer. No settings can be changed on this screen.
This screen is for information only.
Status > Device
Click Refresh to cause the PrintServer to retrieve this
information again.
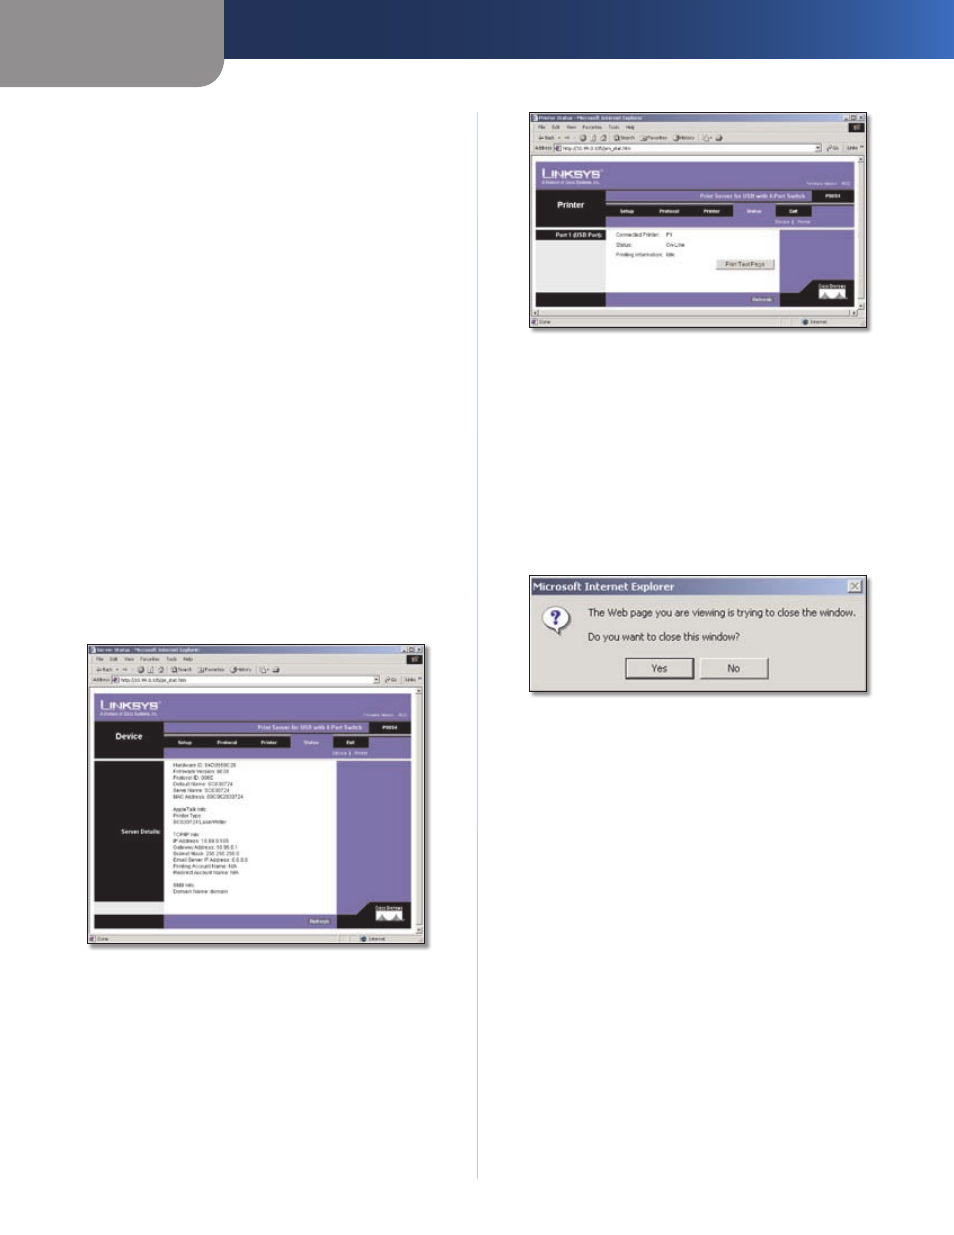
The Status Tab > Printer
The Printer tab allows you to view information about the
Printer. No settings can be changed on this screen. This
screen is for information only.
Status > Printer
Click Refresh to cause the PrintServer to retrieve this
information again.
The Exit Tab
This tab is used exclusively for exiting the Web-based
Utility.
Select the Exit tab and the following screen will appear.
Click Yes if you want to exit the Utility. Click No if you don’t
want to exit the Utility.
Status > Device