Step 2: checking if the code number works, If the commander doesn't seem to be working, Note – Sony RM-V40A User Manual
Page 2
Attention! The text in this document has been recognized automatically. To view the original document, you can use the "Original mode".
oo
Your Code Number
(
enter
)
4
i'ntor the component's code number,
t or evample, it vou're entering the code
tor a Philips' VC'lv vou would press and
release
1,
then press and release
3.
5
Press and release the
ENTER
button to
store the code number in the
Commander's memory.
6 C^
j
O to "Step 2: Checking if the Code Number Works" to finish
setting up.
step 2: Checking if the Code Number Works
1 Power on the component you want to set up.
2 Aim the Remote Commander at^he component and press a button
to check if that button works.
For example, press the POWER button to see if it works on your
component.
3 Check that the other buttons of the Commander is operating the
corresponding functions of the component.
If the Commander Doesn't Seem to Be Working...
• First, try repeating these setup procedures using the other codes
listed for your component (see the supplied "Component Code
Numbers").
• If - after trying all the codes listed for your component - you still
cannot get the Commander to work properly, try the search
method described in "Searching for the Correct Code."
Tip
Use the label (supplied) to write down the code numbers of your
components. Then affix the label to the back of the Commander.
Searching for the Correct Code
If you've tried all the code numbers listed for your component and
you still cannot get the Commander to work (or if your component is
not listed in the "Component Code Numbers" table), try these steps.
1 Power on the component you want to set up. Insert a tape or disc
if necessary.
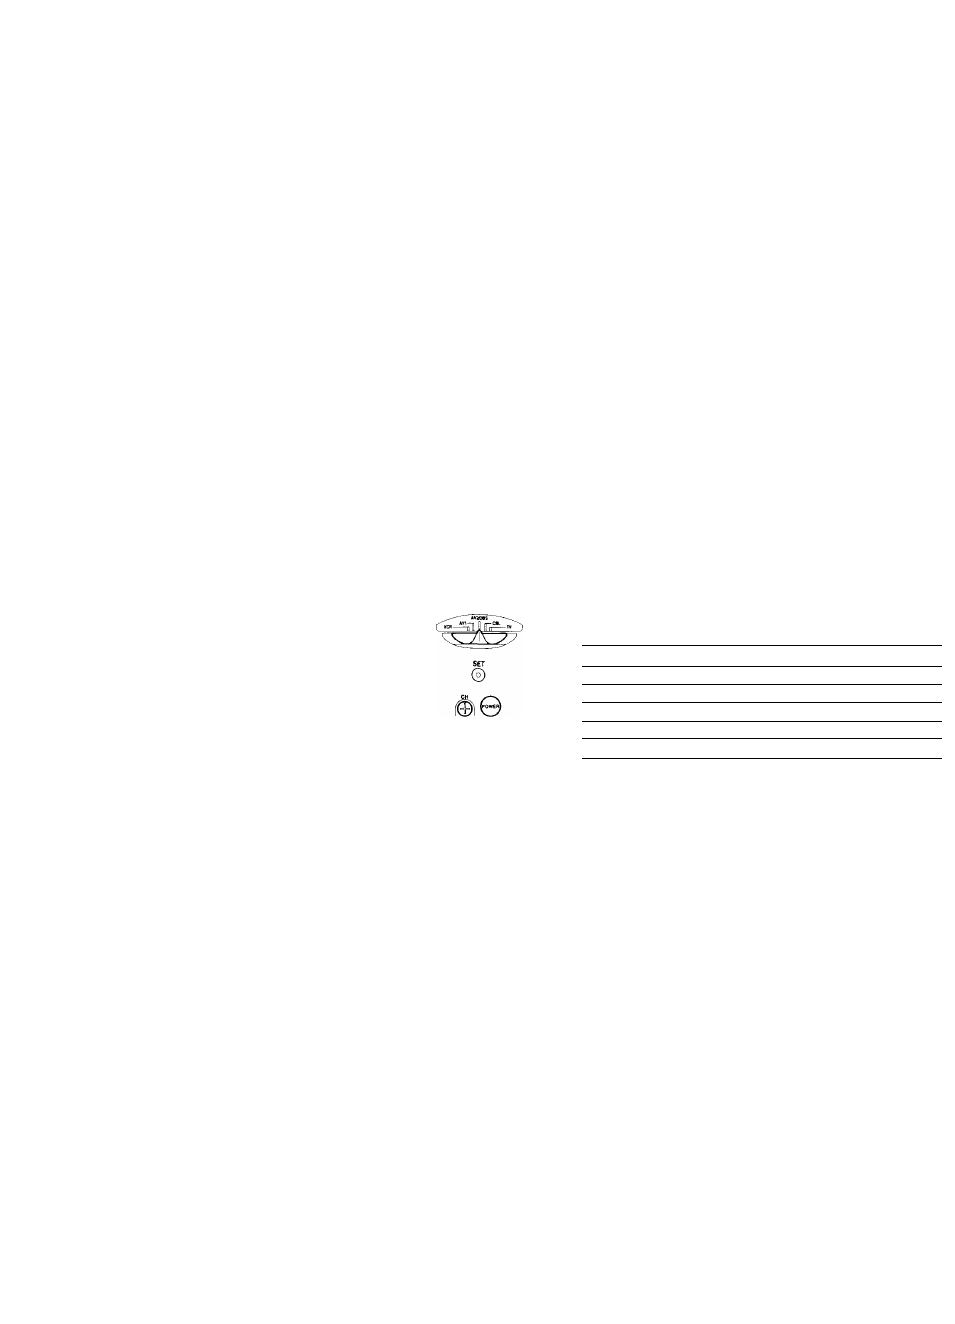
2 Set the slide switch on the commander
to the position that corresponds to the
component.
3 Press the SET button with a ball-point
pen tip etc., and release it.
4 Press and release the CH+ button. Then
press and release the POWER button.
5 Repeat step 4 until the correct code number is found.
Each time you press the CH+ button and then the POWER button,
a new code number will be transmitted.
Keep trying until your component operates by receiving the
transmitted signal from the Commander (e.g., the power turns off,
the CH+ function works, playback starts, etc.). Be patient as you
do this; it may take 50 or 60 tries until the correct code number is
located.
6
When the correct code is found, press
and release the ENTER button to store
the code number in the Commander's
memory.
7 Check that the Commander is operating the other functions of
your component by pressing the corresponding buttons on the
Commander. If they seem to be working properly, you're done
setting up the Commander.
If the component does not operate properly, repeat steps 1 to 6 and
search for another code. As the searching always starts from 01, it
will stop again at the same code as the last searching. Pass the code
and continue searching until the next code by which the component
operates.
If you still cannot get the Commander to work properly, see
"Troubleshooting."
Changing the Component Type on the AV1,
AV2/DBS and CBL Positions
At the factory, "receiv er" is assigned on the
AVI
position, "DBS
tuner" on the
AV2/DBS
position , and "cable box" on the
CBL
position. Bv completing the following procedure, you can change
this setting so that vou can set up anv component on these positions.
1
Set the slide switch to the
AVI, AV2/DBS
«
or
CBL
position.
> ^
2
Press the
SET
button with a ball-point
pen tip etc., and release it.
3
Press and release the
■
(stop) button.
4
Press and release one of the fc^llowing
buttons;
1
to assign a VCR
4
to assign a receiver
5
to assign a CD player
6
to assign a tape deck
7
to assign an MD deck or a DAT deck
8
to assign a TV
9
to assign a Cable box
0
to assign a DBS tuner
5
Press and release the
ENTER
button.
Jf
SET
©
C
13
®
MKWO
(?)
® f
®
(
enter
)
Enter the component's code number by following steps 3 to 6 of
"Entering the Code Number", or steps 1 to 7 of "Searching for the
Correct Code."
Controlling the Volume of Video
Components Connected to an Audio
System
The Commander is factory preset based on the assumption that you
hear the sound of your video components from your TV's speakers,
and that you hear the sound of your audio components from the
loudspeakers connected to your receiver (or amplifier).
Factory Setting:
Position of the slide switch
Controls the volume of
TV
TV
VCR
TV
CBL*
TV
AVI
Receiver (or amplifier)
AV2/DBS*
TV
* If you assign an audio component on the
CBL or AV2/DBS position, you can
control the volume of the receiver (or amplifier) on the
AVI position. If you
assign video components on these positions, you can control the volume of
the TV.
Thus you can control the volume of your TV or receiver (or
amplifier) while operating a video or audio component without first
having to change the slide switch to TV or AVI position. For
example, to control the volume for your VCR channels, you don't
need to change the slide switch to the TV position.
However, if your video components are connected to an audio
system, you probably hear your TV's or VCR's sound from the
loudspeakers connected to your receiver (or amplifier), not from
your TV speakers. In this case, you need to change the factory setting
so that you can control the volume of your video components
without first having to switch to the receiver (or amplifier).
To change the factory setting for the volume control, follow the
procedures below.
Note
This feature is effective only when a receiver or amplifier is set up or
the AVI position. You cannot control the volume of a receiver (or
amplifier) set up on CBL or AV2/DBS position while operating a
component of another position.