Connecting the premier digital to your network, Connecting the premier digital to – Castelle FAXPRESS PREMIER 61-1260-001A User Manual
Page 22
Getting Started
20
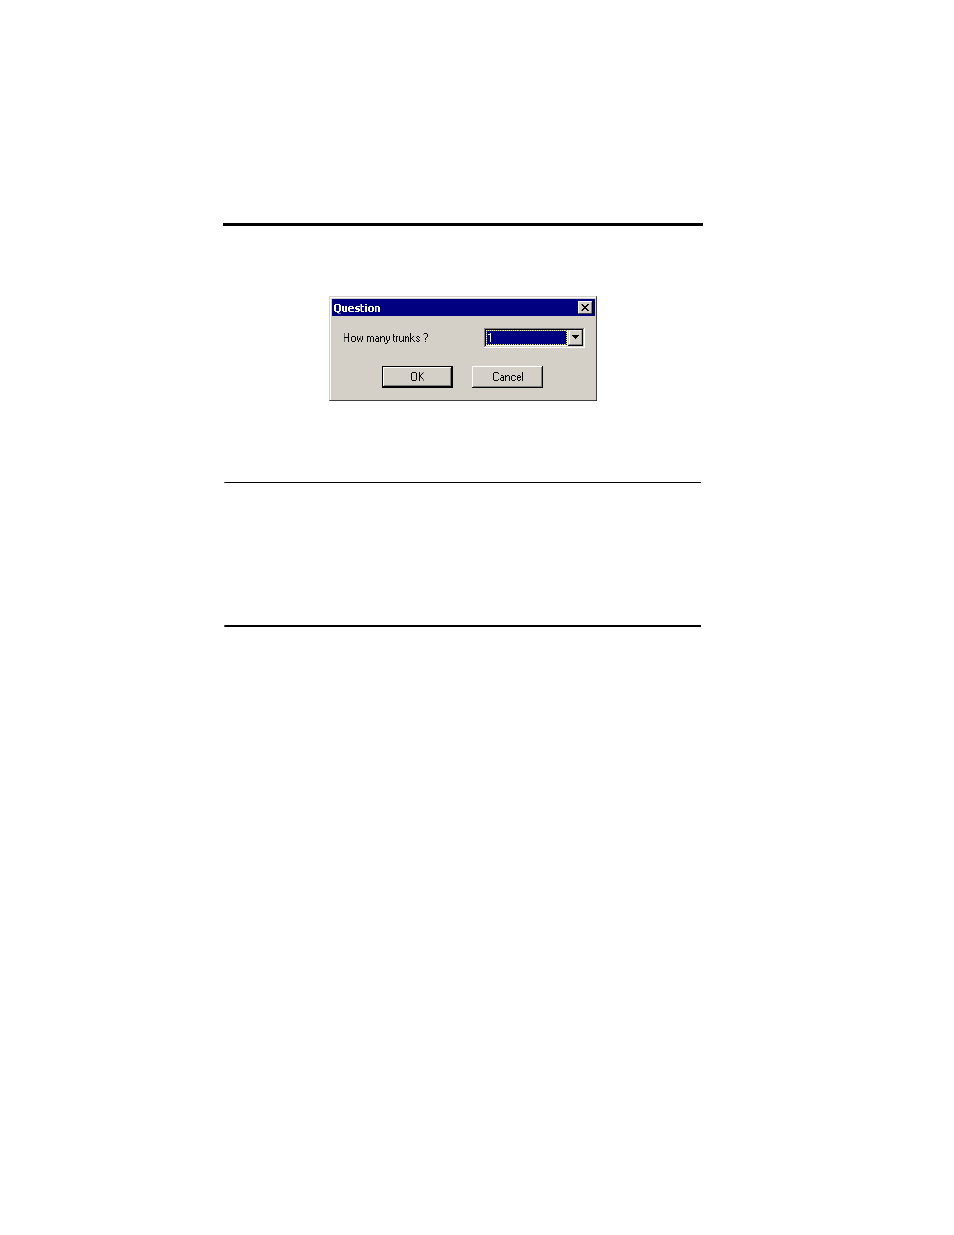
27. Select how many T-1 trunks you’re using (the default is 1 for one
T-1 line) and click
OK
.
28. Click
OK
to exit the
Dialogic GDK Configurator
.
29. Start the
GammaLink System Service
, start
Castelle
services.
Note:
Very infrequently, the T-1 line will not synchronize properly
between the Premier and the central office. This will cause
issues with sending and receiving multiple page faxes. In this
case, the Premier fax board can be configured to synchronize
with the connected T-1 line. See
Synchronizing the Premier
Fax Board with the T-1
in the Troubleshooting section of the
Administrator’s Guide.
Connecting the Premier Digital to your
Network
The FaxPress Premier Digital requires an eight-conductor RJ-45 data
cable. Use the RJ-45 cable provided by your T1 carrier.
To connect the Premier Digital to your network and T-1 line, follow these
steps:
1. Connect the network cable to the Premier server’s Ethernet port.
2. Connect the T-1 or PBX line to the FaxPress Premier Digital’s fax
data port.
3. Plug the power cable into the FaxPress Premier server.
4. Plug the power cable into a power source.
5. To power on the Premier, see the next section,
.