Sonex Oops Fittings Installation Instructions User Manual
Page 2
sonex aircraft
LLC
© 2013 All Rights Reserved.
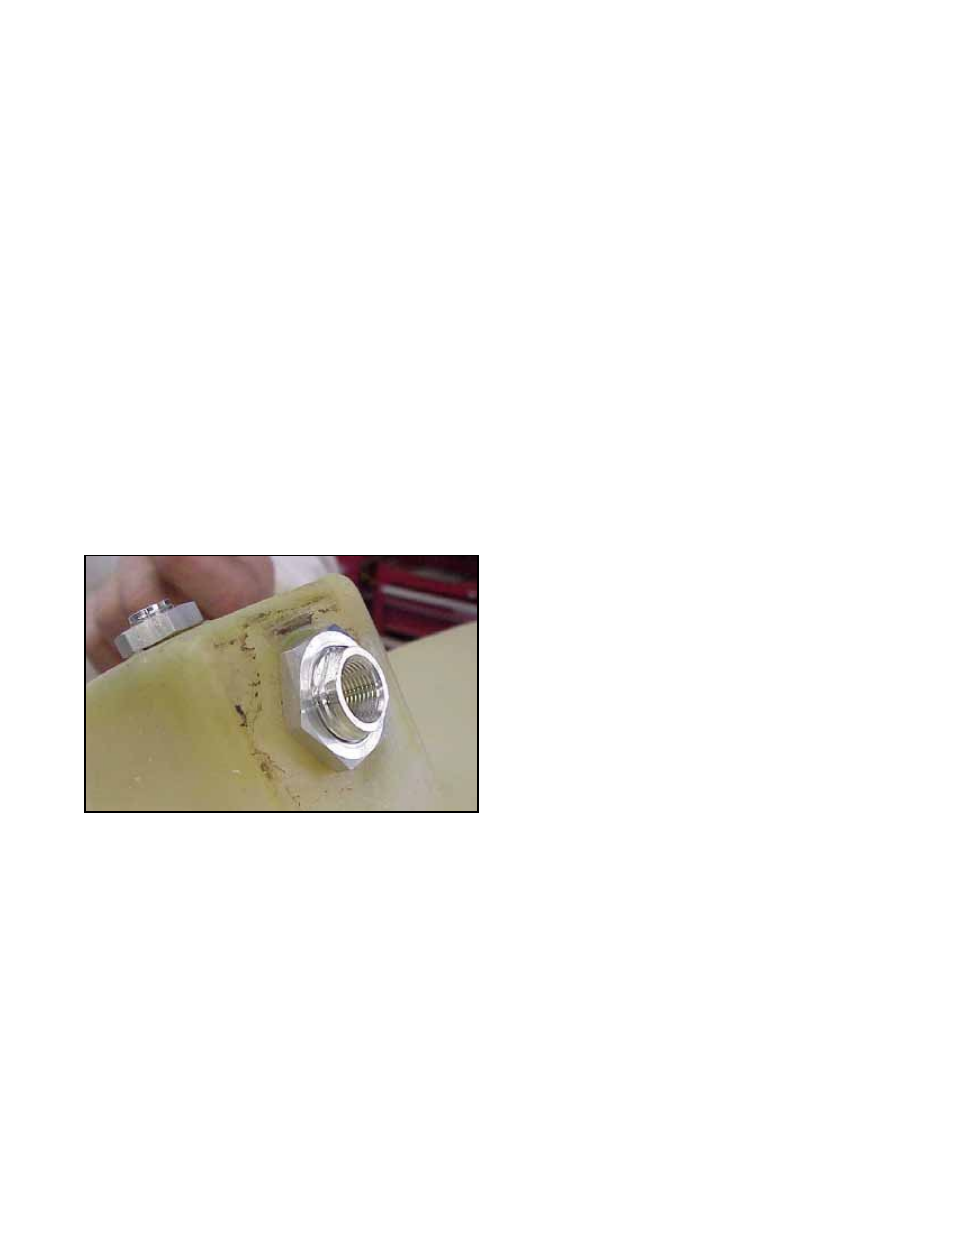
The Oops fitting installed.
Installing an Oops Fitting
Note: This is just one method which can be used to position an
Oops fitting in the tank. Any tools or methods that accomplish
the task are acceptable.
1. Thoroughly clean the inside of the tank.
2. Guide a flexible wire (electrical wire, coat hangar, safety
wire, etc.) into the hole where the old fitting was, through
the tank, and out the filler neck.
3. Place the internal fitting (with one O-ring) over the wire
and let it slide through the tank to the hole of the old fit-
ting.
4. Attach a 3/4" diameter washer to the end of the wire
which extends from the filler neck and pull the wire/
washer into the tank until the washer contacts the internal
fitting and "pushes" it through the hole.
5. Slide the lock nut (with o-ring) over the wire and onto the
fitting. Tighten the lock nut by turning it counterclockwise
onto the fitting. Wrench flats on the end of the internal
fitting allow it to be held with a wrench while the nut is
tightened.
6. Remove the wire and washer from the tank.
7. It is wise to test the fittings for leaks before re-installing
the tank. If you use air pressure do not apply more than 5
psi.
Installing Fuel Fittings
When installing fuel fittings into the Oops fitting the wrench
flats on the Oops fitting permit easy tightening of the fuel fit-
ting without spinning the Oops fitting in the tank.