Cowling installation, Sonex aircraft, Builder's guide – Sonex Cowling Installation Instructions User Manual
Page 3
3
sonex aircraft
LLC.
© 2008 All Rights Reserved.
•
•
www.sonexaircraft.com
sonex aircraft
, LLC
Builder's Guide
__12. Mark and trim the aft, bottom cowl edge where it at-
taches to the fuselage floor.
__13. Attach the lower firewall hinge half to the cowl. An
easy way to do this is by attaching the two hinge halves
with the piano hinge pin, inserting a bright light into the
cowl, and then drilling through the cowl where you can
see the pilot holes in the piano hinge half.
Fitting the Left Side
The left side is fit in the same manner as the right. It is best to
remove the right side during the initial fitting of the left side.
The right side can be re-installed prior to trimming the center-
line of the left half. This allows you to adjust the centerline of
one or the other as needed for the desired fit.
Installing the Centerline Hinges
Once the centerline of each cowl half is trimmed to your
satisfaction, the cowl halves can be removed from the airframe
and the centerline hinges installed per the detailed drawing in
your plans.
Install the Fiberglass Tab
With the two cowls halves removed from the airframe and
pinned together, manufacture and install the fiberglass tab
below the prop hub.
Finishing Up
The remainder of the cut-outs and fasteners can be installed
according to the cowl installation drawing and the Sonex fire-
wall forward manual provided with your engine purchase from
Sonex Aircraft.
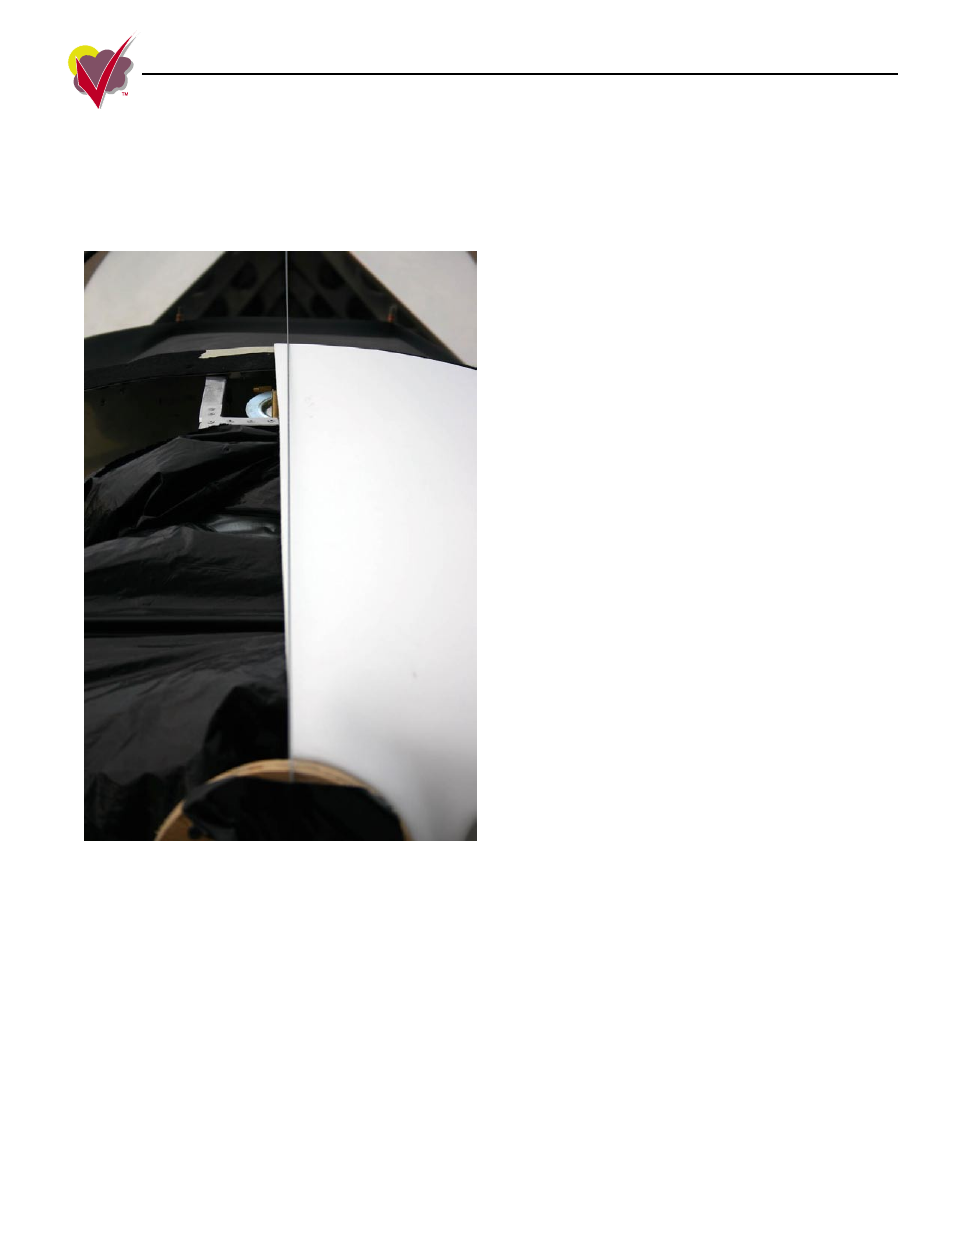
A string stretched from the centerline of the prop hub to the
centerline of the turtledeck identifies the centerline (trim line)
of the upper cowl seam.
__9. Mark the centerline of the top seam. This can be done
by projecting a centerline to the top of the hub spacer
and stretching a string from the top center of the hub to
the top center of the turtle deck.
__10. Tape the bottom aft edge of the cowl up against the fuse-
lage floor and mark the bottom centerline of the cowl
half in the same way you marked the upper centerline.
Important: Do not trim the lower aft edge of the cowl
where it attaches to the fuselage floor, at this time.
__11. Remove the cowl and trim the upper and lower center-
lines.
Cowling Installation
Rev N/C 07/13/08