Conair GMT100RQCS User Manual
Ins tru cci one s de man ejo de su rec ort ado r, Operating instructions for your trimmer
TAKING CARE
OF YOUR TRIMMER
OILING THE BLADES
About once a month you should oil the
trimmer blades with the oil provided in your
kit. It is best to do this over a piece of
newspaper. Turn the trimmer on and hold
it so that the blades are pointed downward.
Spread one drop of oil across the blades,
then turn the trimmer off and wipe away the
excess oil with a soft cloth.
Be careful not to use too much oil and don’t oil your
trimmer more than necessary, as this could damage
the motor. (Never attempt to oil the motor bearing as
it is permanently lubricated.)
After oiling the blades, replace the trimmer and oil
packet in the trimmer storage stand.
BLADE CARE
Because the trimmer blades are precision made
for a very special use, they should always be
handled with care. This trimmer comes with
a removable blade set for easy cleaning. To
remove the blades follow these steps:
1.Make sure the trimmer is off, and the bat-
teries have been removed.
2.With the power switch facing you, gently push
up under the blades until they pop off.
3.To replace, align the tabs on the bottom of
the blades inside the mounting area on the
back of the trimmer and push down until the
blades snap into place.
Each time you finish using the trimmer, take the
cleaning brush provided and brush away any
loose hair that has collected in the blades. Then
store the trimmer in its storage stand until the
next use.
Be especially careful when changing or
adjusting blades. When you have your
trimmer serviced, be sure that all blades are
sharpened or replaced at the same time.
To promote the long life of the appliance, use
your trimmer only for the purpose intended
by the manufacturer- to trim your beard and
mustache.
GROWING A BEARD
AND MUSTACHE
There are three key factors that deter-
mine which beard or mustache style is most
suitable for your face:
1. The shape and dimensions of your face.
2. The natural growth of your beard/mustache.
3. The thickness of your beard/mustache.
If you are unsure of the type of beard or mus-
tache that most suits your face, speak with a
professional hair stylist and ask for an opinion
on what style would be best.
TYPES OF BEARDS/MUSTACHES
Once your beard or mustache has been styled,
it is essential that you maintain its appearance.
To do this, use your shaper to trim your beard/
mustache weekly.
For the best trimming results, your beard should
be slightly damp (not wet) before using the trim-
mer. This will prevent the trimmer from removing
more hair than desired.
GETTING STARTED
OUTLINING YOUR BEARD
1. It is always best to begin with a clean, slightly
damp beard.
2. After you have combed
through your beard in the
direction it grows natu-
rally, you will want to out-
line the desired shape,
beginning under your jawline.
3. Begin defining your beard’s shape under your
chin and work upward on each side of your face
toward your ears. Then define the upper outline
of your beard across your cheeks, past your side-
burns and toward your hairline.
NOW YOU’RE READY
TO TRIM YOUR BEARD
1. Your trimmer adjusts to five positions so you
can have a beard length from 1/8” (shortest) to
5/8” (longest).
2. To use the 5-posi-
tion comb, slide it over
the trimmer blades
and snap down into
position. At first, until
you become familiar
with the adjustments, use the longest trim setting
(5/8”). (You can always go back and make your
beard a little shorter.)
3. Begin trimming your beard using smooth,
even strokes. Start with your sideburns and work
downward toward your chin. (Never attempt to trim
against the natural growth of your beard, because the
hair will be cut too short.)
4. If you decide you want a closer trim, you can
now adjust the 5-position comb to a shorter
setting (such as 1/2” or 3/8”) and go over
your beard again until you achieve the desired
length.
OPERATING
INSTRUCTIONS FOR
YOUR TRIMMER
1. Remove the battery compartment cover by
pushing in and down toward the bottom of the
trimmer.
2. Align the two “AA”* batteries with the
positive and negative positions indicat-
ed inside the battery compartment. Being
careful not to bend the clips, insert the
negative end of each battery first so it will slip
easily into position.
3. Return the battery cover to its original posi-
tion by pushing it in and up until you hear a small
click as it locks into place.
4. To use your trimmer, push ON/OFF switch
upwards to ON position.
5. After you finish using your trimmer, push
down on the ON/OFF switch to turn the
trimmer off.
6. For your convenience, the trimmer comes
with a storage base to hold the trimmer and
accessories.
*R
equires 2 AA batteries (not included). We rec-
ommend using alkaline batteries in your trimmer
because they last longer.
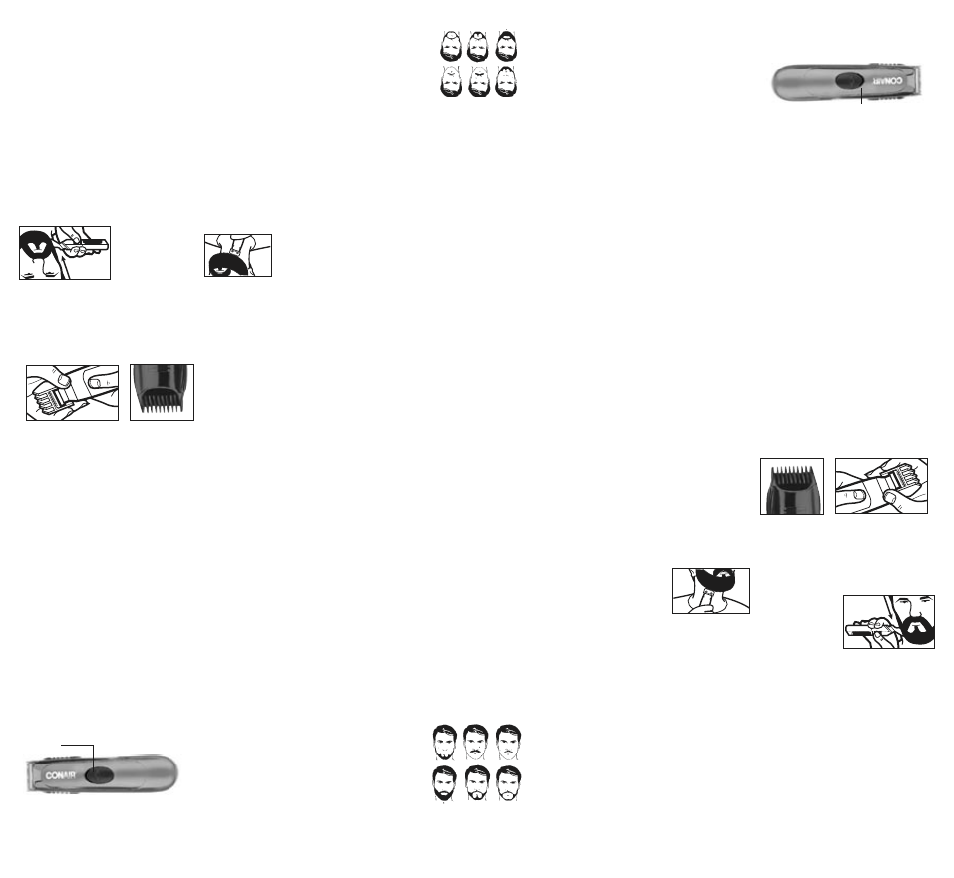
On/Off Switch
CUI
DAD
O D
E S
U
REC
ORT
ADO
R
LUB
RIC
ACI
ÓN
DE
LAS
HO
JAS
Apr
oxim
ada
men
te
una
ve
z p
or m
es d
ebe
lu
bric
ar
las
ho
jas
de
l re
cor
tad
or c
on
el a
cei
te
pro
vist
o e
n
su
equ
ipo
. L
o m
ejo
r e
s h
ace
rlo
so
bre
un
a h
oja
de
per
iód
ico
. E
ncie
nda
el
re
cor
tad
or y
so
sté
nga
lo
de
man
era
qu
e la
s h
oja
s a
pun
ten
ha
cia
ab
ajo
.
Dist
rib
uya
un
a g
ota
de
ac
eite
a
lo
lar
go
de
las
mism
as,
lue
go
apa
gue
el
re
cor
tad
or
y q
uite
el
exc
eso
de
ac
eite
co
n u
n p
año
su
ave
.
Ten
ga
cui
dad
o d
e n
o u
sar
de
mas
iad
o a
cei
te
y n
o
lub
riq
ue
su
rec
orta
dor
m
ás
de
lo
nec
esa
rio
, y
a
que
pu
ede
da
ñar
el
m
oto
r. (
Nun
ca
int
ent
e lu
bri-
car
el
co
jin
ete
de
l m
oto
r, y
a q
ue
ést
e s
e lu
bric
a
per
man
ent
em
ent
e).
Lue
go
de
lub
rica
r la
s h
oja
s, v
uel
va
a c
olo
car
el
rec
orta
dor
y
el e
nva
se
de
ace
ite
en
el
so
por
te.
CUI
DAD
O D
E L
AS
HOJ
AS.
Dado que
las hojas
son instrumentos
de pre
-
cisión fabricados
para un
uso muy
específico,
deberán tra
tarse siempre
con cuidado.
Este
recortador se
entrega con
un conjunto
remov-
ible de
hojas para
facilitar su
limpieza. P
ara
retirar las
hojas, siga
los pasos
descritos a
continuación:
1. Asegúrese
que el
recortador está
apa
gado y
que se
han quitado
las pilas.
2. Con
el interruptor
de encendido
mirando
hacia usted,
empuje
las hojas
suavemente
hacia arriba
hasta que
éstas se
desprendan.
3. P
ara volver
a colocarlas,
alinee
las lengüe
-
tas de
la parte
inferior de
las hojas
dentro
del área
de montaje
en la
parte trasera
del
recortador y
empuje hacia
abajo hasta
que
traben en
su posición.
Cad
a v
ez
que
te
rm
ine
de
us
ar
el r
eco
rta
dor
,
tom
e e
l c
epi
llo
de
lim
pie
za
pro
vis
to
y q
uite
cua
lqu
ier
pe
lo
sue
lto
qu
e s
e h
aya
ac
um
ula
do
en
las
ho
jas
. A
co
ntin
uac
ión
, g
uar
de
el
rec
orta
dor
en
su
so
por
te
has
ta
que
vu
elv
a a
util
iza
rlo
.
Ten
ga
esp
ecia
l c
uid
ado
cu
and
o c
am
bie
o
aju
ste
hoj
as.
Cua
ndo
e
nvíe
s
u r
eco
rta
dor
, a
re
par
ar,
ase
gúr
ese
qu
e to
das
la
s h
oja
s s
e a
file
n o
re
em
-
pla
cen
al
m
ism
o ti
em
po.
Par
a p
rol
ong
ar
la
vid
a ú
til
del
a
par
ato
, u
se
su
rec
orta
dor
ún
ica
men
te
par
a e
l p
rop
ósit
o p
ara
el
que
fu
e fa
bric
ado
–
el d
e re
cor
tar
su
ba
rba
y
su
big
ote
.
LA
BAR
BA
Y EL
BI
GOT
E A
PRO
PIA
DOS
Exi
ste
n tr
es
fac
tor
es
clav
e q
ue
det
erm
ina
n q
ué
est
ilo
d
e b
arb
a y
b
igo
te
es
el m
ás
apro
pia
do
par
a s
u ro
stro
:
1. L
a fo
rm
a y
di
men
sio
nes
de
su
ro
stro
.
2. E
l c
rec
im
ien
to
nat
ura
l d
e s
u b
arb
a o
bi
got
e.
3. L
a e
spe
sur
a d
e s
u b
arb
a o
bi
got
e.
Si n
o e
stá
se
gur
o re
spe
cto
a
qué
tip
o d
e b
arb
a
o b
igo
te
es
el m
ás
ade
cua
do
par
a s
u c
ara
, h
abl
e
con
un
pe
luq
uer
o y
pí
dal
e s
u o
pin
ión
so
bre
el
est
ilo
qu
e m
ás
le
con
vie
ne.
TIP
OS
DE
BAR
BAS
Y
BIG
OTE
S
Una vez
que le
ha dado
forma a
su barba
o
bigote, es
esencial que
mantenga su
aspecto.
Para
ello, use
su modelador
para recortarla/o
semanalmente.
Para
obtener los
mejores resultados,
debe
humedecer (no
mojar) ligeramente
su barba.
Esto evitará
que el
recortador quite
más pelo
que el
deseado.
PRI
MER
OS
PAS
OS
DEL
INE
ACI
ÓN
DE
SU
BAR
BA
1. Siempre
es mejor
comenzar con
la barba
limpia y
ligeramente humedecida.
2. Una
vez que
la ha
pei-
nado en
la dirección
de su
crecimiento na
tural, querrá
delinear la
forma deseada,
comenzando bajo
la línea
de la
mandíbula.
3. C
om
ien
ce
def
ini
end
o la
fo
rm
a d
e s
u b
arb
a
baj
o la
ba
rbi
lla
y
tra
baj
e h
aci
a a
rrib
a a
am
bos
lad
os
de
la
car
a e
n d
ire
cci
ón
hac
ia
sus
or
eja
s.
Lue
go
def
ina
el
co
nto
rno
su
per
ior
a
lo
lar
go
de
sus
m
ejill
as,
más
al
lá
de
sus
pa
tilla
s y
ha
cia
el
nac
im
ien
to
del
ca
bel
lo.
AHO
RA
EST
Á L
IST
O P
ARA
REC
ORT
AR
SU
BAR
BA
1. Su
recortador se
ajusta en
cinco posiciones,
por lo
que puede
obtener longitudes
de barba
entre 3
mm (1/8
")
(la más
corta) y
16 mm
(5/8")
(la más
larga).
2. P
ara usar
el peine
guía de 5 posiciones,
des
líc
elo
s
obr
e
las
hojas de
su recorta
-
dor y
trábelo hacia
abajo en
su posición.
Al principio,
y
hasta que
se familiarice
con los
ajustes, use
la posición
de recorte
más larga
(16 mm
ó 5/8
").
(Siempre tiene
la posibilidad
de acortar
su barba).
3. Comience
a recortar
su barba
mediante
pasadas sua
ves y
parejas. Empiece
por las
patillas
y siga
hacia abajo
en dirección
hacia
la barbilla.
(Nunca
intente recortar
en sentido
contrario a
la dirección
natural
de crecimiento,
dado que
cortará el
pelo demasiado
corto).
4. Si
decide que
quiere la
barba más
corta,
ahora puede
ajustar el
peine guía
de 5
posi-
ciones a
una opción
más corta
(12 mm
ó ½
"
o bien
9 mm
ó 3/8
")
y pasarlo
nuevamente
hasta alcanzar
el largo
deseado.
INS
TRU
CCI
ONE
S
DE
MAN
EJO
DE
SU
REC
ORT
ADO
R
1. Quite
la ta
pa del
compartimiento de
pilas
presionando hacia
adentro y
abajo de
la parte
inferior de
su recortador
.
2. Alinee
las dos
pilas AA*
con las
posiciones
positiva y
negativa
indicadas dentro
del com
-
partimiento de
pilas. Cuidando
de no
doblar
los clips,
inserte
en primer
lugar el
extremo
negativo
de cada
pila para
que éstas
se desli
-
cen fácilmente
a su
posición.
3. V
uel
va
a c
olo
car
la
tap
a d
el c
om
par
tim
ien
to
en
su
pos
ici
ón
orig
ina
l p
res
ion
ánd
ola
h
aci
a
ade
ntro
y
a
rrib
a h
ast
a e
scu
cha
r u
n c
lic
q
ue
ind
ica
qu
e s
e h
a tr
aba
do
en
su
pos
ici
ón.
4. P
ara usar
su recortador
, deslice
el inter
-
ruptor ENCENDIDO/AP
AGADO hacia
arriba a
la
posición ENCENDIDO.
5. Luego
de usarlo,
apa
gue el
recortador desli
-
zan
do
el
int
err
upt
or
EN
CEN
DID
O/A
PAG
AD
O
hacia abajo
a la
posición AP
AGADO.
6.
Par
a
gua
rda
rlo
m
ás
cóm
oda
men
te,
e
l
recortador viene
con un
soporte que
sostiene
el apara
to y
los accesorios.
* R
equ
ier
e 2
p
ila
s A
A (
no
inc
lui
das
).
Rec
om
end
am
os
usa
r p
ila
s a
lca
lin
as
en
su
rec
orta
dor
, p
orq
ue
son
d
e
may
or d
ura
ció
n.
Int
erru
pto
r E
NCE
NDI
DO/
APA
GAD
O