Dell Dimension XPS T___ User Manual
Page 26
1. If possible, enter the
system setup program
and print the system setup screens by pressing the
computer because you will have to restore the configuration information after the system board is replaced.
2. Disconnect any cables attached to the
input/output (I/O) panel on the back of the computer
.
3. Disconnect any cables connected to expansion cards, and
.
4. Disconnect all internal cables from the
system board
.
5.
Remove the SECC2 package and heat sink assembly.
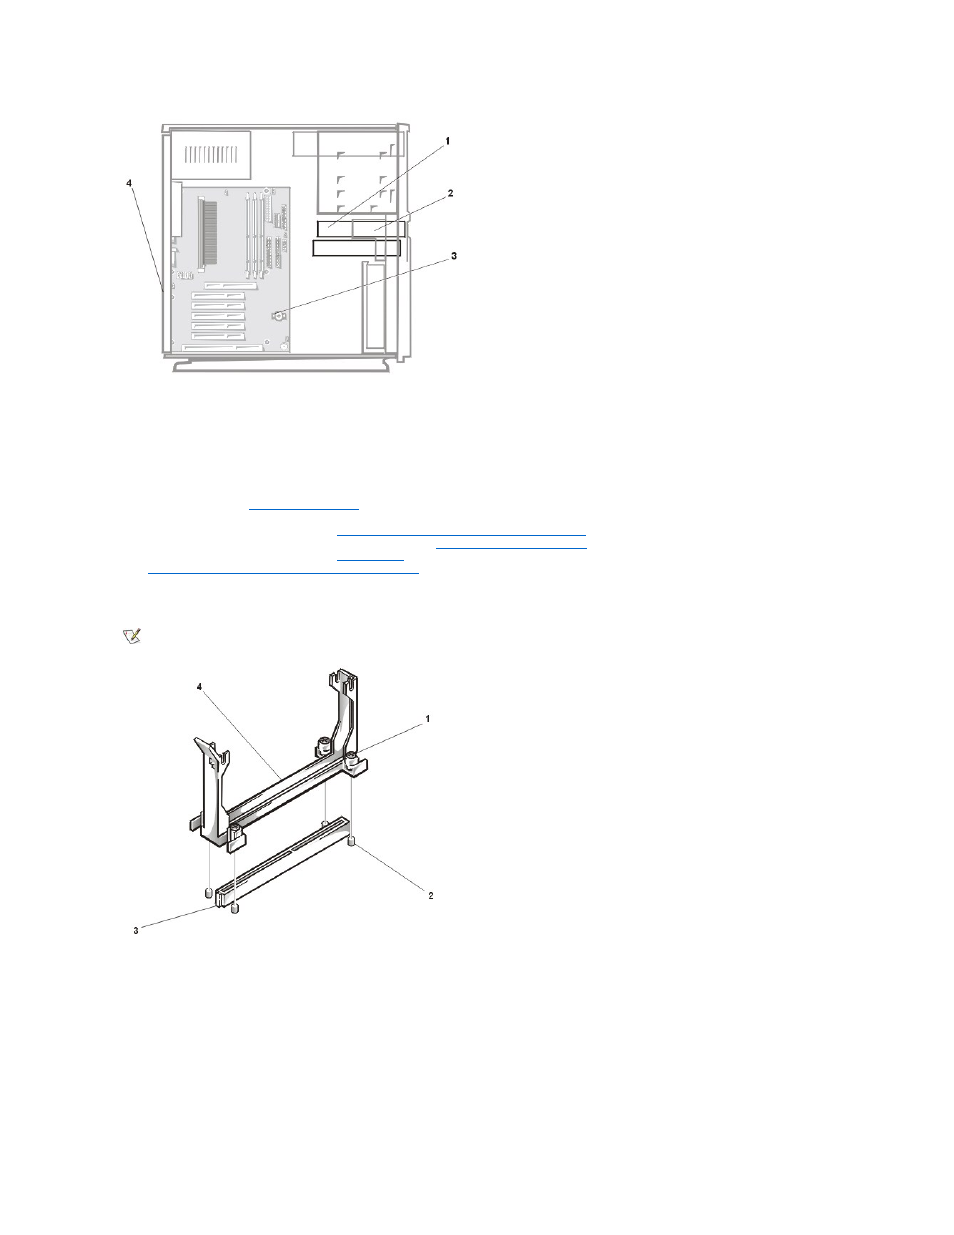
6. Using a #2 Phillips-head screwdriver, loosen the four captive nuts securing the guide bracket assembly for the SECC2 package to the
system board.
7. Remove the assembly from the four threaded posts as shown in the following figure.
8. Remove the system-board mounting screw from the back of the computer, as shown in the following figure.
1 3.5-inch diskette drive
2 Secondary hard-disk drive bracket
3 System board
4 I/O gasket
NOTE: The four nuts are captive and are retained in the assembly when loosened. The screws are mounted on the system board.
1 Captive nuts (4)
2 Threaded posts (4)
3 Key
4 Guide bracket assembly