Precautionary measures, Recommended tools, Cover and support beam – Dell Dimension XPS T___ User Manual
Page 16: Bezel, Drive cage, Inch front-panel insert, Upper 3.5-inch drive, Lower 3.5-inch drive, Inch diskette drive, Inch drive
To remove the drive cage, perform the following steps:
1.
2. Note the location and orientation of all cables attached to the drives in the drive cage, then disconnect the cables.
3. Remove the screw that secures the drive cage to the chassis.
4. Slide the drive cage forward approximately 1/2-inch, then lift it up (to the side for the desktop chassis) and away from the chassis.
The side of the chassis contains three detents that secure the drive cage to the side of the chassis. The drive cage may be slightly difficult to
slide forward until it detaches from these detents.
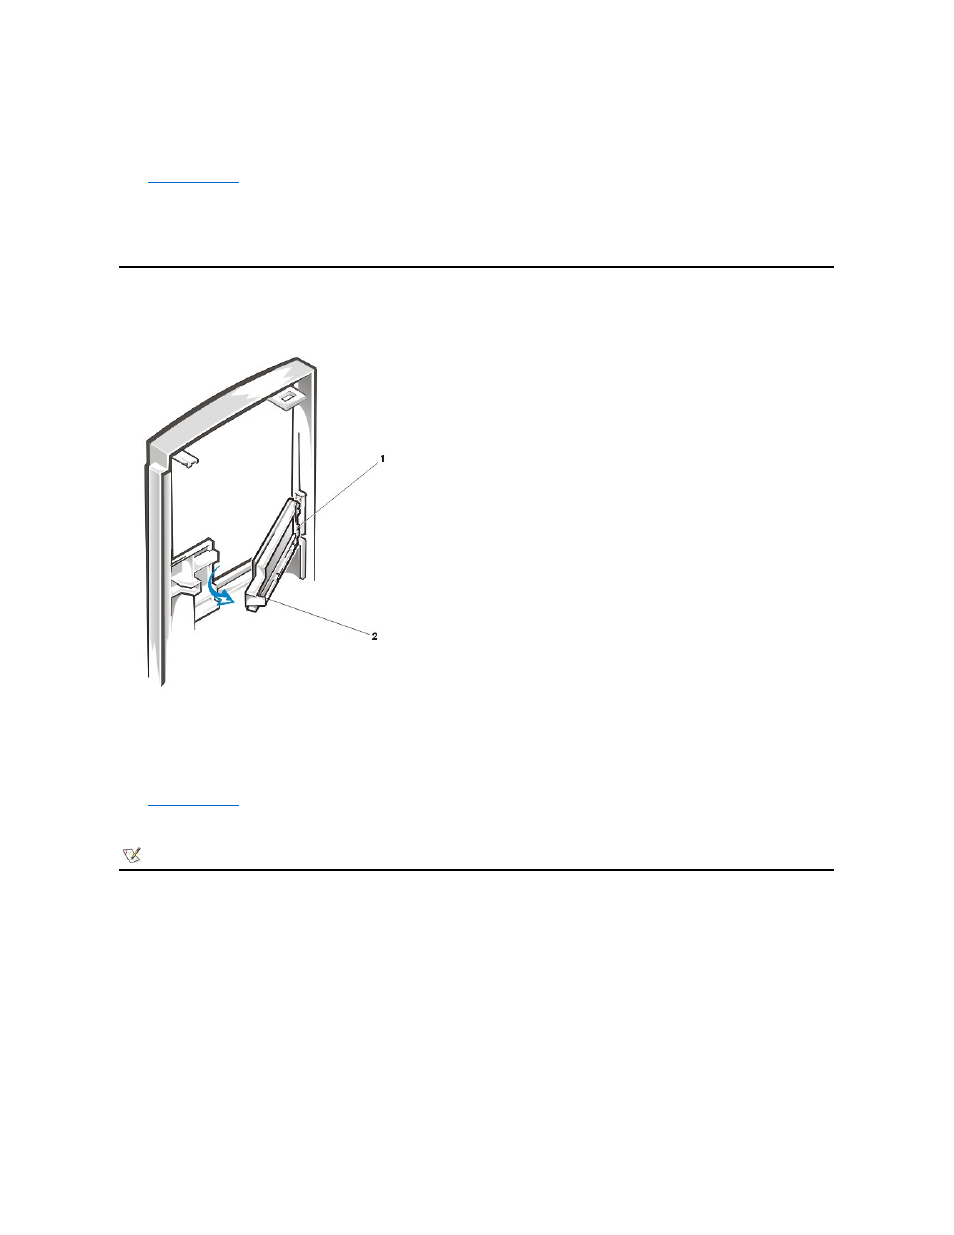
3.5-Inch Front-Panel Insert
To remove a 3.5-inch insert, perform the following steps:
1.
2. From the back of the bezel, as shown for the mini tower chassis, press the release tab to the side, rotate the insert toward you, and remove it
from the bezel.
5.25-Inch Front-Panel Insert
4 Tabs (6)
1 Tabs (2)
2 Release tab
NOTE: For mini tower computers, you must remove the upper insert to remove the lower insert.