Replacing the computer cover – Dell Studio XPS 435 MT (Late 2008) User Manual
Page 9
Back to Contents Page
Replacing the Computer Cover
Dell Studio XPS™ 435MT Service Manual
1.
Follow the procedures in
Before You Begin
.
2.
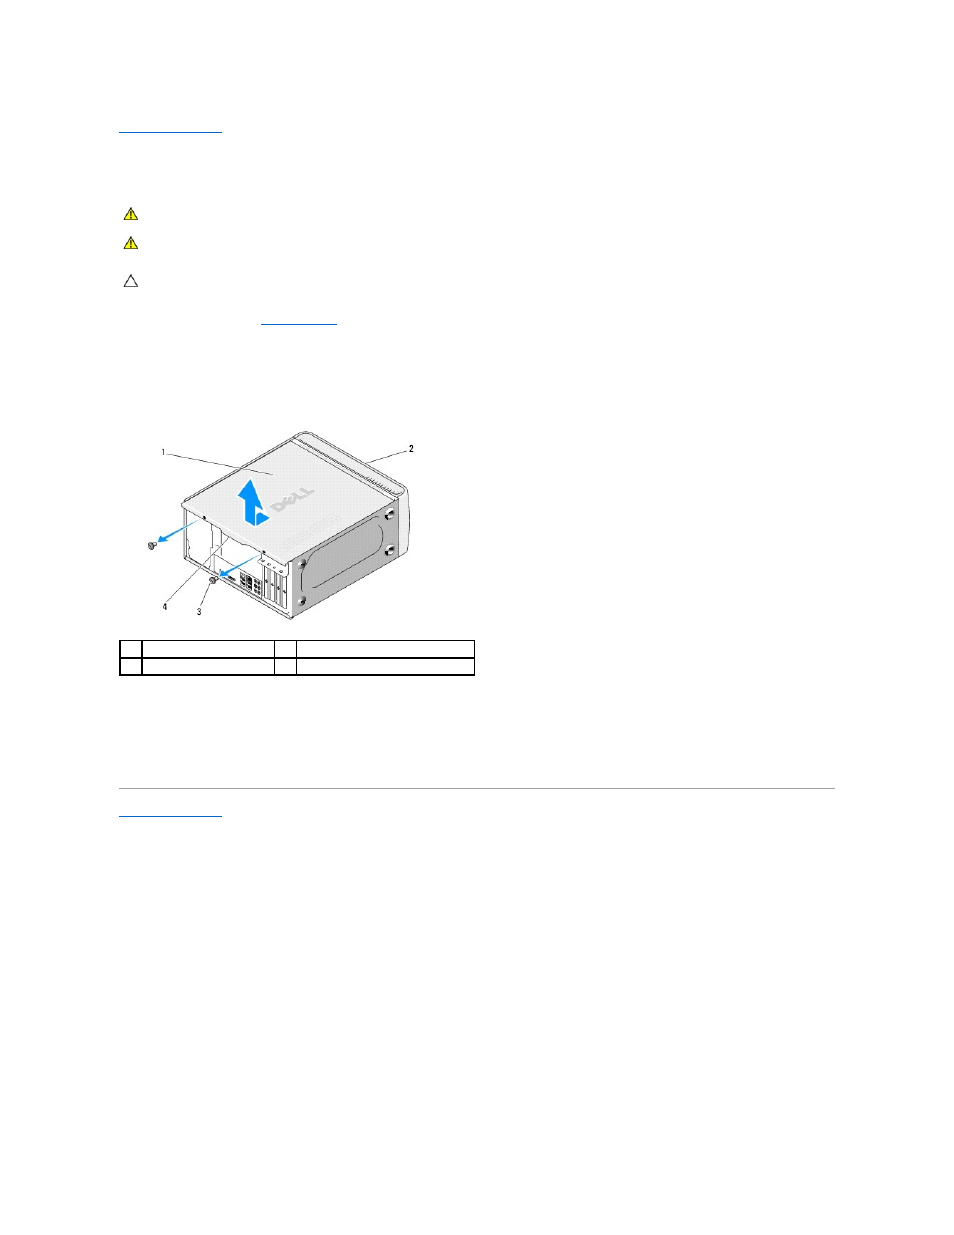
Lay your computer on its side with the computer cover facing up.
3.
Open the padlock, if applicable.
4.
Remove the two screws securing the cover, using a flat-blade screwdriver.
5.
Pull the cover grip towards the back of the computer, and lift the computer cover away from the computer.
6.
Set the computer cover aside in a secure location.
7.
To replace the computer cover, perform the removal procedure in reverse order.
Back to Contents Page
WARNING:
Before working inside your computer, read the safety information that shipped with your computer. For additional safety best
practices information, see the Regulatory Compliance Homepage at www.dell.com/regulatory_compliance.
WARNING:
To guard against likelihood of electric shock, laceration by moving fan blades or other unexpected injuries, always unplug your
computer from the electrical outlet before removing the cover.
CAUTION:
Ensure that sufficient space exists to support the system with the cover removed—at least 30 cm (1 ft.) of desk top space.
1
computer cover
2
front of the computer
3
screws (2)
4
cover grip