Dell Precision 420 User Manual
Page 9
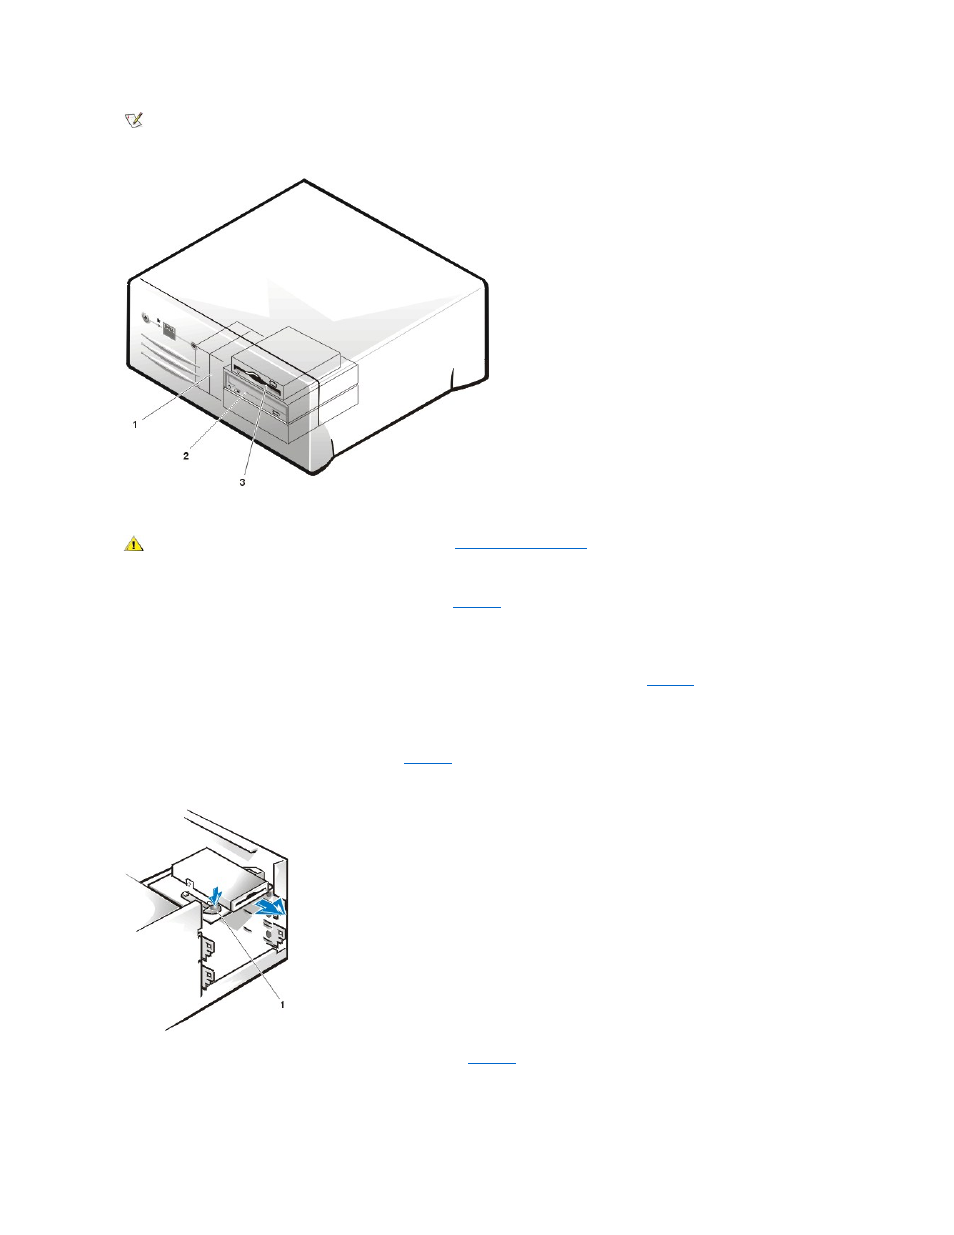
Figure 11. Drive Locations
Diskette Drive Removal
To remove the 3.5-inch diskette drive assembly, perform the following steps:
1. Rotate the system power supply up and out of the system (see
).
2. Disconnect the DC power cable from the back of the diskette drive.
3. Disconnect the interface ribbon cable from the back of the diskette drive.
The other end of this ribbon cable is connected to the DISKETTE connector on the system board (see
for the location of the
DISKETTE connector).
Note the routing of the DC power and interface ribbon cables through the chassis as you disconnect them. It is important to route the cables
properly when you replace them to prevent them from being pinched or crimped.
4. Press down on the retaining-tab release button (see
) and pull the drive assembly forward to remove it from the chassis.
Figure 12. Diskette Drive Removal
5. Remove the screw securing the diskette drive to the bracket (see
).
Figure 13. 3.5-Inch Drive Bracket
NOTE: In all of the following procedures, left and right refer to your left and right as you face the front of the computer.
1 Hard-disk drives
2 5.25-
inch drives
(CD-ROM drive
shown)
3 3.5-inch diskette
drive
CAUTION: Before you remove the computer cover, see "
1 Retaining-tab release button