Dell Precision 420 User Manual
Page 10
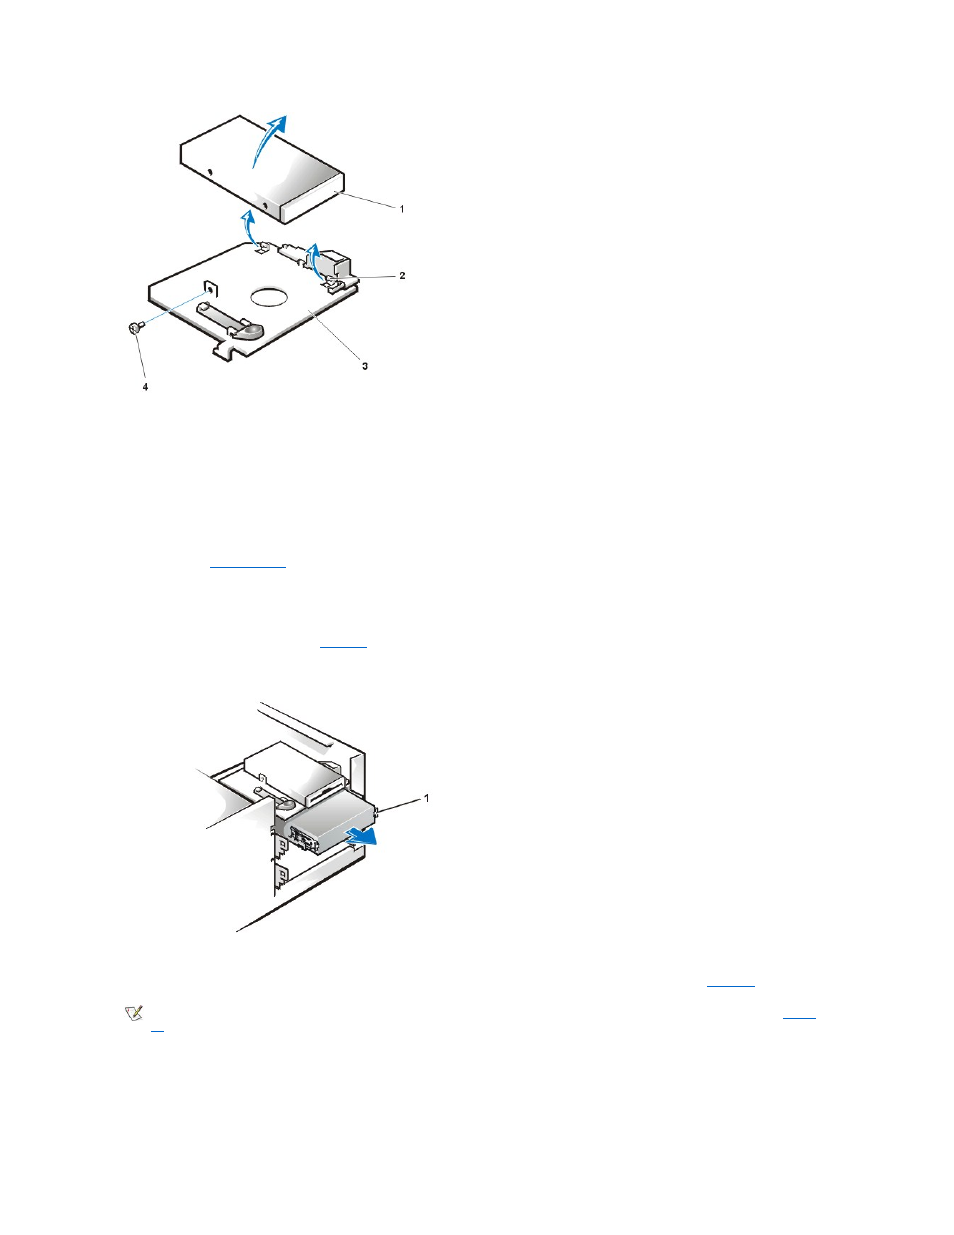
6. Rotate the left side of the diskette drive up until the drive is clear of the retaining tabs.
When you replace the 3.5-inch diskette drive on the bracket, be sure that the two retaining tabs on the right side of the bracket engage the
mounting holes in the side of the 3.5-inch diskette drive. Then replace the screw that holds the diskette drive to the bracket. To replace the 3.5-inch
diskette drive/bracket assembly in the chassis, slide the bracket tabs into the guides on the chassis until the bracket snaps into place. Reconnect
the DC power and interface cables.
5.25-Inch Diskette, LS-120 SuperDisk, Tape, or CD-ROM Drive Removal
To remove a diskette, LS-120 SuperDisk, tape, or CD-ROM drive, perform the following steps:
1. Remove the
.
2. Disconnect the DC power cable and data cable from the back of the drive.
3. Squeeze the metal tabs that extend from each side of the drive bracket toward each other.
4. Pull the bracket out of the bay (see
).
Figure 14. 5.25-Inch Drive Removal
Figure 15. 5.25-Inch Drive Bracket
1 3.5-inch diskette drive
2 Retaining tabs (2)
3 Bracket
4 Screw
1 Bracket tabs (2)