Optical drives, About the device security screw, Removing and installing optical drives – Dell Inspiron 640M User Manual
Page 114
114
Adding and Replacing Parts
Optical Drives
About the Device Security Screw
NOTE:
You do not need to install the device security screw unless you want to prevent the module from being
easily removed.
Your Dell™ computer ships with an optical drive installed in the module bay and a device security screw,
which may not be installed in the optical drive but packaged separately. When you install a module in
the bay, you can install the device security screw to prevent the module from being easily removed.
Removing and Installing Optical Drives
NOTICE:
To prevent damage to drives, store them in a safe, dry place when they are not installed in the computer.
Avoid pressing down on them or placing heavy objects on top of them.
1 While the computer is turned on, double-click the Safely Remove Hardware icon on the taskbar, click
the device that you want to eject, and click Stop.
2 Close your display and turn the computer upside-down.
3 Use a Phillips screwdriver to remove the device security screw from the bottom of the computer.
4 Insert a Phillips screwdriver into the screw hole to push the drive out of the module bay.
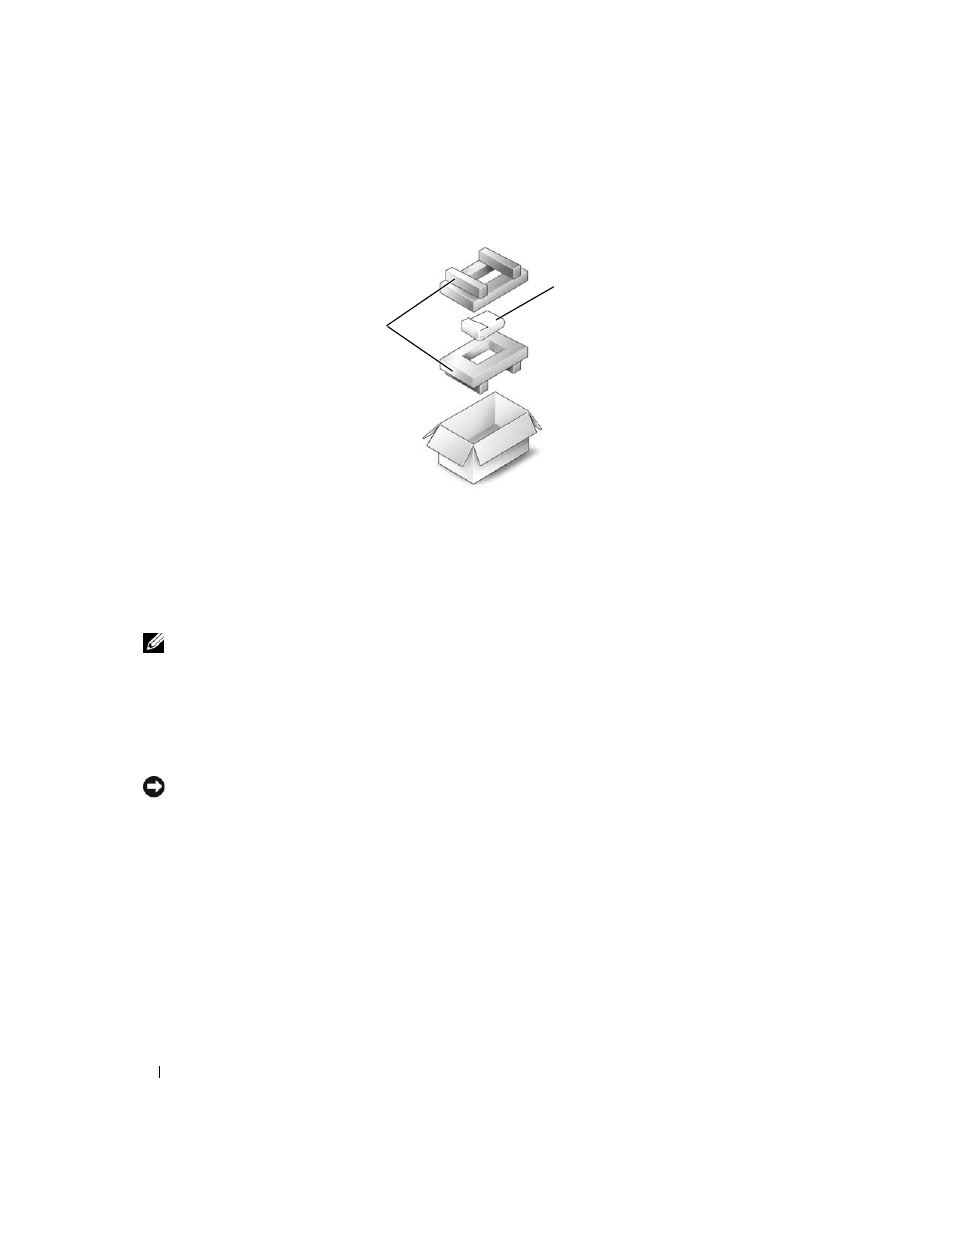
1
foam packaging
2
hard drive
2
1