Replacing a floppy drive (xps 730 only) – Dell XPS 730 H2C (Late 2008) User Manual
Page 22
7.
Rotate the drive panel toward the computer until it snaps into place on the drive panel.
8.
Replace the computer cover (see
Replacing the Computer Cover
).
Replacing a Floppy Drive (XPS 730 Only)
1.
Follow the procedures in
Before You Begin
.
2.
Remove the computer cover (see
Replacing the Computer Cover
).
3.
Remove the drive panel (see
4.
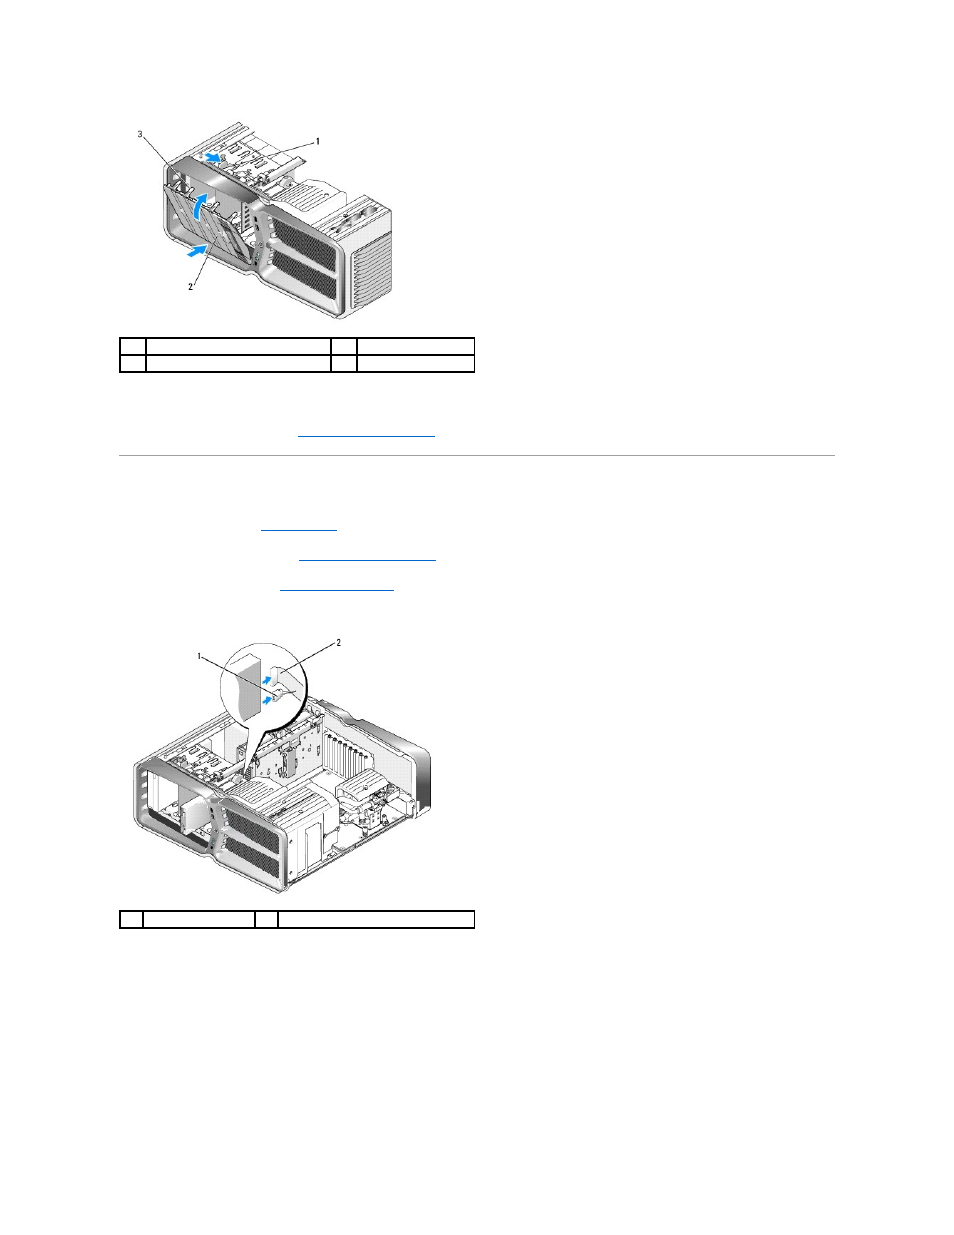
Disconnect the power and data cables from the back of the floppy drive.
5.
Slide the drive release latch towards the base of the computer to release the shoulder screw, and then slide the drive out of the drive bay.
1
drive release latch
2
drive panel
3
drive panel tabs
1
power cable
2
floppy drive data cable
This manual is related to the following products: