Installing the rapidrails assemblies, Figure 1-4, Marking the vertical rails – Dell POWEREDGE 1955 User Manual
Page 12
10
Rack Installation Guide
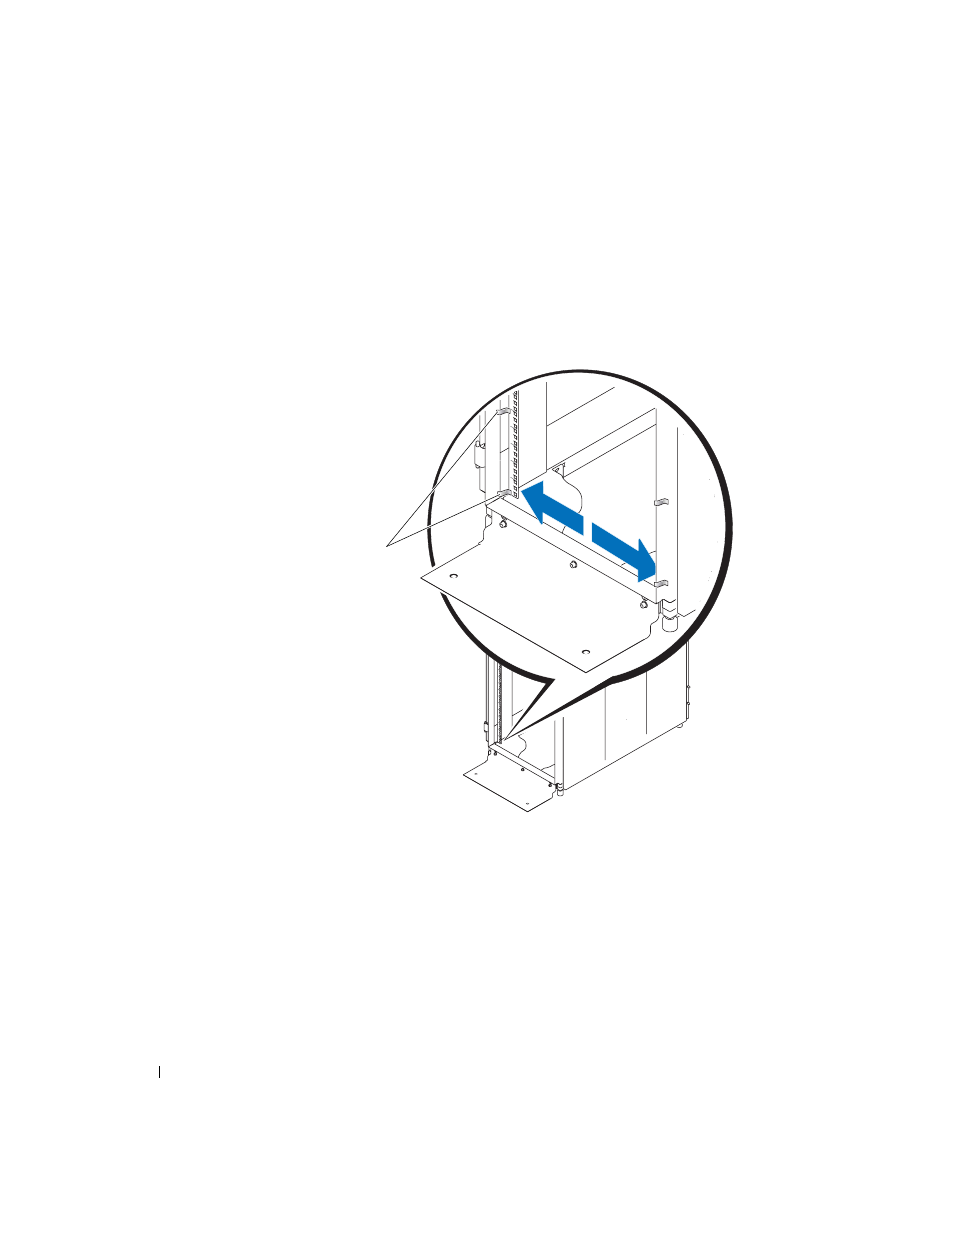
2 Mark the rack’s front vertical rails with a felt-tipped pen or masking tape approximately 31.1
cm (12.25 inches) above the original mark you made (or count up 21 holes in a rack that
meets EIA-310 standards). (If you counted holes, place a mark just above the top hole.)
This mark or piece of tape indicates where the system’s upper edge will be located on
the vertical rails (see Figure 1-4).
Figure 1-4.
Marking the Vertical Rails
Installing the RapidRails Assemblies
1 At the front of the rack cabinet, position one of the RapidRails assemblies so that its
mounting-bracket flange fits in the appropriate location on the rack (see Figure 1-5).
The lower mounting hook on the rail assembly’s front-mounting bracket flange should enter
the third hole up from the bottom mark on the vertical rails.
2 Push the rail assembly forward until the top mounting hook enters the square hole just below
the upper marks or tape you placed on the vertical rail. Next, push down on the mounting-
bracket flange until the mounting hooks seat in the square holes and the push button pops
out and clicks (see Figure 1-5).
tape on vertical rail