Jeppesen JeppView 3 User Manual
Page 9
14
15
Creating a Route
(Continued)
7. Click
InsertWaypoint (F8).
8. FliteDeck draws the proposed route on the chart and lists the waypoints.
9. Click
Execute (F7) to confirm your route.
You now have a route in FliteDeck from which to choose terminal charts or
conduct enroute navigation.
Viewing Terminal Charts for the Route
To view terminal charts, follow these steps:
1. Click
Terminal or press PAGE DOWN to go to the Terminal page.
2. Click
SelectAirport (F1).
3. Select an airport button to view its terminal charts:
•
DepApt (F7)—The active route departure airport.
•
DestArpt (F8)—The active route destination airport.
•
Nearest (F9)—The nearest airport to your present position, regardless
of what is programmed in the active route (GPS position required).
•
Next (F10)—The next airport that appears as a waypoint in the
active route (GPS position required).
•
Chosen (F11)—The airport entered in the Enter Waypoint text box on
the Plan page.
FliteDeck displays the Airport (Runway) chart for your departure airport.
4. Click the terminal chart buttons to look
at SIDs, STARs, Approach Charts, and
Airport Information.
5. Click
SelectAirport (F1) to look at the charts
for a different airport in the route.
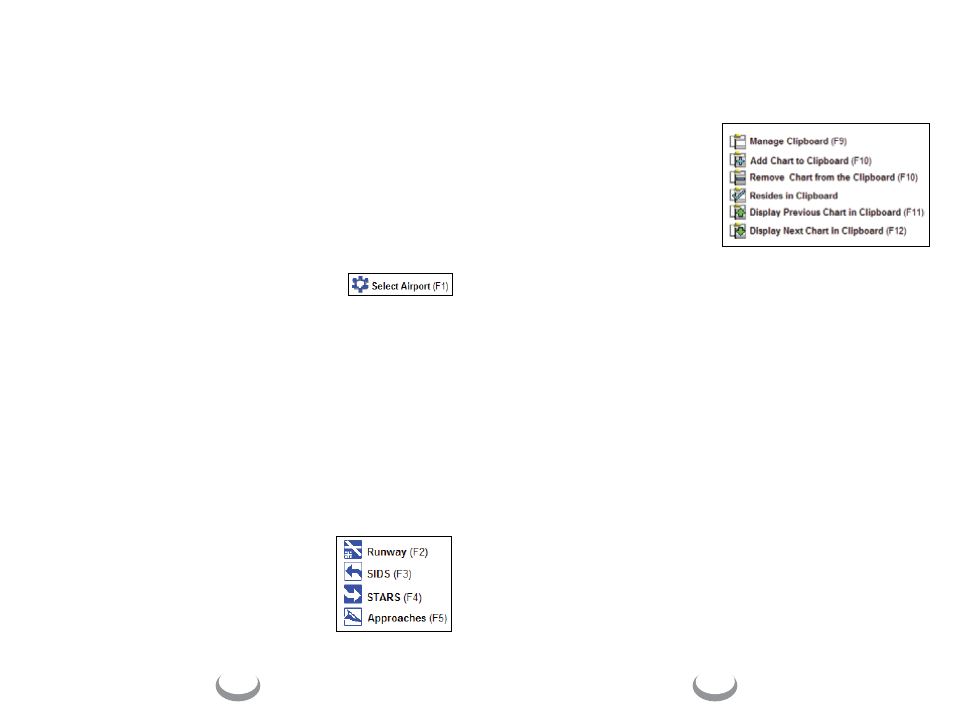
Using the Clipboard
The clipboard feature places your favorite charts on a simulated kneeboard
for quick and easy access. To add charts to the clipboard, follow these steps:
1. While viewing a chart of
interest on the Terminal page,
click
AddCharttoClipboard (F10).
2. Click
Runway (F2), SIDS (F3),
STARS (F4), or Approaches (F5).
3. Select a chart and click
Add
CharttoClipboard (F10). A
clipboard icon with a check
mark appears at the end of each selected chart.
4. When finished, click
Done or ESC depending on the used configuration
to exit.
5. Repeat steps 2 and 3 as needed.
6. On the Terminal page, click
DisplayPreviousChart in Clipboard (F11)
and
DisplayNextChart inClipboard (F12) to view the listed charts.
7. Click
ManageClipboard (F9) to rearrange the order of the charts, and
remove charts from the list.
Viewing Enroute Information for the Route
NOTE: These features are only available with GPS position or the GPS simulator.
To view enroute information for a route, follow these steps:
1. Click Enroute
Nav or press PAGE DOWN to view the Enroute Nav page.
2. Click five to six times in each of the Flight Information blocks on the left
side of the screen or press the associated function keys to examine the
types of information available. Until you start flying or simulate flying
a route, you may not see any actual data in these blocks.
Select Airport icon and
function keys
Terminal Chart icons and
function keys
Clipboard icons and function keys