Apricorn Mac Array - Internal SSD RAID Array for Mac Pro User Manual
Page 3
necessary to create open space to insert the new Mac Array card.
Press the white button on the support that stabilizes the rear of installed cards.
5.
Slide the stabilizer back to expose the slots that the rear of the full length card
will be supported by once installed.
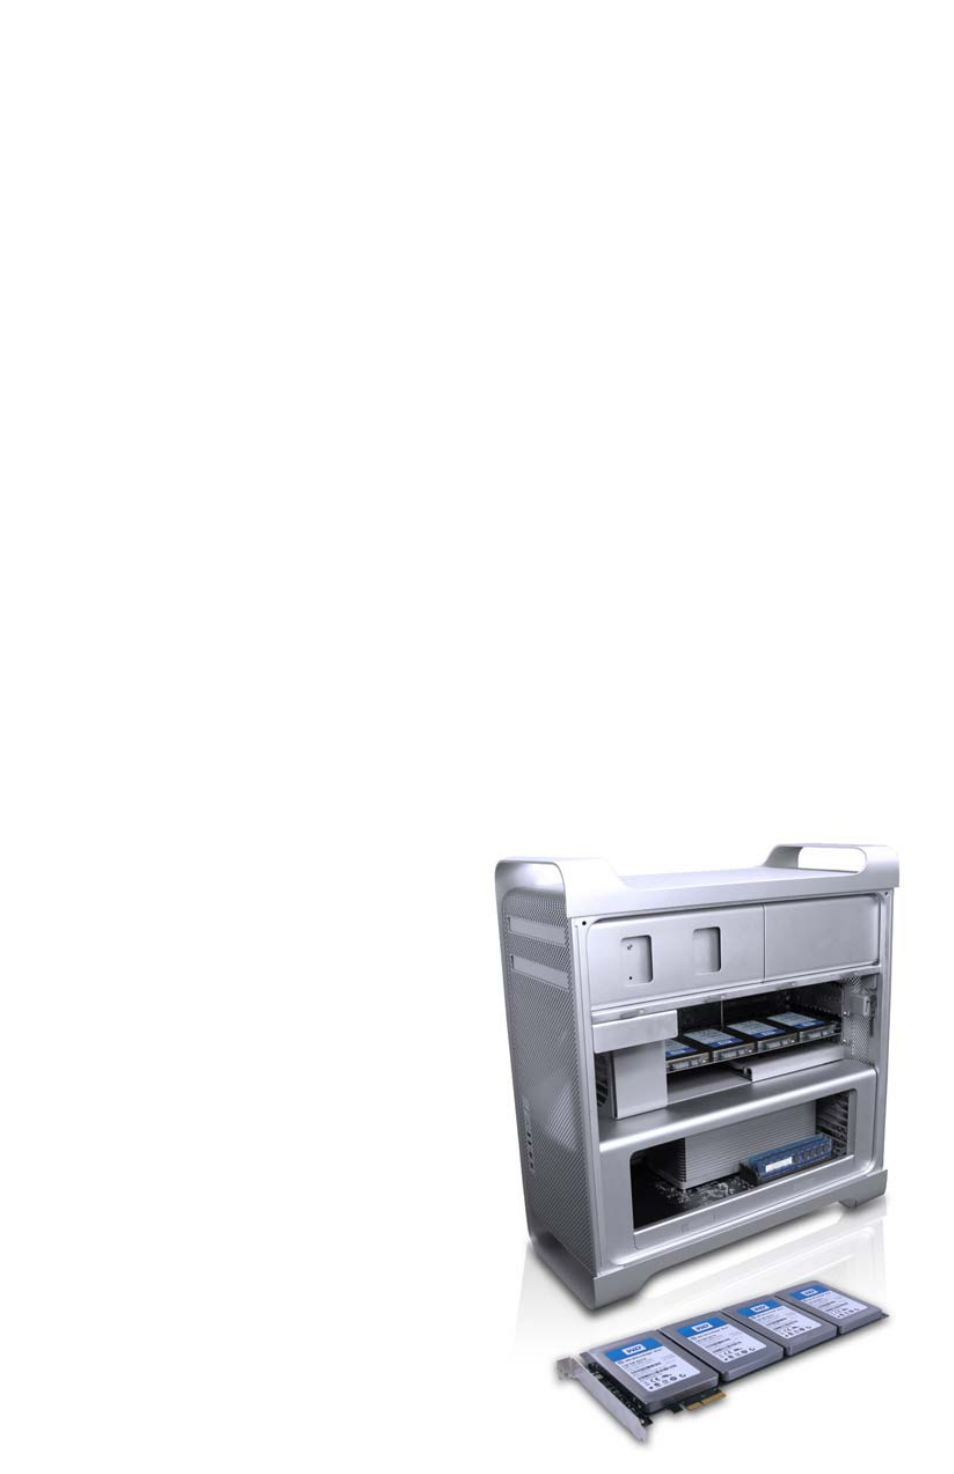
Install the Mac Array card by carefully sliding the rear of the directly into the
6.
top most slot of the rear stabilizer, while simultaneously guiding the front of the
card into the open space you created by removing the hard drive carriers in
step 4)
Once the Mac Array is inserted far enough to clear the edge of the case,
7.
position the card directly above the top most PCIe slot, and then carefully insert
it into the slot.
Secure the back of the card by sliding the stabilizer back forward, that you
8.
moved back in step 5)
Secure the front of the card with the bracket you removed in step 3.
9.
Replace the side cover of your MacPro and plug the power cord back into an
10.
AC power receptacle.
SATA DEVICE INSTALLATION
OSX will not recognize the Mac Array until the device driver is loaded. The
device drivers are located on the included CD. Insert the CD and run the ‘Install’
application. Immediately after the install finishes you will see the new volume
named “Mac Array” appear on your desktop. The volume is preformatted as Mac
OSX Extended (journaled). You may partition and format the volume differently if
you require by using the Macintosh
Disk Utility.
CONFIGURING THE MAC ARRAY
The Apricorn Mac Array Card
supports Raid levels 0,1,5,10.
The card was pre-configure by
Apricorn as a Raid0 to deliver the
highest Read Write speeds. If you
require a different Raid level for
your application you may change
the raid level using the Macintosh
Disk Utility. Be aware, changing
Raid level is a ‘destructive’process
and will result in data loss. Be
sure to have a backup of data on
the Mac Array, if you choose to
modify the Raid.