About the aegis padlock fortress drive, Package contents, Travel pouch – Apricorn Aegis Padlock Fortress - USB 3.0 Solid State Drive User Manual
Page 4: Usb y-cable, Fips, Aegis padlock
4
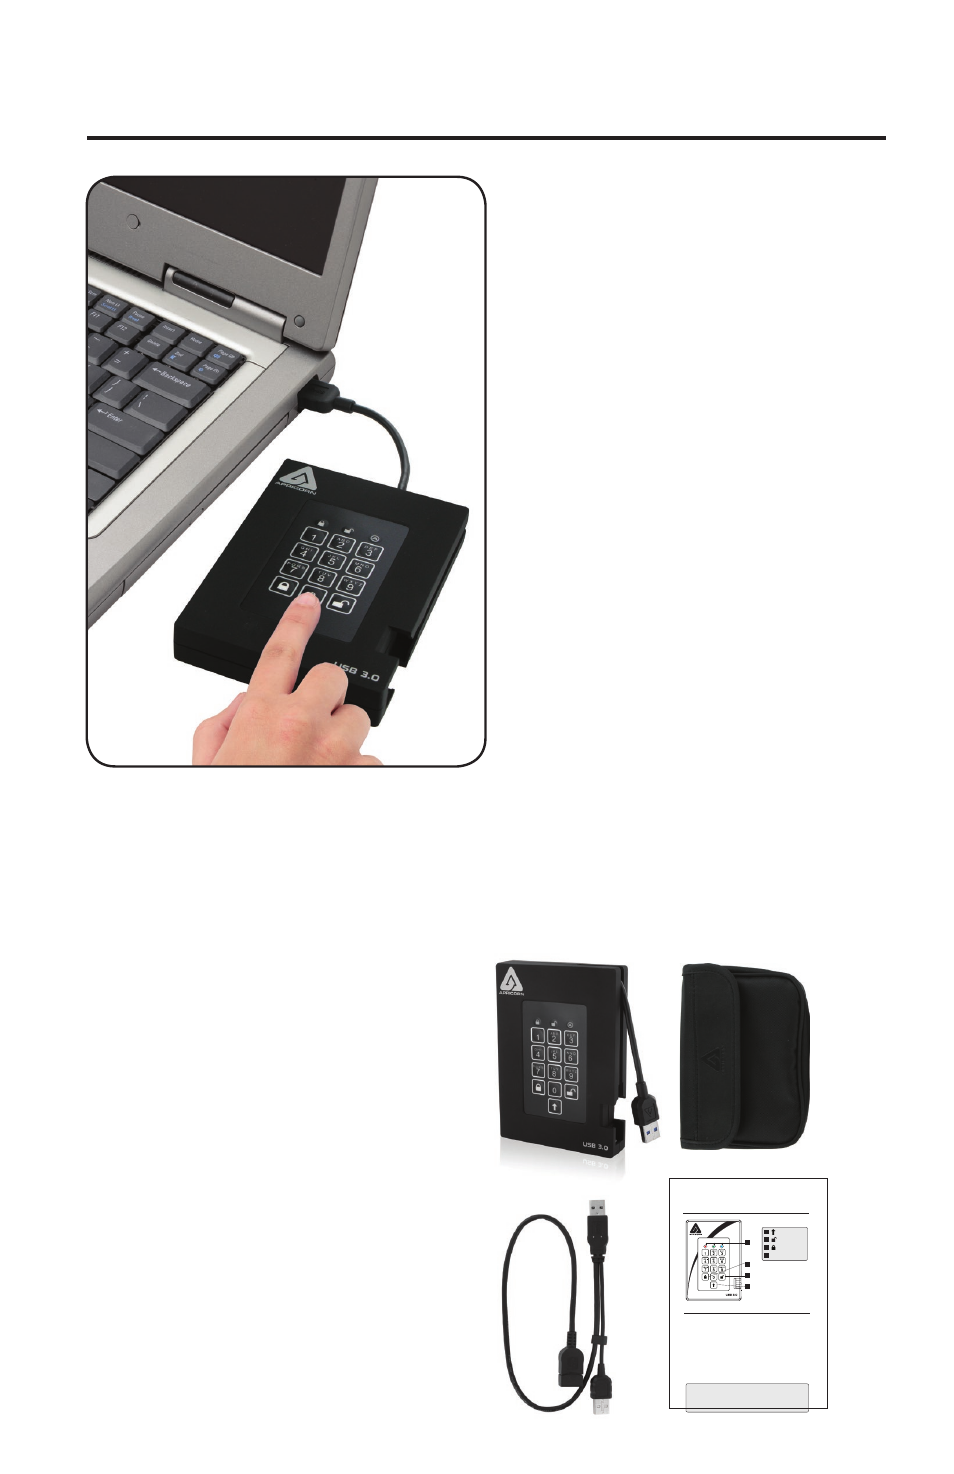
About the Aegis Padlock Fortress Drive
Package contents
•
Aegis Padlock Fortress drive
with integrated USB 3.0 cable
•
Travel pouch
•
USB Y-cable
•
Quick Start Guide
Looking for the highest level of
security for your data while utilizing
the fastest USB 3.0 speeds?
Look no further than the Aegis
Padlock Fortress 140-2 Validated
Drive, certified and tested to NIST
FIPS 140-2 Level 2 requirements
and with the fastest speeds of
Apricorn’s Secure Drive line.
Sporting an easy-to-use keypad
design that is impervious to dust
and grit, with a software free setup
and operation, the Aegis Padlock
Fortress Edition enables you to
access the drive simply and easily
with your own unique PIN. And with
a super fast integrated USB 3.0
cable, you can access your data
faster than ever before.
Quick Start Guide
Aegis
Padlock
FIPS
1
2
3
4
3
1
2
SHIFT button
UNLOCK button
LED Indicator lights
4
LOCK button
When you first plug in the FIPS
Padlock, the unit will do a self-test
to verify all security components
are working properly. The LEDs
will go through 3 test stages
RED
,
GREEN
, and
BLUE
. This
will be followed by three
GREEN
flashes on a successful test. Any
test failure will leave the unit in an
interoperable state with the
RED
LED flashing.
First Time Use
Before the Padlock can be used, the Admin PIN MUST be set. The LED will display
Solid
BLUE
and Blinking
GREEN
to indicate the Padlock is waiting for a PIN to be set.
To Set-up the Admin PIN:
1. Press
UNLOCK + 9. The LED will be Solid
BLUE
/ Blinking
GREEN
.
2. Enter the new Admin PIN and press
UNLOCK key. If accepted the LED will flash
BLUE
followed by 3 short blinks of the
GREEN
LED.
3. Re-enter the Admin PIN and press the
UNLOCK key. If accepted the
GREEN
LED will be Solid for 3 seconds.
4. LED will then turn
BLUE
and remain in Admin mode for 30 seconds or if the
LOCK key is pressed, will return the drive to a standby state.
5. The Admin PIN is now set and will allow access to the drive or the Admin features.
6. To
UNLOCK the drive, enter the new PIN and press UNLOCK.
*Note:
PINs must be a minimum length of 7 maximum 16.
Cannot contain all consecutive numbers (2345678 or 8901234)
Cannot contain all same number (1111111)
The
SHIFT key can be used for additional combinations.
SHIFT + 1 are a separate value than just 1.