Field operation – Great Plains 2525F Operator Manual User Manual
Page 23
Operating Instructions 19
01/23/2012
118-232M
Field Operation
1.
Hitch drill to a suitable tractor or hitch and stow any
parking stands. See “Hitching Tractor to Drill” on
page 12 or your hitch operator’s manual.
Crushing Hazard:
You may be severely injured or killed by being crushed
between the tractor and drill. Do not stand or place any part of
your body between drill and moving tractor. Stop tractor
engine and set park brake before installing pins.
Set all seed Seed Cup Door handles to the same
seed size. See page 24.
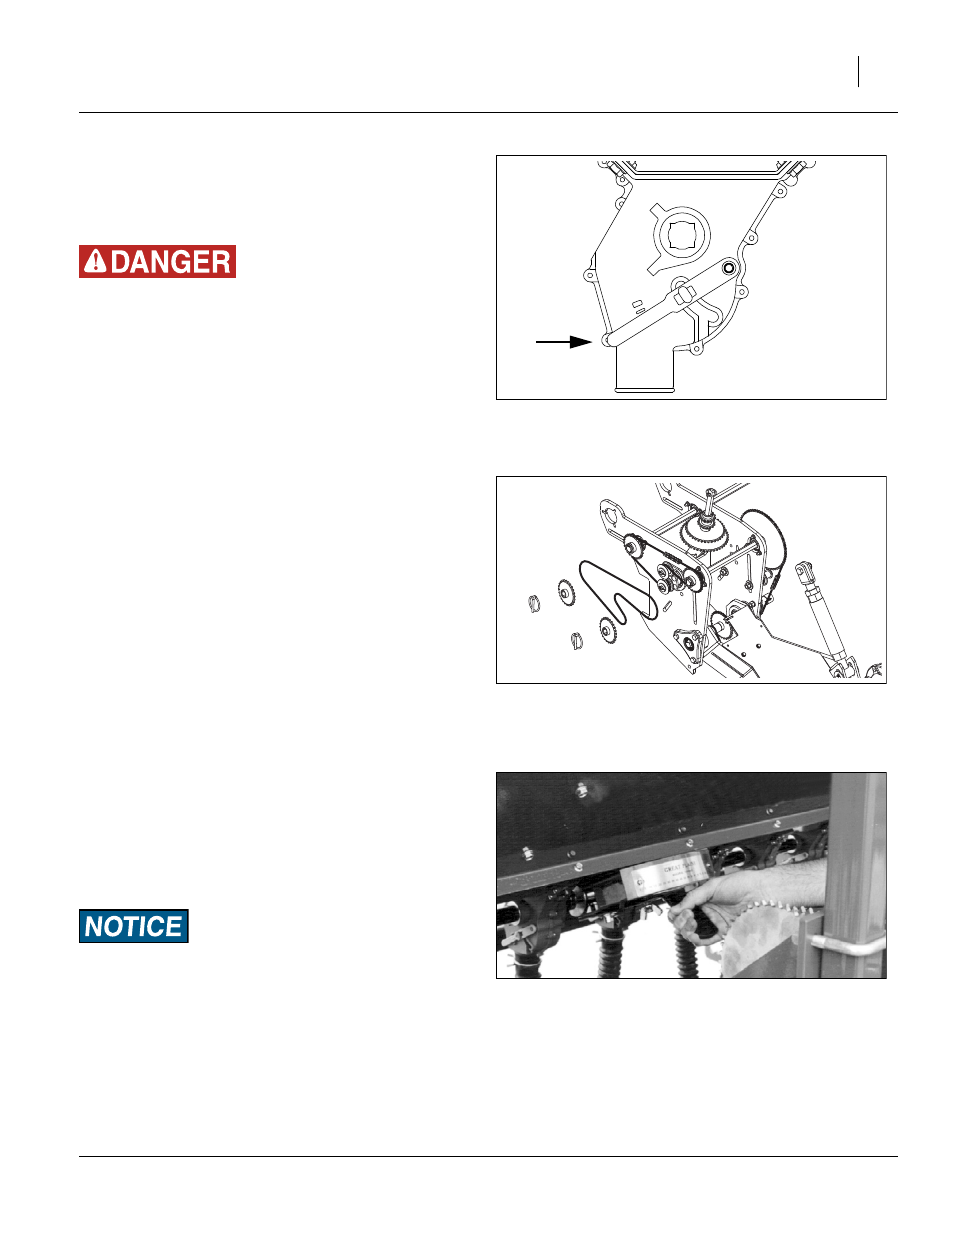
Set sprockets identically on both gauge wheel
assemblies, per the Drive Type from the seed rate
charts. See page 23.
Set both Seed Rate Handles to the same rate, per
the Handle Setting from the seed rate charts. See
page 24.
5.
Load box with clean seed.
6.
Raise drill. Rotate gauge wheel. Check that seed
seed cups and seed tubes are working properly and
free from foreign material by looking for seed flow
under each opener.
7.
Record acremeter readout. Subtract initial reading
from later readings to determine acres drilled.
Note: Acremeter readings are imprecise. They also vary
with wheel slippage, field shape, turn-around loop
sizes and other factors.
8.
Pull forward, lower drill and begin seeding.
9.
Always raise drill out of the ground when turning at
row ends and for other short-radius turns. Seeding
will stop automatically as drill is raised.
Machine Damage Risk:
Never back up with row units in the ground. Seed tube and
opener disk plugging is almost certain, and row unit damage is
possible.
If your drill has been exposed to the elements for a
period of time with seed in the boxes, check to make sure
the seed in the seed tubes and seed cups has not
become wet.
FigureSpacer
Figure 15
Seed Cup Door
26211
FigureSpacer
Figure 16
Drive Type
26210
FigureSpacer
Figure 17
Seed Rate
17617