Operation – Triton TWS S10 User Manual
Page 7
7
GB
IMPORTANT SAFETY NOTES
• Never use this unit without wearing all necessary
safety equipment, including approved safety glasses
and face or dust mask
• Wear gloves and handle blades with care at all times
• DO NOT test the sharpness of a blade on your finger
(or other part of the body)
• Check that the grindstone rotates freely each time
before start up
• Always allow a new wheel to run for a minutes before
using it. Stand to one side at start up
• The grindstone and honing wheel rotate in the
direction as marked by the arrow on the top of the unit
adjacent to the horizontal mounts
SET UP
1. Set up the unit and mount the blade at the correct
angle for sharpening, in accordance with guidance in
‘Preparation’
2. Dress the grindstone as necessary
3. Check the water trough is correctly fitted and filled
with water
4.
IMPORTANT: Check the
water level at regular
intervals and top up
as necessary. NEVER
attempt to sharpen
a blade when the
stone is dry; it may be
dangerous to do so
CONNECT TO POWER
1. Ensure On/Off Switch (4) is in the OFF (O) position
2. Connect the unit to mains power
3. To switch on, press the on/off switch to ON position (I)
4. To switch off, press the on/off switch to OFF position
(O)
SHARPENING A BLADE
• Apply blade to the grindstone with an even pressure
• Slide the square edge jig back and forth along the
support arm to ensure even grinding on the blade and
even wear on the stone
• Do not press hard. Light pressure is all that is required
for sharpening
SHARPENING WITHOUT THE SqUARE EDGE jIG
• If the workpiece is too large to mount in the jig, you
can fit the Support Arm (11) and rest the workpiece
on the support, with the edge pointing away from you.
This will help you keep the blade steady at the angle
required
• Move the blade back and forth across the stone to
ensure even grinding on the blade and even wear on
the stone
HONING A BLADE
• After sharpening, using the leather honing wheel will
remove any burr and give a smooth sharp edge to the
blade
• Always hone a blade in the direction of wheel rotation.
NEVER hone against the direction of the wheel
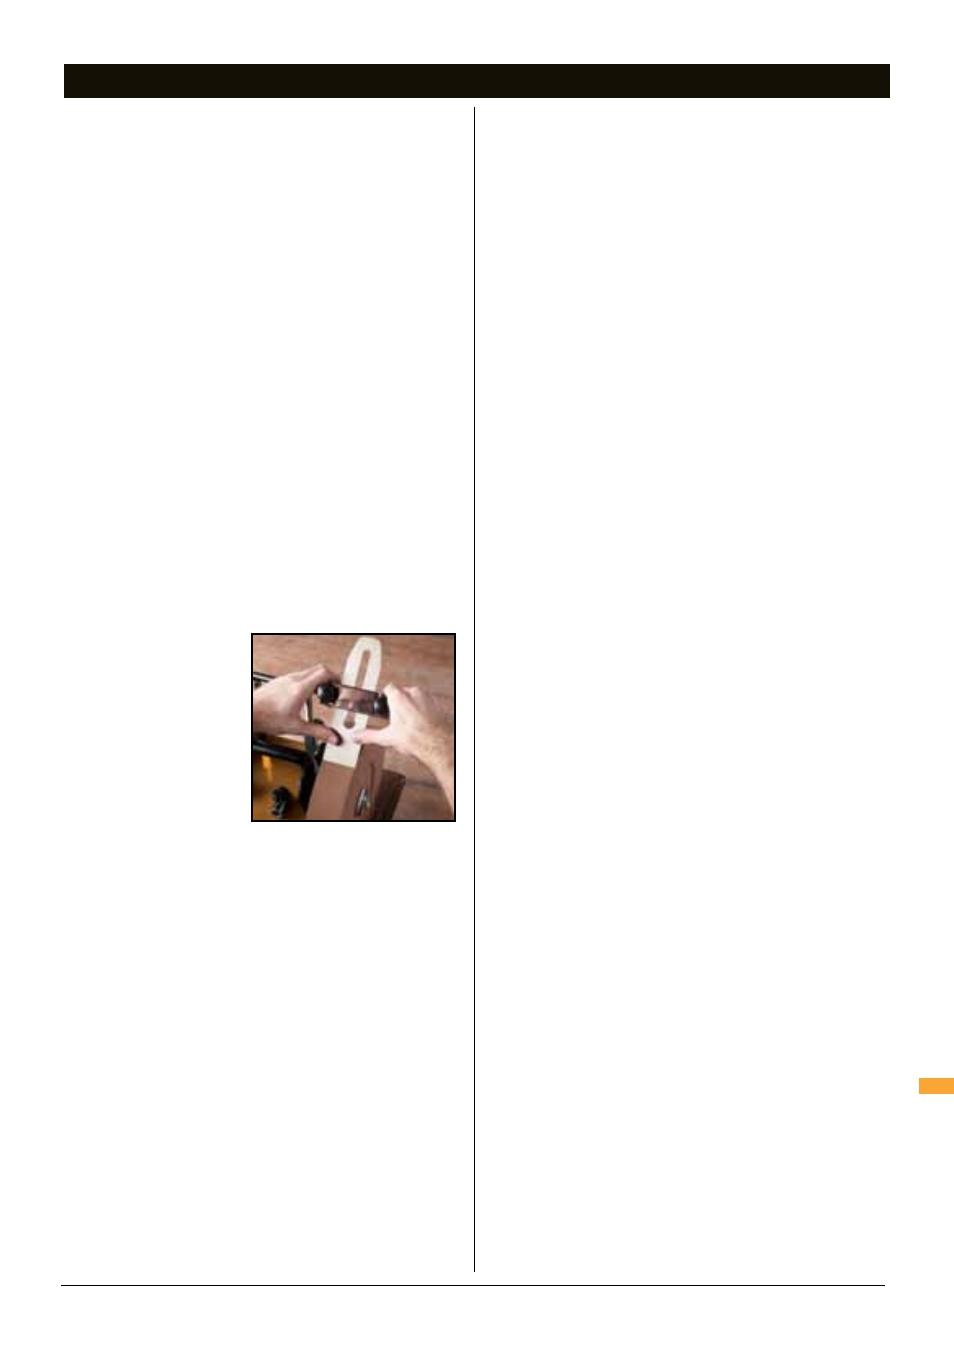
1. Ensure the machine is disconnected from power
during set up
2. Set up the support arm and jig as shown in Fig 3. Use
the angle guide to check the blade angle is correct
3. Apply a generous squeeze of Honing Compound (15)
directly to the Leather Honing Wheel (1). Honing will
distribute the compound across the wheel
4. Switch on the machine and move the blade across the
face of the honing wheel, ensuring that at least half of
the width of the honing wheel is always in contact with
the blade
5. Allow the honing wheel to do the work. Do not apply
excessive force to the wheel
6. As with sharpening, move the jig back and forth along
the support arm to ensure even honing of the blade
7. Do not hone without honing compound on the wheel.
If honing a number of blades, it may be necessary
to apply more compound. Switch off machine and
remove blade before applying compound
HONING WITHOUT THE SqUARE EDGE jIG
• If the workpiece is too large to mount in the jig, you
can fit the Support Arm (11) and rest the workpiece
on the support, with the edge pointing away from you.
This will help you keep the blade steady at the angle
required
• Move the blade back and forth across the wheel to
ensure even polishing across the blade
REMOVING ENGINEERING MARKS
• The manufacturing process sometimes leaves blades
with engineering marks on the surface of the cross
section (or ‘face’) of the blade
• You can remove these by applying the damaged face
OPERATION
Operation
Fig.7